In the Fabrication products, you can configure a pattern to create a ring of fold-up tabs on the inside of holes for fixing a branch to a pipe. The tabs will always fold back to the required hole size, including any hole size adjustments that may have been included. In the Fabrication product software this is referred to as castellated tabs, and the settings that allow you to configure this are referred to as Castle Holes.
To access the settings for castellated tabs (Castle Holes):
-
Click Database
 Fittings
click Pattern Options, then click the Holes tab.
Fittings
click Pattern Options, then click the Holes tab.
- On the Holes tab, configure the following settings for castellated tabs in the Castle Holes section of this dialog:
Length: Specifies the length of the tab that will stick up from the pipe.
Width : Specifies the width of the tab at its base.
Angle: Specifies the angle of the gap between adjacent tabs.
- Click OK on the Database dialog.
The next stage is to ensure that the Castle Holes option is included on the item list at Takeoff time.
-
Double-click on the item that you wish to add to the job.
-
At t the Utilities
Item Folders menu, go into Takeoff
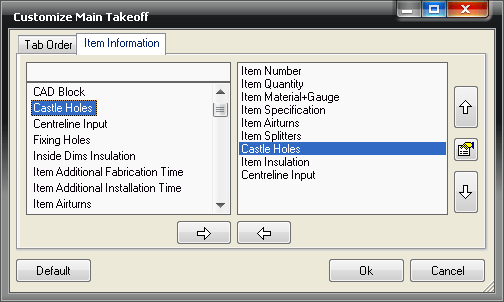
Customize, and click the Item Information tab.
The Customise Main Takeoff dialog displays.
-
If you highlight the Castle Holes field in the left pane, and click the right arrow, the field is copied to the right hand pane. You can then use the up and down arrows to change the order of the display of the field.
-
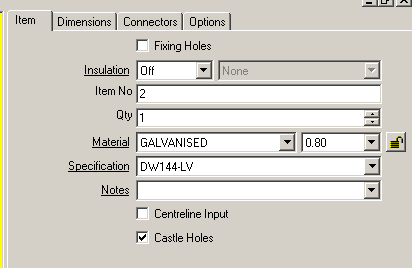
When taking off or editing a fitting, the use of tabs is determined by the Castle Holes option on the Item tab of the Takeoff dialog. When the Castle Holes option is checked (enabled), the tabs are included. When the Castle Holes tab is not checked (disabled), the tabs are not included.