In the Autodesk Fabrication products, a price list reflects the cost of each item for every available size of the item.
The steps below describe how to create a price list for an item that is available in multiple sizes. It also includes the steps on how to assign a price list to multiple items.
To create a price list:
- Click Database
 Costing
Price Lists.
Costing
Price Lists.
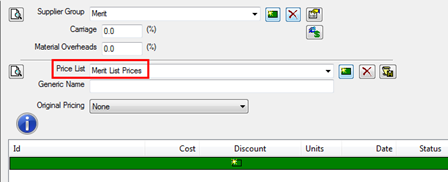
- Click Create New Supplier button
 and enter a Supplier Group name. For example, enter Merit.
- Click the New button
next to Price List to display the Create New Table dialog.
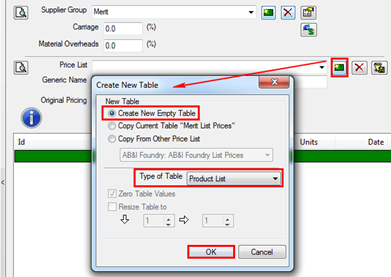
- On the Create New Table dialog, click Create New Empty Table.
- For Type of Table, select Product List and then click OK.
- In the Price List field, enter a name for this price list. For example, enter Merit List Prices.
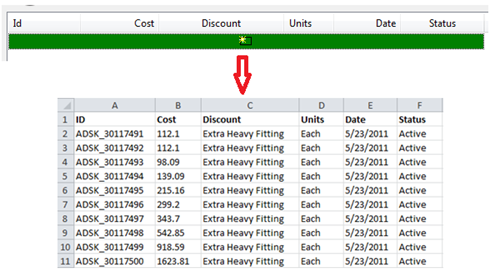
- Next, using an external comma-delimited format document, such as an external spreadsheet, create a table that contains the following columns of data:
- ID: The unique code for each item size. The value for this parameter should be the same as the Id parameter in the Product List.
- Cost: The price for each item size that is provided by manufacturer/supplier.
- Discount: This field allows you to enter some descriptive text that describes any discount or price adjustment that should be applies to this item. For example, you may want to enter text, such as Extra Heavy Fitting.
- Units: The unit for each item size; for example, Each, Per (ft).
- Date: The effective date of current price.
- Status: The status of price.
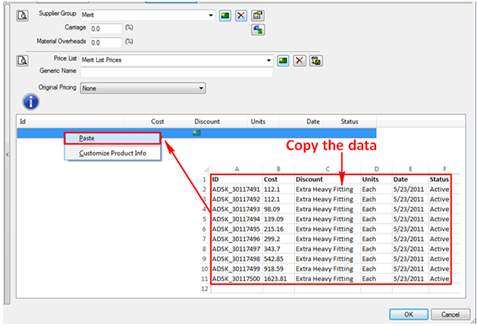
- Copy the data from the external spreadsheet table, and paste it into the blank table in the Autodesk Fabrication product Price List table, as shown below.
- Set the Configure Import dialog as described below, and then click OK.
- ID Maps To: Set this to MAP Database Id.
- Currency: For imperial content, set this to $ (USD).
- Data Contains Field Names: Select (enable) this option by placing a check mark in the check box.
- Requirements: In this pane, for each parameter in the Field column, select a corresponding identical value in the Use column.

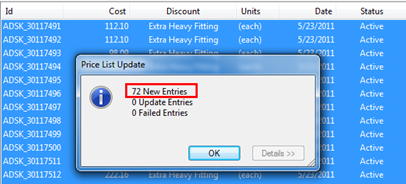
- When the Price List Update dialog displays, make sure the number of New Entries is the same as the number of new entries added from the external spreadsheet table. Click OK on the Price List Update dialog to proceed.
- Click OK on the Database dialog.
The new price list now exists in the current database, and is available to be used.
- To assign this new price list to items, in the Item Folders view, select all the items that you want to assign this price list to, then right-click
Properties.
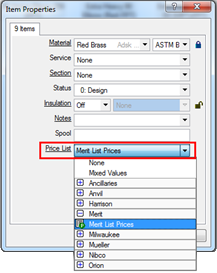
- On the Item Properties dialog, click the Price List drop down list, select the price list just created (in this example, Merit List Prices), and then click OK.
The new price list is now assigned to the selected items. These items now include costing information that is assigned accordingly from this price list. See Verify Price List Information to ensure that this price list data is assigned to items as expected.