Auto-marking allows the set-up of default marking text on nested parts. To enable auto-marking:
- Click File
 Setup
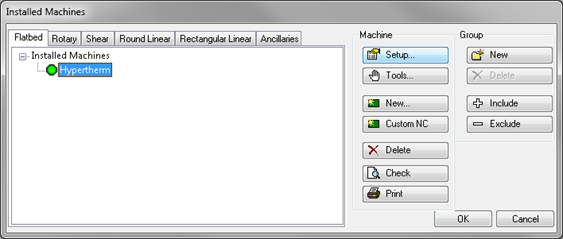
Setup  Installed Machines, or select the Installed Machines icon from the Utility Bar.
 - Select the machine from the list and click Tools.

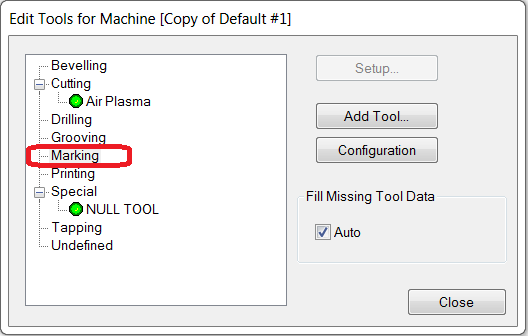
- If there is not already a marking tool, add one by clicking on Marking to highlight it, then click Add Tool.

- The Edit Tool Properties dialog displays. On this dialog, move the desired marking tools into the right "Selected" pane, and click OK when finished.
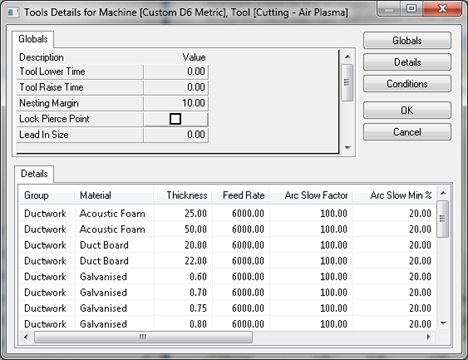
- On the Edit Tools for Machine dialog, highlight the marking tool just added, and click Setup. This displays the Tool Details dialog for the machine.

- Set the items on this dialog by clicking in the Value field and typing in the required values.
- Click OK when all are set as desired.
There should now be an extra option tab for Auto Marking Settings in the Machine Editor dialog.
- Enable the Apply Auto Marking Data option. The data field on the right is the selected text. Select Item Data Fields in the left pane, and use the arrow keys to move them into the right "Selected" pane. The Concatenate option adds a "+" to the selected item and will allow the marking to be done in a line.