The Dimension features within Opus allows the measurements or dimensions of objects to be displayed in the drawing, next to specified sections of the objects.
To add dimensions to objects:
- From the menus, click New
 Dimension to access the Dimensions submenu, and select one of the following options:
 Note: Clicking View Dimension Styles... governs the appearance of the Dimension Lines and Text. Therefore it is advisable to check these settings before positioning dimensions.
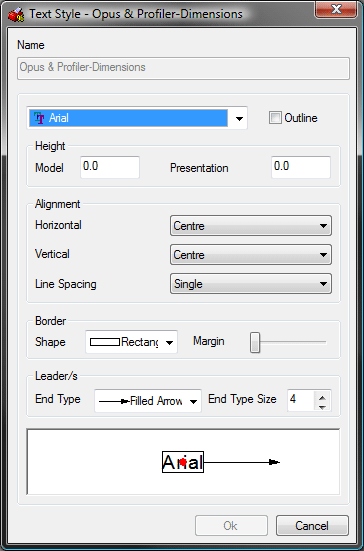
Dimension Styles
To access the Dimension Styles:
- From the Menus Click View
Dimension Styles...

This dialog sets the dimension text height and width, and the width and style of the lines that act as pointers.
- Click Properties
 to edit these styles.
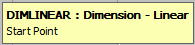
Linear Dimensions (Shortcut: DIMLINEAR)
A linear dimension only takes either the x- or the y- axis (horizontal or vertical) into consideration. Even if the line is at an angle, only one axis can be measured at a time.
To create a linear dimension:
- From the Menus Click New
Dimension
Linear or type DIMLINEAR in the program.
You will be prompted for the Start Point.
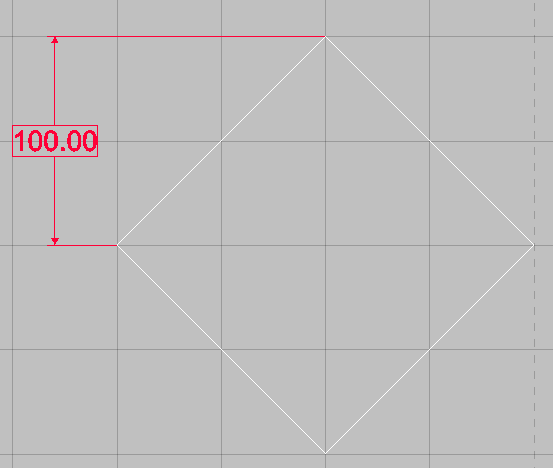
- Click one end of the length to be measured.
A prompt will then ask for the End Point.

- Click the second end of the length to be measured.
- Move the dimension to the required position, and click to place it.
The example below demonstrates the Linear measurement.
Aligned Dimensions (Shortcut: DIMALIGNED)
This dimension is used to measure the true distance between two points on a drawing.
To create an aligned dimension:
- From the Menus Click New
Dimension
Aligned or type DIMALIGNED in the program.
You will be prompted for a Start Point.
- Click one end of the length to be measured.
The prompt will now ask for the End Point.
- Click the second end of the length to be measured.
- Move the dimension to the required position, and click to place it.
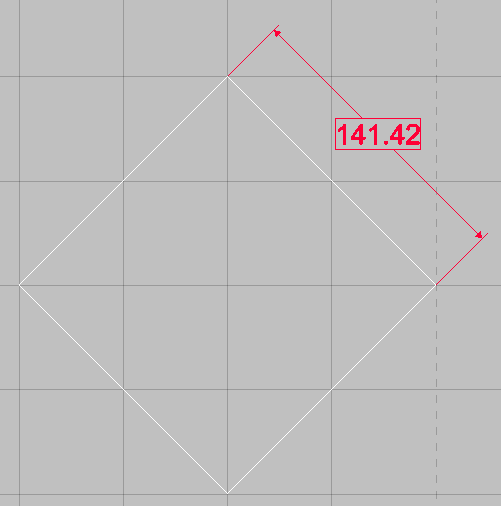
The example below demonstrates the Aligned measurement.
Radial Dimensions (Shortcut: DIMRADIAL)
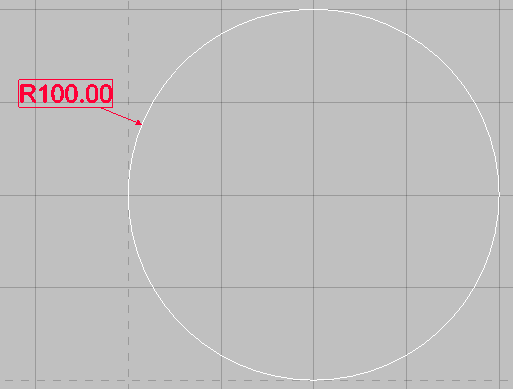
The radial dimension measures the radius of any arc selected.
To place a radial dimension:
- From the Menus Click New
Dimension
Radial or type DIMRADIAL in the program.
The program will ask you to select the Element you require measuring.

- Click on the arc to be measured.
- Move the dimension to the required position, and click to place it.
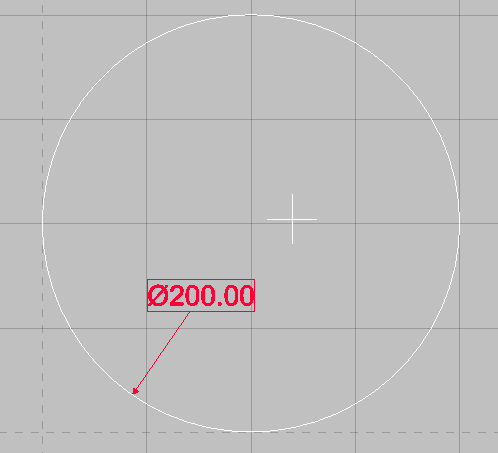
Diameter Dimensions (Shortcut: DIMDIAMETER)
This works in exactly the same way as the Radius Dimension but reports the Arcs Diameter rather than the Radius. This only works on complete Circles.
- From the Menus Click New
Dimension
Diameter or type DIMDIAMETER in the program.
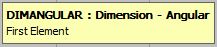
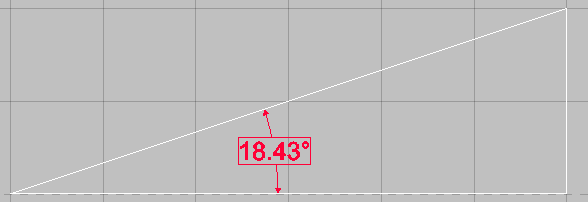
Angular Dimensions (Shortcut: DIMANGULAR)
The angular dimension will give the angle in degrees between the two selected elements in an anticlockwise direction.
To create an angular dimension:
- From the Menus Click New
Dimension
Angular or type DIMANGULAR into the program.
- Click the first element. The angle will be measured moving anticlockwise from this element to the next.

- Click the second element, moving anticlockwise.
- Move the dimension to the required position, and click to place it.
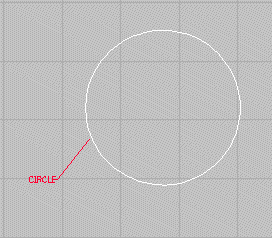
Label Dimensions (Shortcut: DIMLABEL)
Places a text label on the screen, along with an array.
To create a text label:
- Click New
Dimension
Label.
- Click to position the bottom left hand corner of the area that will contain the label.
- Click to position the top right hand corner of the area.
- Type an angle (or accept the default if the text is not to be at an angle), and press Enter.
- Enter the actual text that will form the label and press Enter.
- Finally, click to position the arrow on the drawing.