The Job Information dialog is available in CADmep, ESTmep and CAMduct. It provides the opportunity to enter or view information about the job that can be helpful for file management and for displaying in selected reports.
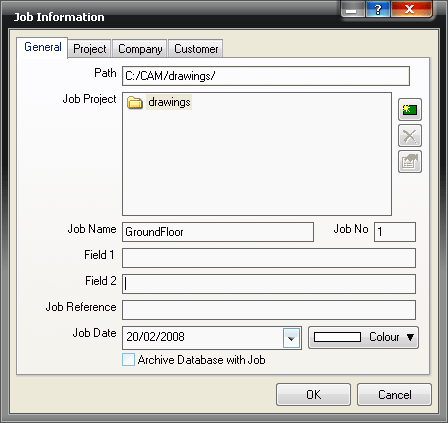
When creating a new job in CAMduct or ESTmep, by default the standard Job Information dialog, shown below, displays.
You can customize the information displayed on the Job Information dialog. For more information, see Create a Customized Job Information Dialog.
Display the Job information dialog by doing the following:
- In CADmep, right-click
 CADmep
Job Information, or at the command line, type in JOBINFO.
CADmep
Job Information, or at the command line, type in JOBINFO.
- In ESTmep and CAMduct, click Utility Bar
Job Information.
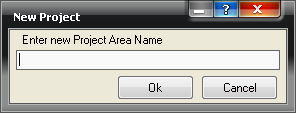
To create a new folder:
- Click New
 and the following dialog displays.
 folder will now appear in the Job Projects area.
- In the empty text field, type the name of the folder and click OK.
For most projects, the Project Name is typically a customer name; however, you should specify a Project Name that suits your job and project requirements.
The new folder will be created within folder that is currently highlighted. Therefore make sure that the correct folder is highlighted when New is selected. Once created, the new folder displays in the Job Projects area.
The following options are available on the standard (default) Job Information dialog:
Path: This field displays the location that the job will be saved back to. By default, this is set as C:/Users/Public/Documents/Autodesk/Fabrication <version>/Imperial Content/<version>/PROJECTS/. This is the main location in which all job will be stored and can further divided by sub folders created by the user in the Job Projects section described below.
Job Project: The Job Project area lets you set up further sub folders in which jobs can be saved. A subfolder is normally created for each of the user's customers. It is then possible to create and store all of that customer's jobs within one folder. This makes it much easier to find old jobs if they need to be re-created or added to.
Job Name: On the General tab, the Job Name field lets you enter a name for the job. This can be anything that is relevant; for example, work order number or job location. This is displayed on selected reports if the Job Name print object is applied.
Field 1/Field 2/Job Reference: These fields let you attach additional information if necessary. These can also be applied on selected reports if required.
Job Date: The Job Date field lets you select a date that can be shown on selected reports if applied. This can be used to determine the date that the job is to be completed. Click on the drop-down menu and select a date from the calender displayed.

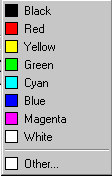
Color: This option lets you attach a color to a job. This in turn can be applied to reports and labels to enable easy identification of parts. This is particularly useful if jobs have been nested together. Click on the Color button and the following dialog displays. Select a color from the list, or select Other to display the color pallet.
Archive Database with Job: If this option is selected, the job will be saved along with the current database settings.