Activity 1: Create an animation
In this activity, you create simple animations for some components of the assembly, and work with the animations on the timeline. Creating animations enables you to show specific actions for the design.
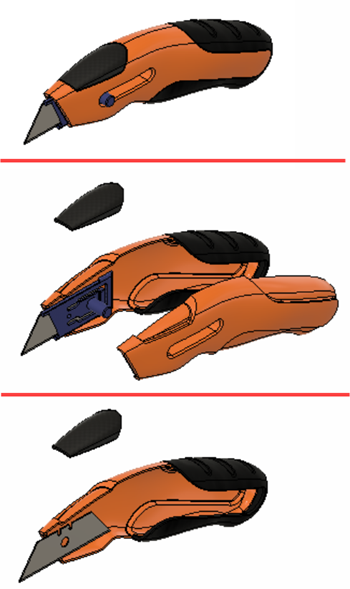
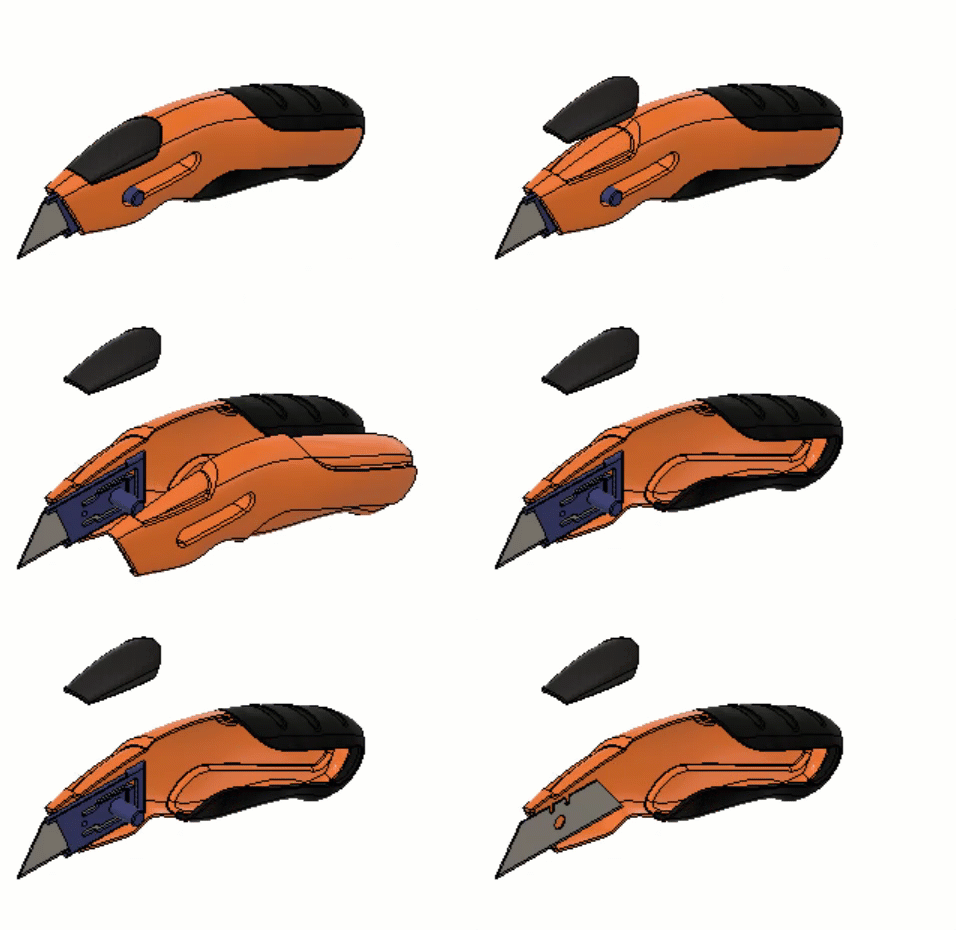
Unanimated knife (top), animation at 2.9 seconds (middle), finished animation (bottom).
Prerequisites
- Ensure the Utility Knife Animation is open.
- Ensure the Workspace is Animation.
Steps
Set up the scene by rotating the part and centering the model on the screen.
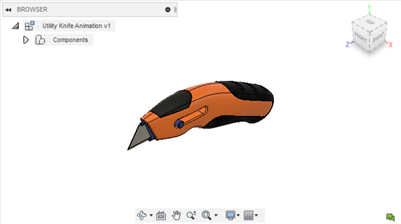
Drag the playhead on the timeline into the Scratch Zone. The Scratch Zone is a small space to the left of the beginning of the timeline.
Note: The Scratch Zone is equivalent to an "off-air" mode. Any modifications you make to the scene or model are not captured as animation, but are captured as part of the overall scene setup.
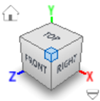
Click the ViewCube in the corner between the Top, Front, and Right faces.
Zoom out so the model is centered on the screen with the knife taking about 10% of the screen.
Animate the Grip so it is 40 mm off the part and takes 2 seconds to animate.
Drag the playhead to 2 seconds on the timeline.
Note: Clicking anywhere on the timeline jumps to the location clicked.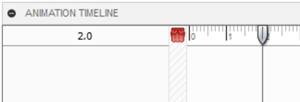
Select component Grip 2:1 in the browser.
Click
 Transform > Transform Components.
Click and drag the Y-axis manipulator and drag the grip 40 mm.
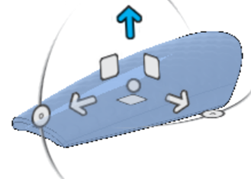
Click OK to finish the transform. Notice that a move action was created in the timeline. The timeline turns green indicating the length of the animation. As more actions are created, the green expands to highlight the animation length.
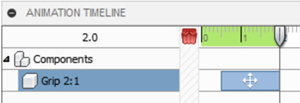
Animate the Left component so it is 50 mm off the part and takes 3 seconds to animate.
Drag the playhead to 3 seconds on the timeline.
Select component Left:1 in the browser.
Click
 Transform > Transform Components.
Click and drag the X-axis manipulator and drag the grip 50 mm.
Click OK to finish the transform.
Ensure the Left:1 component is selected.
Right-click and select Show/Hide.
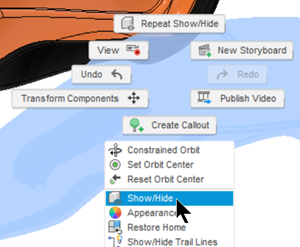
Notice that the timeline shows two actions for the Left component. The first is a transform, and the second is a visibility change. You can expand or collapse the actions for a component in the timeline.
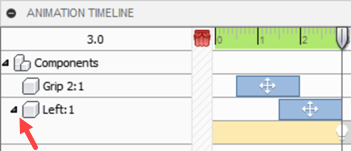
Hide the Blade Cradle at 3.5 seconds.
- Drag or click the playhead to 3.5 seconds in the timeline.
- Select component Blade Cradle:1 from the browser.
- Right-click and select Show/Hide.
Play the animation.
Review the timeline.
Click
 Animation timeline > Play.
To play the animation on a full screen, click
  Animation timeline > Full screen.
Repeat animating the animation to see how the actions on the design match the timeline.
Activity 1 summary
In this activity, you created an animation with four actions:
- Moving the grip, starting at 0.5 seconds and ending at 2 seconds.
- Moving the Left component, starting at 1.5 seconds and ending at 3 seconds.
- Showing the Left component until 3 seconds.
- Showing the Blade Cradle until 3.5 seconds.

Unanimated knife (top), animation at 2.9 seconds (middle), finished animation (bottom).