Create a joint origin
Learn how to use the Joint Origin command to create an independent joint origin for a component in Fusion.
Click Design > Solid > Assemble > Joint Origin
 .
.The Joint Origin dialog displays.
In the dialog, select a joint origin Mode:
Simple
 : Select a Snap point to place the joint origin.
Between Two Faces
 : Select Plane 1 and Plane 2 to center the joint origin between them, then select a Snap point.
Two Edge Intersection
 : Select Edge 1 and a non-parallel Edge 2 to locate the joint origin at the extended intersection.
Adjust the joint origin Alignment settings:
- Angle: Drag the rotation manipulator handle or enter an exact angle of revolution.
- Offset X: Drag the move manipulator handle or enter an exact distance.
- Offset Y
- Offset Z
- Flip: Click to flip the joint origin to align components when you create a joint.
- Reorient: Click to select two axes to reorient the joint origin.
- Z Axis: Click to select a face or edge to reorient the axis.
- X Axis
Click OK.
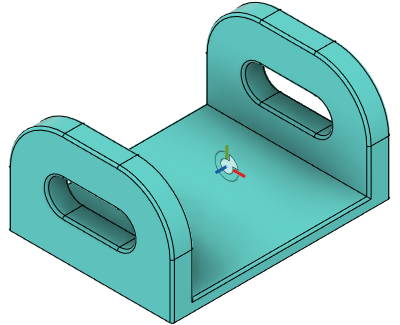
The new joint origin displays in the canvas.
Tips
In the Navigation bar at the bottom of the canvas, click Display Settings > Object Visibility > Joint Origins or Joint Origin Axes to toggle visibility of joint origins or just the axes on joint origins in the active design.
Place the pointer over a face, then hold
Ctrl(Windows) orCommand(MacOS) to snap to points on that face.
Place the pointer over a hole, then hold
Ctrl(Windows) orCommand(MacOS) to snap to points along the center axis that are obscured by other features.