Edit an external component in context
Learn how to edit an external component in context of the parent design in Fusion.
To insert an external component into your design, navigate to a component in the Data Panel, right-click, then click Insert into Current Design.
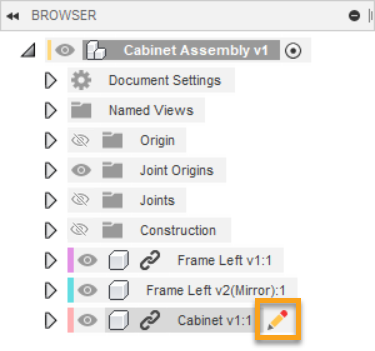
In the Browser, hover over the external component you want to edit, then click Edit In Place
 .
.
Optional: In the Edit In Place menu, adjust associativity:
Associative
Non-Associative

Make non-associative changes to the component.
- Edit sketches and other features directly.
- Measure distances relative to inactive components.
To create an Assembly Context, reference geometry from the inactive components in the parent design:
Edges, faces, and points
Dimensions and constraints
Position
Projection
Termination
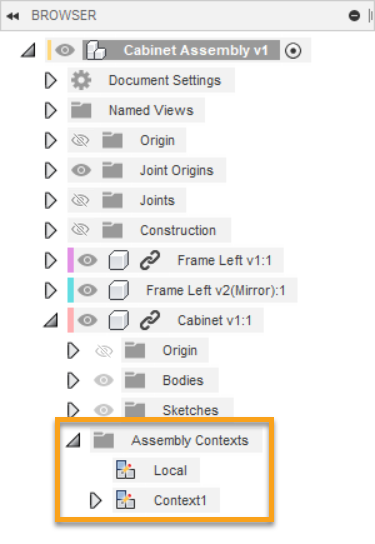
Note: When you reference the geometry of an inactive component, an Assembly Contexts folder is created in the Browser under the external component's node. A Context is created in this folder, which you can return to and edit later.
On the Edit In Place menu, click Finish Edit In Place
 to return to the parent design.
Save your changes.
The Assembly Context is created within the parent design's Timeline.