Generate a Slot toolpath
On the Manufacture workspace toolbar, click Milling > 2D > Slot.
The Slot dialog opens.
On the Tool tab, click Select to pick a tool. The tool diameter must be equal to, or smaller than, the slot width. If you have not created a tool to use, in the left panel of the dialog, from the Fusion Library, pick a tool from the Sample Tools library.
Tip: Flat end mills and bull-nose end mills are best suited for removing material with the Slot toolpath.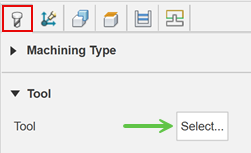
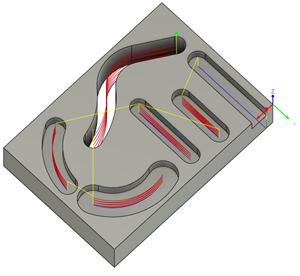
On the Geometry tab, with Pocket Selections active, select the bottom edges of slots, or select sketches, as the machining area.
Tip: Mouse over the Pocket Selections box for more information.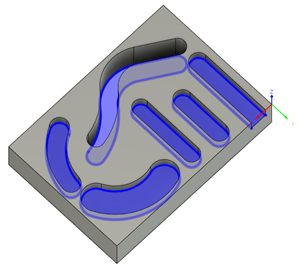
Optional steps:
On the Passes tab, for a safer retract, enter a Backoff Distance value.
To adjust how much material to leave for future finishing operations, enable the Stock to Leave checkbox.
To reduce the NC program size, enable Smoothing.
To adjust the final Z depth, go to the Heights tab and offset the Bottom Height. The selected contour(s) is the default final depth.
Click OK.
The toolpath is generated.