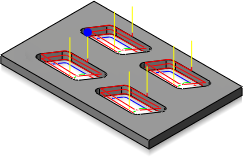
Create a linear toolpath pattern

Creating the operations for a single feature or the part that you want to pattern.
Add the operations to a new Browser folder by right-clicking and selecting Add to New Pattern from the pop-up context menu. Alternatively, from the Manufacture toolbar, select Setup > New Pattern
 to display the Pattern dialog.
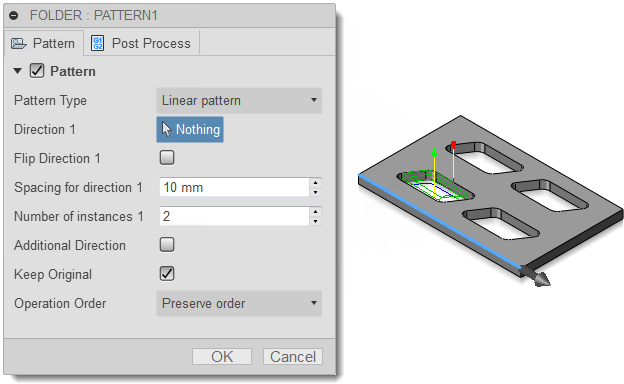
Select Linear pattern from the Pattern Type drop-down menu (this is the default).
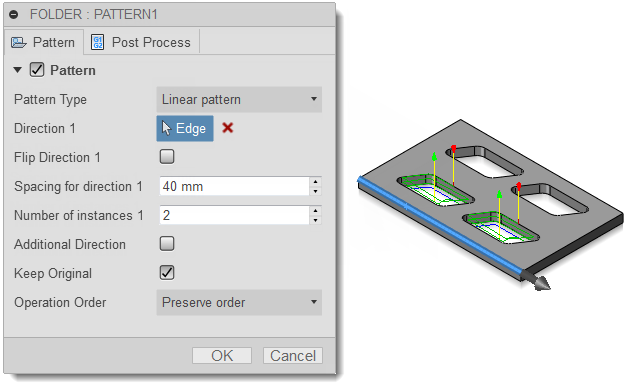
Click the Direction 1 button and select a straight edge or sketch line in the direction that the operations should be patterned.

If necessary, enable the Flip Direction 1 checkbox to reverse the direction of the pattern.
In the Spacing for direction 1 field, enter the distance for the pattern.
In the Number of instances 1 field, enter the number of times the operations should be patterned in this direction.

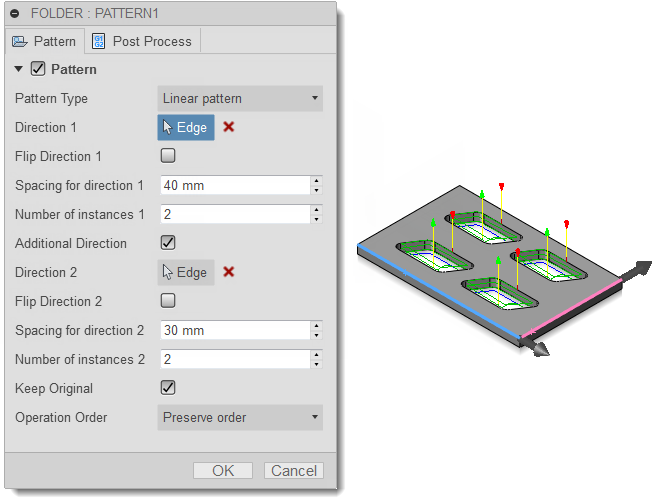
If you wish to continue the pattern in a second direction, enable the Additional Direction checkbox.
Repeat steps 4-7 for Direction 2.

From the Operation Order drop-down menu, choose whether the pattern should re-order the operations according to tool or operation, or preserve the order of the operations within the pattern.