Assign a preset of a print setting to a body
If you have multiple presets of a print setting, you can assign the presets to different bodies in the active setup.
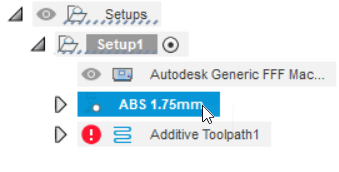
In the Browser, under the setup, right-click the print setting, and then choose Assign Body Presets
 .
.
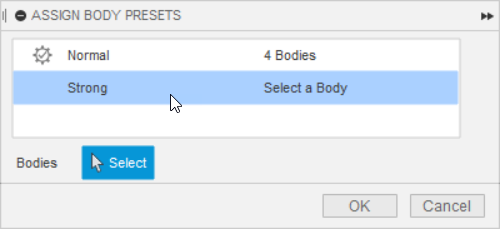
The Assign Body Presets dialog opens. By default, all the bodies are automatically assigned to the default preset
 as defined in the Print Setting Editor.
Choose the preset to which you want to assign a body.

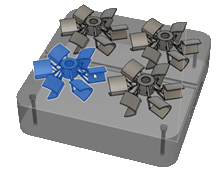
On the canvas, click one or more bodies to assign the chosen preset.

The dialog is updated to show the number of bodies assigned to the preset.
Repeat steps 2 to 3 to continue assigning presets to bodies.
Click OK.
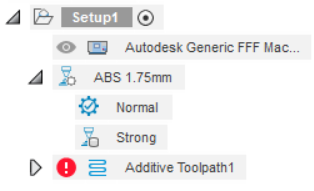
In the Browser, under the print setting, the presets that are assigned to the bodies in the setup are displayed.
Tip: In the Browser, click a preset to highlight on the canvas which bodies are assigned to it.