Continue rest machining between setups
To transfer stock from one setup to another, you need to have an initial setup with the following prerequisites:
- Operation type set to milling.
- You need to reference a single component as the Model selection.
- The initial setup contains milling operations that are removing stock material.
On the Manufacture workspace toolbar, click Milling > Setup > New Setup to create the second setup which you'll be transferring the stock to.
The Setup dialog opens.
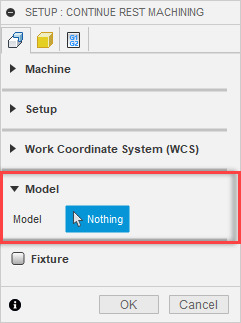
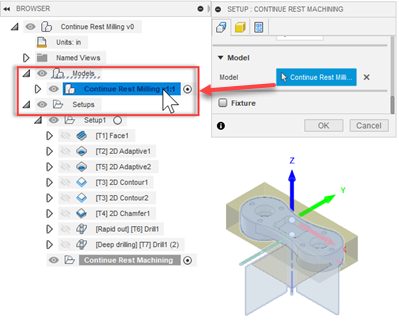
On the Setup tab, if necessary, in the Model group, clear any predefined model selections, then select the same component that was used in the initial setup.
 Tip: Provided the geometry you are selecting is contained in a component, selecting the geometry from the Browser selects it as a component. Selecting the same geometry from the canvas selects it as a body.
Adjust the Work Coordinate System (WCS) to match how you are setting up the part in your machine tool for this setup. Usually, it is likely that you are machining the underside of the part, which requires flipping the Z-axis direction.
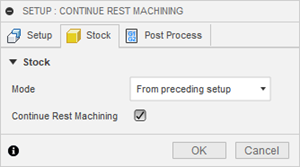
On the Stock tab, from the Mode drop-down menu, select From Preceding Setup.
Select the Continue Rest Machining checkbox.

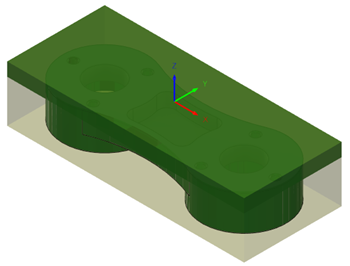
Click OK. The stock from the previous setup transfers to this setup.

Image above shown with visible in-process stock.