Activity 1: Create an additive FFF setup and arrange the model
In this activity, you open the sample file containing the model, then create a setup where you select the printer and print setting. You then automatically arrange the model on the printer's build platform.
Prerequisites
- The Design workspace is open.
Steps
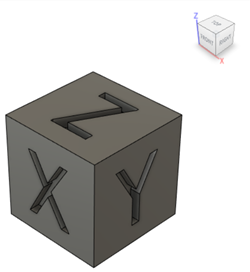
Open the Additive FFF file.
Tip: You must always have a model open before you create an additive setup.If necessary, on the Application bar, click Show Data Panel
 .
.In the Data Panel, under Samples, double-click CAM Samples > Additive Manufacturing > FFF > Additive FFF.
Close the Data Panel.
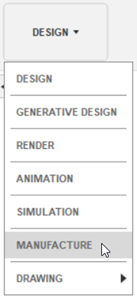
From the Workspace menu, select Manufacture.
Create a setup with a Creality Ender 3 printer and a PLA 1.75 mm print setting.
Tip: A setup defines which printer, print setting, and model you want to use.On the Manufacture workspace toolbar, click Additive > Setup > New Setup
 .
.The Setup dialog opens. By default, the model on the canvas is automatically selected.
Next to Machine, click Select.
The Machine Library opens. Here you select the printer that you want to use.
In the left panel, ensure that the Fusion Library is selected.
In the right panel, on the Filters tab, ensure that Capabilities is set to Additive and Technologies is set to FFF.
In the middle panel, find and select Creality Ender 3, then click Select.
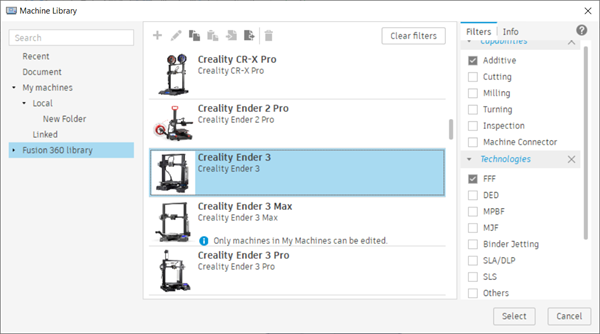
The Machine Library closes, and the printer is shown on the canvas.
In the Setup dialog, click Print Settings.
The Print Setting Library opens. Here you select the print setting that you want to use. A print setting is the name of the group of settings that control how the model is printed.
In the left panel, ensure that the Fusion Library folder is selected.
In the middle panel, find and select PLA 1.75 mm, then click Select.

The Print Setting Library closes.
Note: PLA is the material and 1.75 mm is the filament diameter.In the Setup dialog, ensure that the Arrangement checkbox is selected.
This ensures that the Additive Arrange dialog opens after creating the setup.
Click OK to create the setup.
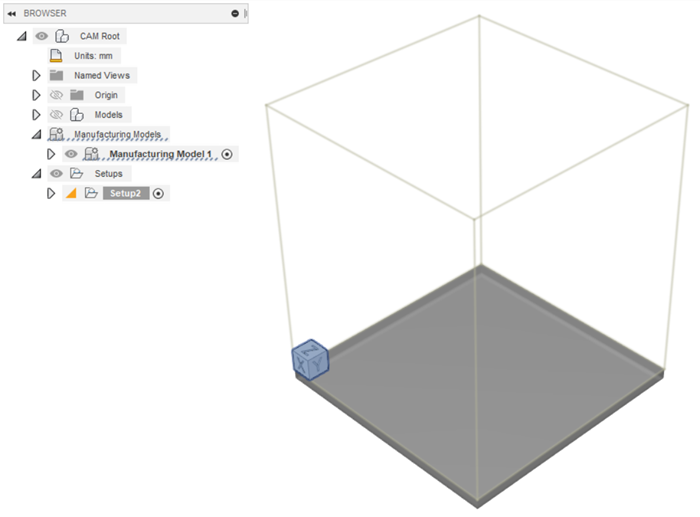
A Setup item is added to the Browser. The Setup dialog closes and the Additive Arrange dialog opens.
In the Additive Arrange dialog, leave the settings as default, then click OK to automatically position the model at the center of the printer's build platform.
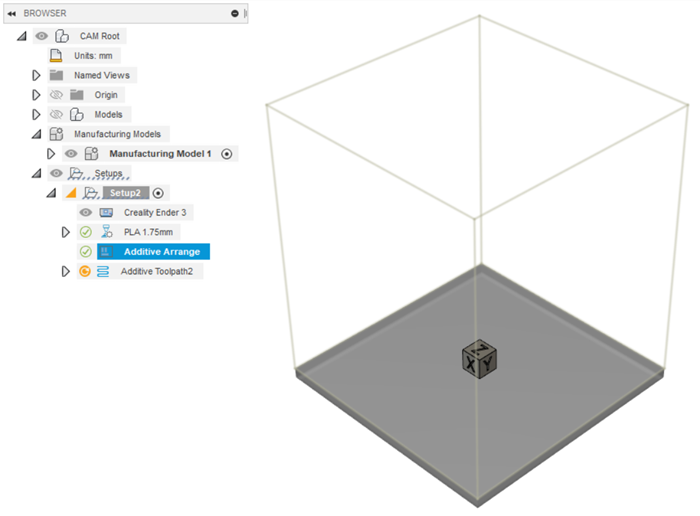
An Additive Arrange item is added under the Setup item in the Browser.
Activity 1 summary
In this activity, you opened the sample file containing the model and created a setup where you selected the printer and print setting. You then automatically arranged the model on the printer's build platform.