Activity 2: Generate, simulate, and post process the additive toolpath
In this activity, you generate the additive toolpath, simulate the layers of the additive toolpath, and then post process the additive toolpath to generate the G-code print file.
Prerequisites
- Activity 1 is complete.
Steps
Generate the additive toolpath.
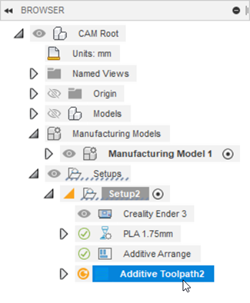
In the Browser, select the Additive Toolpath item.

On the Manufacture workspace toolbar, click Additive > Actions > Generate
 .
.The icon next to the item in the Browser changes from Out of Date
 to Valid
  .
.
Simulate the additive toolpath to visualize the layers of the model.
In the Browser, ensure that the Additive Toolpath item or the Setup item is selected.
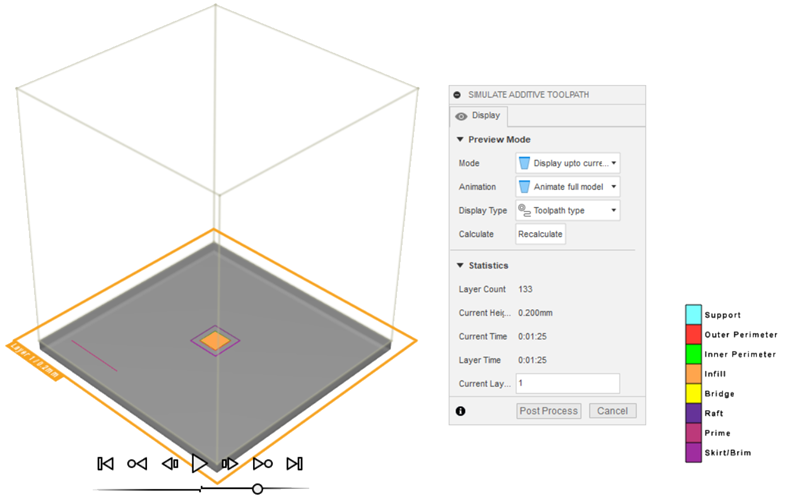
On the Manufacture workspace toolbar, click Additive > Actions > Simulate Additive Toolpath
 .
.
The Simulate Additive Toolpath dialog opens. The canvas is updated to show the first layer of the model and simulation controls become available at the bottom of the canvas.
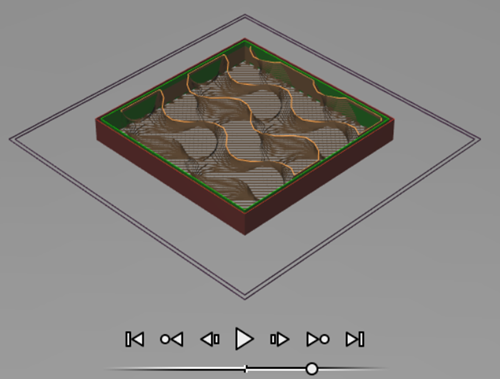
On the canvas, on the simulation controls, click Start the Simulation
 to see the different layers of the model as it gets printed.
The current layer, its height, and how long it takes to print are updated in the Simulate Additive Toolpath dialog.
Post process the additive toolpath to generate the G-code print file, which you can then run on the printer.
In the Simulate Additive Toolpath dialog, click Post Process.
The NC Program dialog opens. Fusion automatically selects a post configuration file (
.cps) based on the printer selected in the setup. Post configuration files are also known as post processors or posts.In the Program group, change the File Name from 1001 to MyModel_Ender3_PLA.
Next to Output Folder, click Select Output Folder
 .
.Navigate to the location where you want to save the NC file, then click Select Folder.
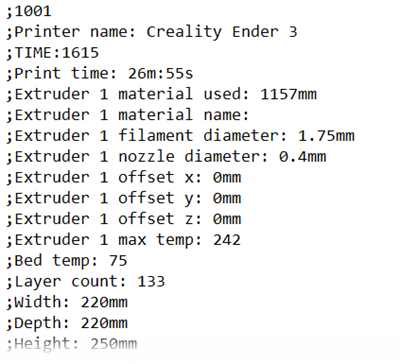
Click Post to generate the print file.

You can now transfer the print file to the printer.
Activity 2 summary
In this activity, you generated the additive toolpath, simulated the layers of the additive toolpath, and then post processed the additive toolpath to generate the G-code print file.