Activity 3: Solve the Process Simulation study
In this activity, you solve the Process Simulation study and interpret the results. The results show predicted displacement of the part, whether there is enough clearance between the part and the machine's recoater blade, and the different structure types. After analyzing the results, create a warped .stl file to compare against real world prints, and create a compensated .stl file to automatically correct part warpage.
Prerequisites
- Activity 2 is complete.
Steps
Solve the Process Simulation study.
In the Results contextual environment, click Solve
 .
.The contextual environment closes and the Solve dialog opens.
Click Solve.
If an Invalidate Results message opens, click Yes to overwrite the mesh generated in activity 2.
The CAM Task Manager opens and displays progress of the simulation. When complete, the Results contextual environment replaces all the existing tabs in the Manufacture workspace.
Note: Solving can take several minutes to complete.In the CAM Task Manager, when progress is 100%, click Close.
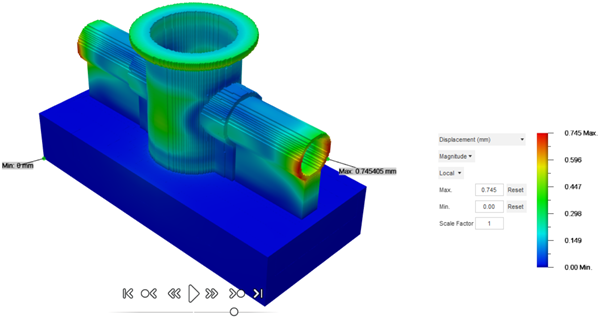
On the canvas of the Results contextual environment, you see the Displacement results.
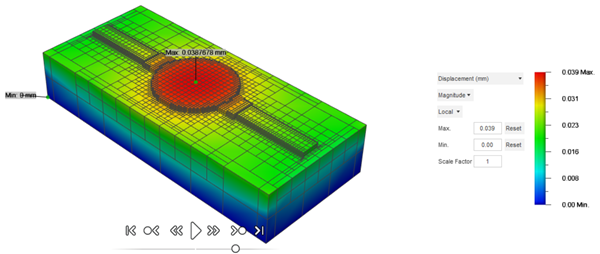 Tip: Next to the color legend, change the Magnitude to alter the range of the displacement scale. Switch between Local and Global to show the minimum and maximum values for each increment of the simulation or for the entire simulation.
Play the simulation and analyze the results.
At the bottom of the canvas, on the simulation player controls, click Start the Simulation
 to see an animation of the solve process, noting the points of maximum and minimum displacement in the build.
 Note: Extra controls allow you to proceed step by step through the process.
At the bottom of the canvas, place the pointer along the timeline to see notes about the different layers of the build.
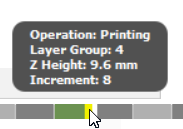 Tip: You can drag the black slider forward and back to walk through the process.
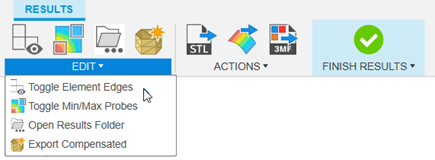
To see the displacement color spectrum more clearly, in the Results contextual environment, click Toggle Element Edges
 .
.
 Tip: Next to the color legend, change the Scale Factor to alter the visual warpage. The default value of 1 shows expected warpage. A value of 0 removes all warpage. A value greater than 1 shows exaggerated warpage.
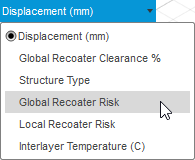
In the menu next to the color legend, select Global Recoater Risk.
Recoater interference occurs when the top of the fused part distorts up through the powder layer into the path of the recoater blade. The Recoater Risk gives you a quick visual indicator of which regions, if any, are in danger of a recoater jam.
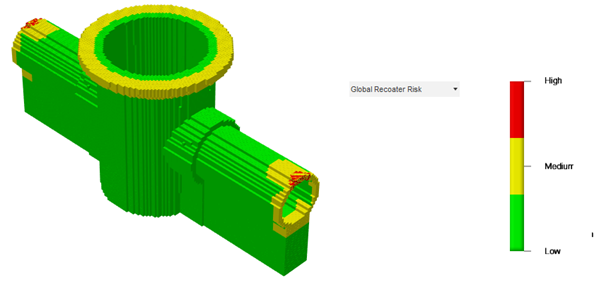 Tip: Adding extra supports, or experimenting with changing the build orientation, may mitigate the chances of recoater jams, which you can test using further process simulation.
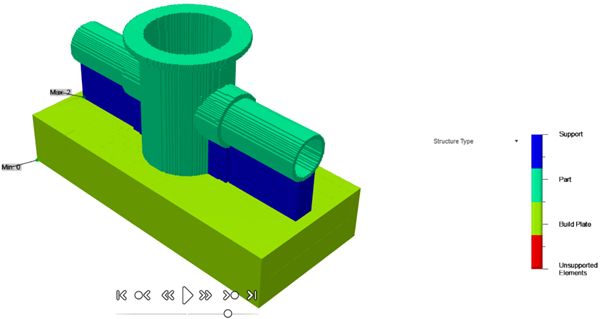
In the menu next to the color legend, select Structure Type.
The Structure Type is another global display, showing the components of the simulation.
Create a
.stlfile of the warped part to reflect the displacement predicted by the solved Process Simulation study.In the Results contextual environment, click Export Warped STL
 .
.In the Please Select the STL File Location dialog, enter a File Name, and then click Save.
Create a
.stlfile of the reverse-warped part to automatically compensate for the displacement predicted by the solved Process Simulation study.In the Results contextual environment, click Export Compensated STL
 .
.In the Please Select the STL File Location dialog, enter a File Name, and then click Save.
When you are finished, in the Results contextual environment, click Finish Results
 .
.
Activity 3 summary
In this activity, you solved the Process Simulation study, interpreted the results, created a warped .stl file to compare against real world prints, and then created a compensated .stl file to automatically correct part warpage.