Activity 1: Create an additive SLA setup and orient the desk hook and bolt
In this activity, you open the sample file containing the desk hook and its bolt, then create an additive setup selecting a Formlabs SLA printer. You then create Automatic Orientation studies to rotate the desk hook and bolt on the build platform to minimize their support area.

The desk hook and bolt oriented on the build platform.
Prerequisites
The Design workspace is open.
If necessary, switch from inches to millimeters.
In the Browser, to the right of Units, click Change Active Units.
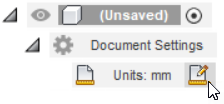
In the Change Active Units dialog, select a Unit Type of Millimeter.
Click OK.
Steps
Open the Additive SLA file.
If necessary, on the Application bar, click Show Data Panel
 .
.In the Data Panel, under Samples, double-click CAM Samples > Additive Manufacturing > SLA > Additive SLA.
Close the Data Panel.
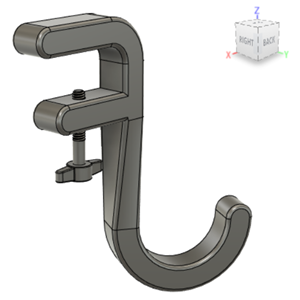 Tip: If the Z axis is not pointing upwards, use the mouse shortcuts and the ViewCube to orbit the desk hook and bolt on the canvas.
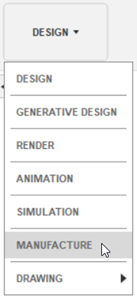
On the Design workspace toolbar, from the Workspace menu, select Manufacture.
Create a setup selecting the Formlabs Form 3L printer.
On the Manufacture workspace toolbar, click Additive > Setup > New Setup
 .
.The Setup dialog opens.
Next to Machine, click Select.
The Machine Library opens.
In the left panel, ensure that the Fusion Library is selected.
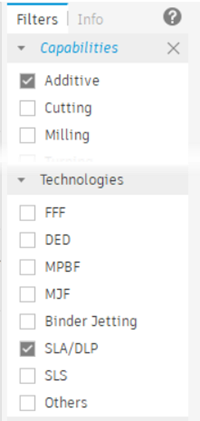
In the right panel, on the Filters tab, ensure that Capabilities is set to Additive and Technologies is set to SLA/DLP.
In the middle panel, find and select Formlabs Form 3L, then click Select.
The Machine Library closes.
In the Setup dialog, next to Print Settings, click Select.
The Print Setting Library opens.
Ensure the Formlabs SLA print setting is selected, then click Select.
The Print Setting Library closes.
Ensure the Arrangement checkbox is selected.
Click OK.
A Setup node is added to the Browser and the Additive Arrange dialog opens.
In the Additive Arrange dialog, click OK to automatically arrange the desk hook and its bolt on the build platform.
The Additive Arrange dialog closes.
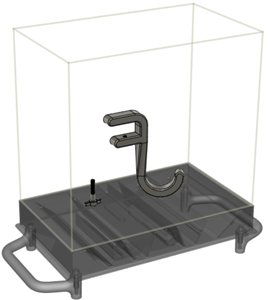
Create an Automatic Orientation study to minimize the support area for the desk hook and choose Rank option 1 from the orientation results.
On the Manufacture workspace toolbar, click Additive > Position > Automatic Orientation
 .
.With Component active, on the canvas, click the desk hook.
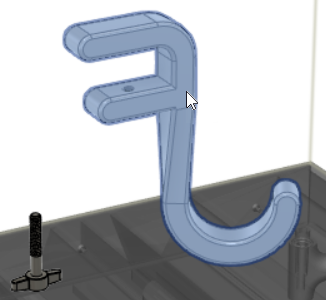
In the dialog, reduce the Smallest Rotation to 15 degrees to increase the number of viable orientation results.
The Smallest Rotation specifies the minimum difference in orientation allowed between one orientation result and the next.
In the Ranking tab, set the options as follows:
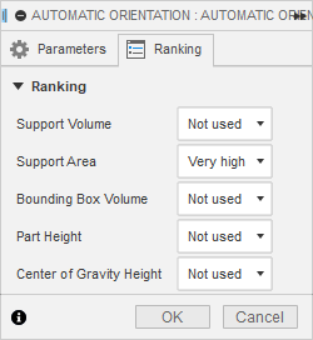
Fusion uses the options to prioritize the range of optimized orientation results it generates. Choosing these options prioritizes orientation results that produce the smallest support area.
Click OK.
An Orientations folder containing an Automatic Orientation node is added to the Browser and the Orientation Results dialog opens.
Tip: If the Orientation Results dialog does not open, in the Browser, right-click the Automatic Orientation node and select Orientation Results in the context menu.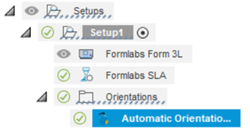
In the Orientation Results dialog, in the Results tab, go through the Rank options to see how the statistics change with the different orientations.
Because Automatic Orientation does not consider build volume, some options cause the bodies to fall outside the printing space. When this happens, the bodies are colored red.
Choose Rank option 1, and then click OK.
Duplicate the desk hook’s Automatic Orientation study to create one for the bolt.
In the Browser, right-click the Automatic Orientation node and choose Duplicate to create a copy.
Another node is added to the Browser.
Right-click the new Automatic Orientation node and choose Edit.
The Automatic Orientation dialog opens.
Next to Orientation Target, click
 to deselect the desk hook.
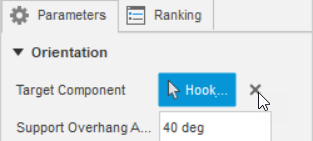
On the canvas, click the bolt, and then click OK.
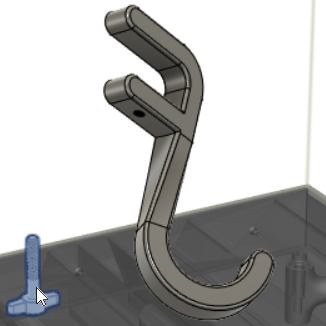
The Orientation Results dialog opens.
In the Orientation Results dialog, choose Rank option 1, and then click OK.
Activity 1 summary
In this activity, you opened the sample file containing the desk hook and its bolt, then created an additive setup selecting a Formlabs SLA printer. You then created Automatic Orientation studies to rotate the desk hook and bolt on the build platform to minimize their support area.

The desk hook and bolt oriented on the build platform.