Activity 2: Add support structures and create a Formlabs file
In this activity, you add a Lattice Volume Support and a Base Plate Support to hold the desk hook and bolt in place on the build platform during the build process. You then create a Formlabs .form file that you can send directly to Formlabs PreForm software.
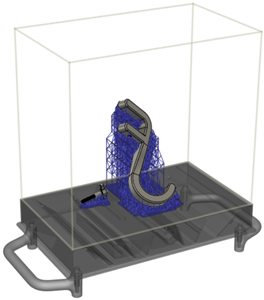
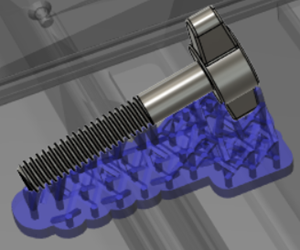
The desk hook and bolt with support structures.
Prerequisites
- Activity 1 is complete.
Steps
Add a Lattice Support with a Critical Support Angle of 65 degrees for the desk hook and its bolt.
On the Manufacture workspace toolbar, click Additive > Supports > Lattice Support
 .
.The Lattice Support dialog opens.
With Selection active, on the canvas, click the desk hook.
Select the Avoid checkbox, ensure Avoided Model is active, then on the canvas, hold the
Ctrlkey and click the four faces that make up the threaded hole.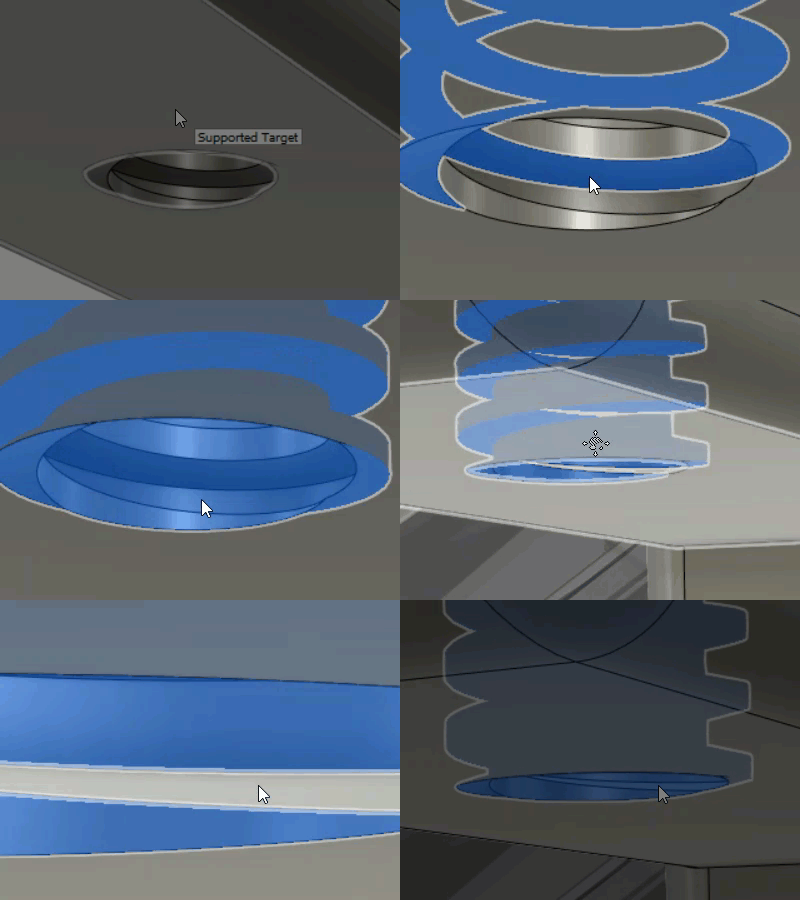
Increase the Support Overhang Angle to 65 degrees.
The Support Overhang Angle specifies the angle from the horizontal plane at which supports are needed. Increasing the angle ensures that enough supports get added to successfully hold the desk hook during the build process.
In the General tab, change the Anchor Density to Sparse to specify how compact the supports are when they connect to the surface of the desk hook.
Change the Cell Width and Cell Height to 5 mm.
In the Bar Properties tab, change the Bar Size to Medium to increase the thickness of the supports.
Deselect the Pad on Platform checkbox to prevent a thickening of the supports at the build platform.
Click OK.
The support for the desk hook is generated and, in the Browser, under the Supports node, a Lattice Support node is added.
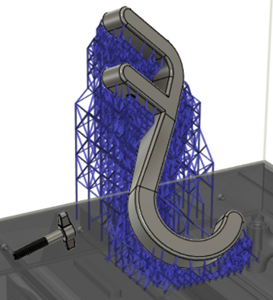
Duplicate the desk hook’s Lattice Support to create one for the bolt.
In the Browser, right-click the Lattice Support node and choose Duplicate to create a copy.
Another node is added to the Browser.
Right-click the new Lattice Support node and choose Edit.
The Lattice Support dialog opens.
Next to Selection, click
 to deselect the desk hook.
On the canvas, click the bolt.
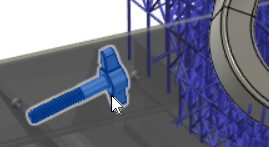
Click OK.
The support for the bolt is generated.
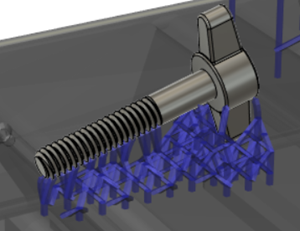
Add a Base Plate Support for the desk hook and its bolt. Base plates form in the shadow of the bodies and provide an interface between the build platform and the lattice supports.
On the Manufacture workspace toolbar, click Additive > Supports > Base Plate Support
 .
.The Base Plate Support dialog opens.
With Selection active, on the canvas, click the desk hook.
In the General tab, change the Offset to 2.5 mm to reduce the extent of the support.
Click OK.
The support is generated and, in the Browser, under the Supports node, a Base Plate Support node is added.
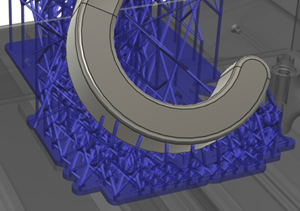
Duplicate the desk hook’s Base Plate Support to create one for the bolt.
In the Browser, right-click the Base Plate Support node and choose Duplicate to create a copy.
Another node is added to the Browser.
Right-click the new Base Plate Support node and choose Edit.
The Base Plate Support dialog opens.
Next to Selection, click
 to deselect the desk hook.
On the canvas, click the bolt.
Click OK.
The support is generated.
Create a Formlabs
.formfile.On the Manufacture workspace toolbar, click Additive > Actions > Create Machine Build File
 .
.The Create Machine Build File dialog opens.
Click OK.
In the dialog that opens, find and select a location in which to save the file.
Enter a File Name.
Click Save.
Start Formlabs PreForm software and open the Formlabs
.formfile to 3D print the desk hook and its bolt.Note: Check your printer and software documentation for instructions.
Activity 2 summary
In this activity, you added a Lattice Support and a Base Plate Support to hold the desk hook and bolt in place on the build platform during the build process. You then created a Formlabs .form file that you could send directly to Formlabs PreForm software.

The desk hook and bolt with support structures.