Generate a multi-axis Advanced Swarf toolpath
This feature is part of an extension. Extensions are a flexible way to access additional capabilities in Fusion. Learn more.
On the Manufacture workspace toolbar, click Milling > Multi-Axis > Advanced Swarf
 .
.The Advanced Swarf dialog opens.
On the Tool tab, click Select to pick a tool. If you have not created a tool to use, in the left panel of the Tool Library dialog, pick a tool from the Fusion Library.
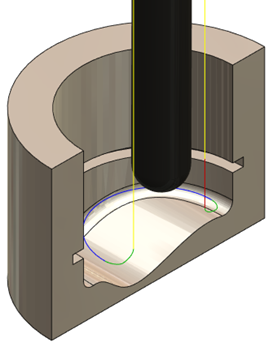
Note: Select a tool that is suitable for cutting with the side of the tool, like flat, bull, ball end mills, or tapered mills. Make sure that the flute is long enough to cover the machining face.On the Geometry tab, from the Select geometry using drop-down list, select one of the following:
Surfaces. Next, select surfaces to machine. The strategy analyzes the surface to determine the most appropriate movements of the tool axis.
Guide Curves. Next, select Upper Guide Curve and Lower Guide Curve of the geometry to machine.
(Optional) On the Passes tab:
To determine how to machine down the sides of a part:
- Select the Multiple Depths checkbox.
- Select an option from the Cutting Mode drop-down.
By default, the strategy generates a single pass.
If you selected Surfaces option on the Geometry tab for selecting geometry, select the Check for Gouges checkbox.
It enables you to consider trade-offs between machining accuracy and the amount of stock to remove.
(Optional) On the Multi-axis tab, depending on the capabilities of your machine and geometry of the part, chose the 3-axis, 4-axis, or 5-axis option from the Machining Type drop-down.
Click OK.