Create auto dimensions
Learn how to use the Auto Dimension tool in the Drawing workspace in Fusion to create and customize the dimensions that were created automatically.
Create auto dimensions
On the toolbar, select Dimension > Auto Dimension
 .
.The Auto Dimension dialog displays.
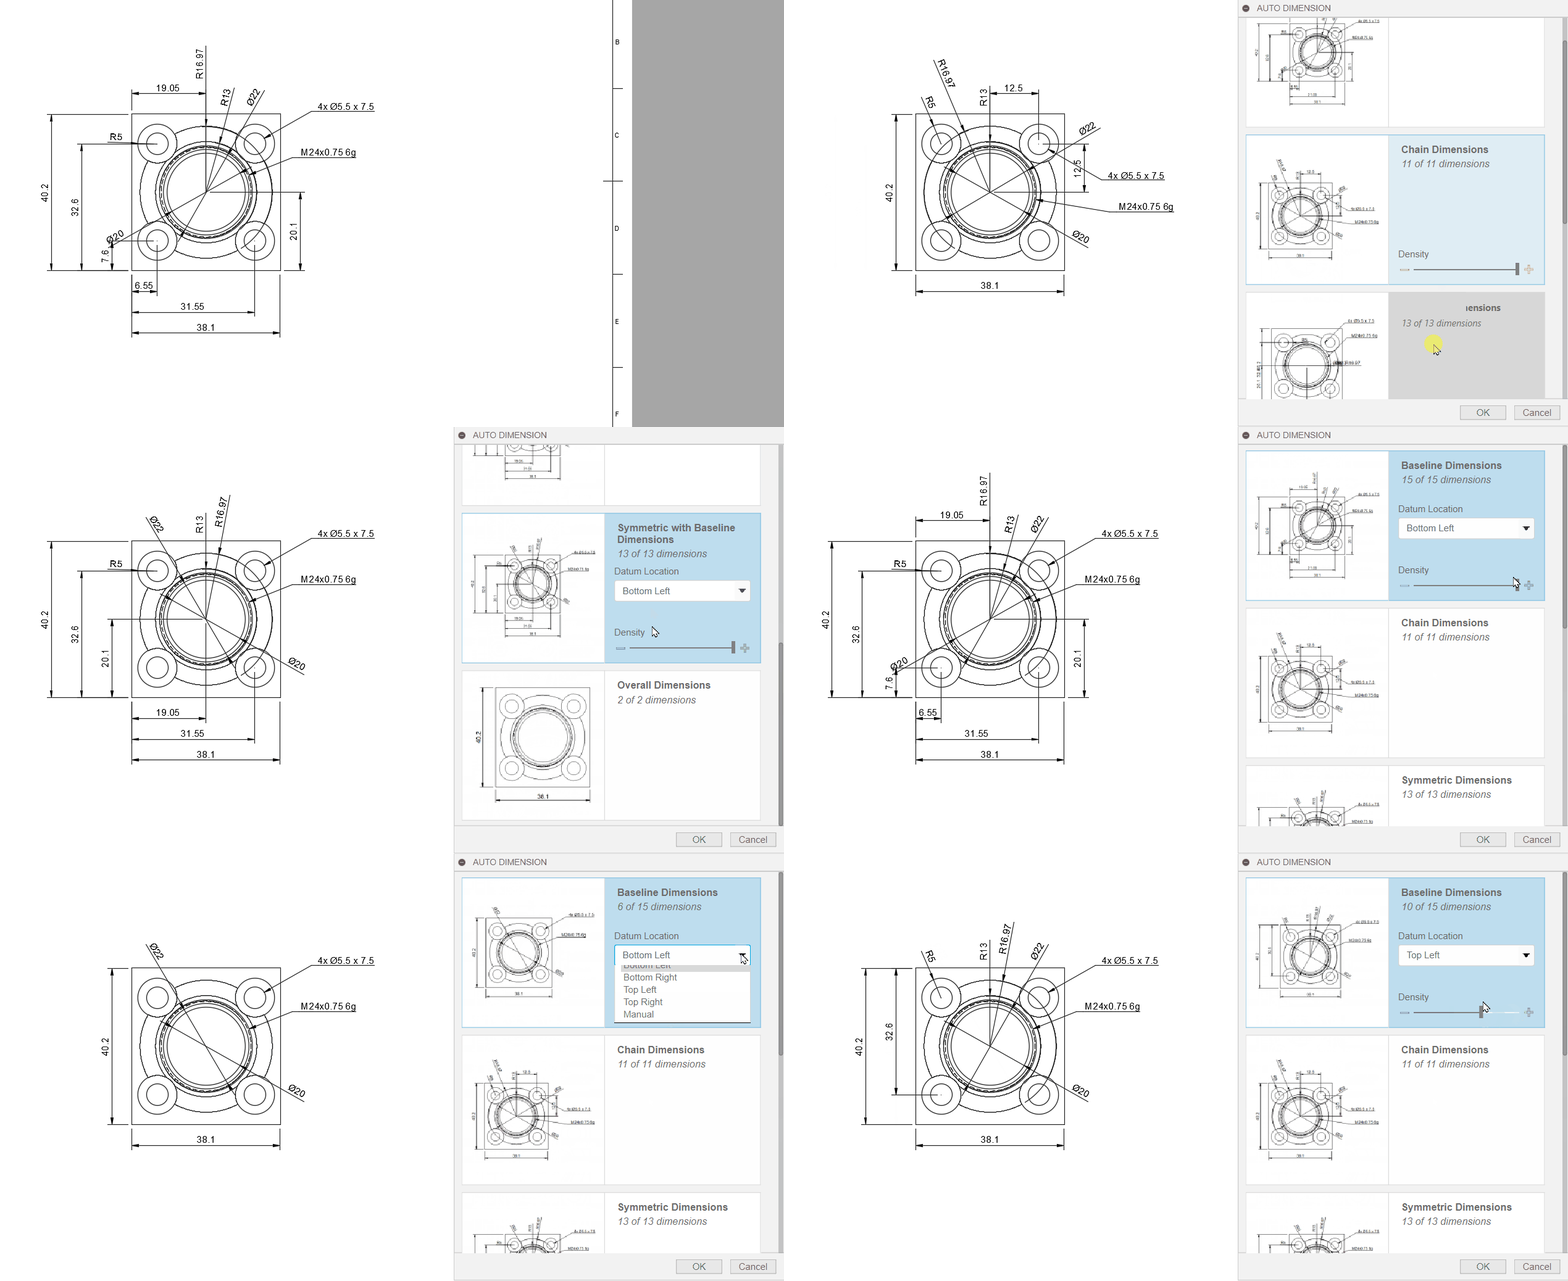
In the Auto Dimension dialog, choose the dimension strategy that best suits your drawing.
Customize the selected strategy.
- (Optional) If applicable, select the Datum Location:
- Bottom Left
- Bottom Right
- Top Left
- Top Right
- Manual
- (Optional) Drag the manipulator to change the Density of dimensions.
- (Optional) If applicable, select the Datum Location:
Press
Enteror click OK.
The dimensions are customized and display on the sheet.
Relocate auto dimensions
On the toolbar, select Dimension > Auto Dimension
 .
.The Auto Dimension dialog displays.
In the canvas, identify the dimension you want to relocate.
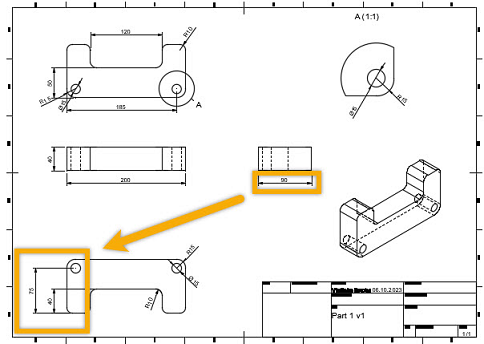
Click the dimension you want to relocate. Notice that other dimensions fade to the background, and the alternate locations for the selected dimension appear.
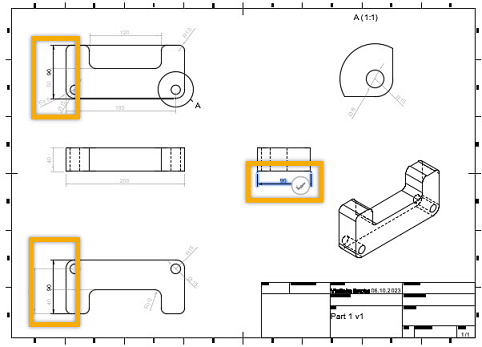
Click the new desired location and confirm it by clicking the green checkmark.
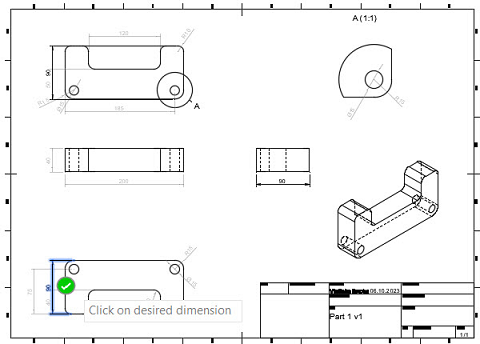
In the Auto Dimension dialog, click OK.
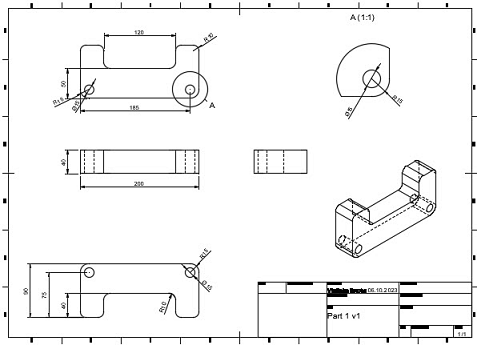
The dimension displays in the new location.