Create dimensions on a sheet
Learn how to use the Dimension tool in the Drawing workspace in Fusion to create multiple types of dimensions on a sheet.
On the toolbar, select Dimension > Dimension
 .
.On the sheet, select edges, points, or an existing dimension.
Based on the selection, the relevant dimension type displays:
- Linear Dimension
- Aligned Dimension
- Angular Dimension
- Radius Dimension
- Diameter Dimension
Move the mouse pointer to position the dimension.
Click to place the dimension.
The dimension displays on the sheet and is associated with the geometry that it measures in the drawing view.
Tips
If a dimension is not associated with an object in the drawing, you will see the Annotation Monitor badge.
 To reassociate the dimension, click the badge, select Reassociate, then click the new edges or points to reassociate the dimension.
You can edit the settings for all dimensions in the Browser, under the Document Settings
 node.
node.Double-click a dimension to edit its individual properties.
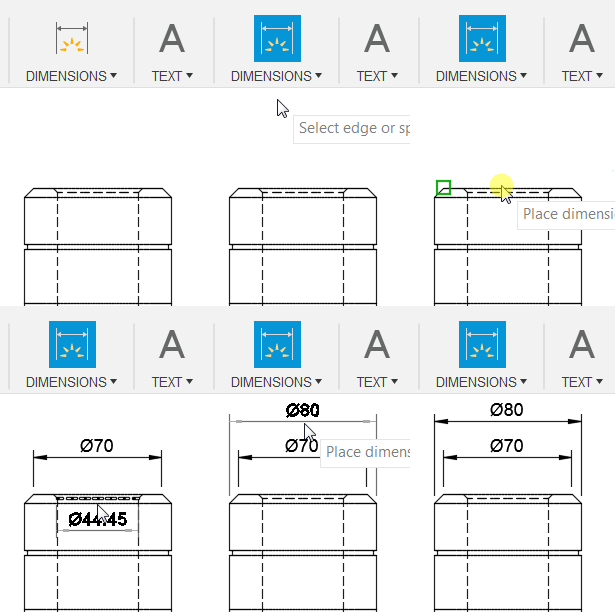
If you create a side view of a cylinder or a hole, the Dimension tool automatically adds a diameter symbol to the dimension value when you select an edge that represents a diameter.

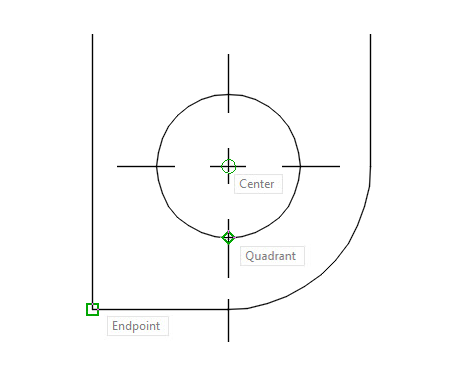
Use object snaps to ensure that the dimensions are associated with precise locations.

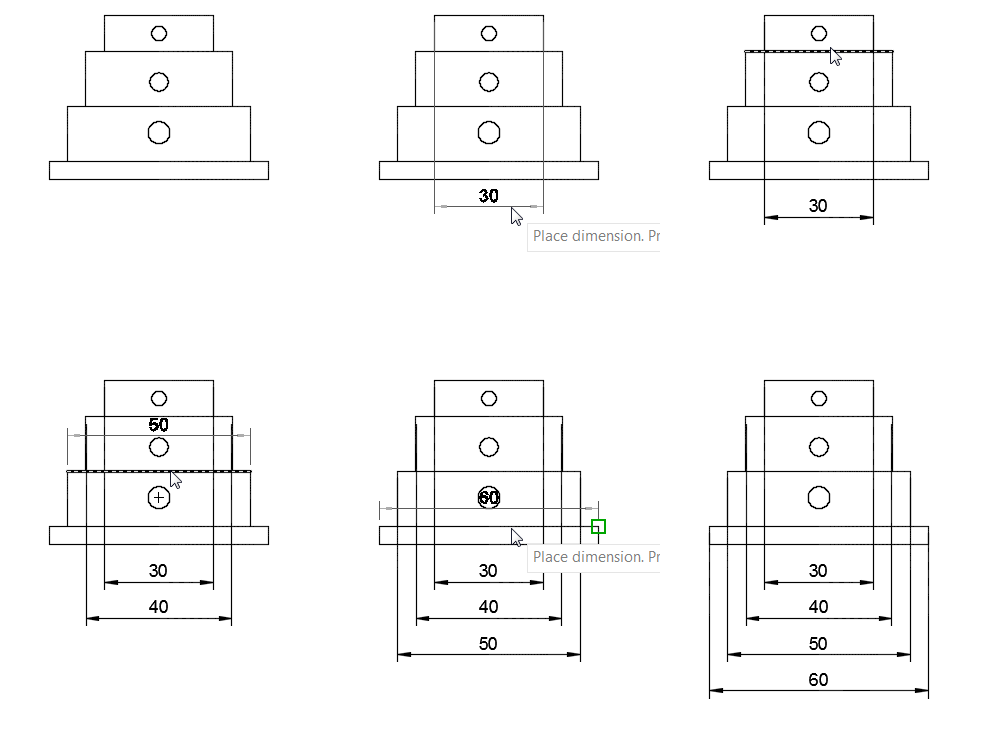
When you place one dimension over another, the dimension with higher value moves down.
