Edit attributes in a title block
Learn how to edit attributes in a title block.
If you plan to reuse title blocks, borders, document settings, or sheet settings across multiple drawings, create a drawing template to save time and apply consistent standards. You can also create placeholder views and placeholder tables that automatically generate drawing views and part lists from the referenced design when you use the template to create a new drawing.
Edit attribute values
After you create or open a drawing, on the current sheet:
Double-click the title block.
The Properties dialog displays.
Click to select an attribute.
The cursor displays in the text field.
Type text into the attribute text field.
Click Close.
Change mass units
If you have a Mass attribute in your title block, you can change the mass units.
Double-click the title block.
The Properties dialog displays.
Select the desired mass units from the Mass Units drop-down.
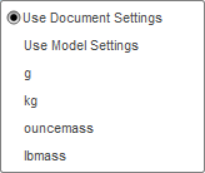 .
.Click Finish Properties.
Change mass precision
If you have a Mass attribute in your title block, you can change the mass precision.
Double-click the title block.
The Properties dialog displays.
Select the desired mass precision from the Mass Precision drop-down.
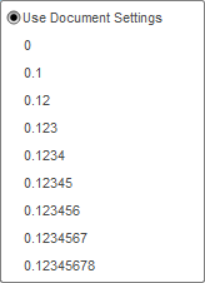
Click Finish Properties.
Reset attribute values
Select the title block, right-click, then select Reset Properties from the context menu.
Add attributes
To add more attributes into the title block, access the Title Block contextual environment.
Select the title block on the current sheet, right-click, then select Edit Title Block from the context menu.
Select the Source:
- From Existing
- From Scratch
- From DWG File
(Optional) Select the Origin Block and give the title block a Name.
Click OK.
You enter the Title Block contextual environment.
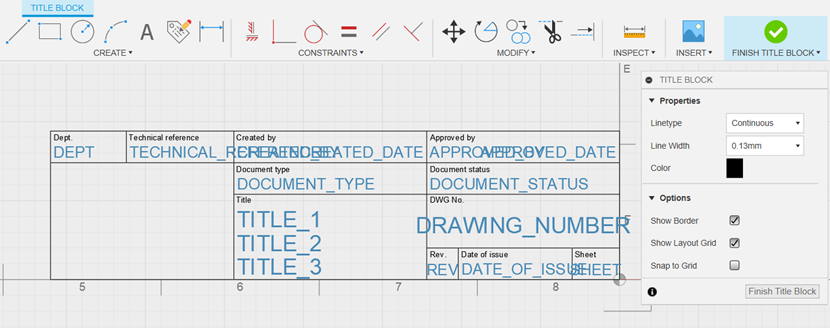
In the Title Block contextual environment, select Title Block > Create > Attribute
 , then click to place the attribute.
The Attribute dialog displays.
In the Attribute dialog, select an attribute type from the Type dropdown.
- Drawing
- General
- Physical
Select an attribute from the Attribute dropdown.
- Custom
- Created By
- Created Date
- Drawing Scale
- Paper Size
- Sheet Number
- Part Number
- Part Name
- Description
- Material
- Project Folder
- Title 1
- Mass
Note: You need to manually enter the values of custom attributes. All other attributes automatically populate with properties that are inherited from the drawing.(Optional) Adjust the Font, Height, Color, and Justification of the attribute.
Fusion ManageFusion Manage requires a separate license and can be used with Fusion or independently. Learn more.
Manage Drawing Lifecycle
Manage Drawing Number
Manage Drawing Revision
Manage Drawing State
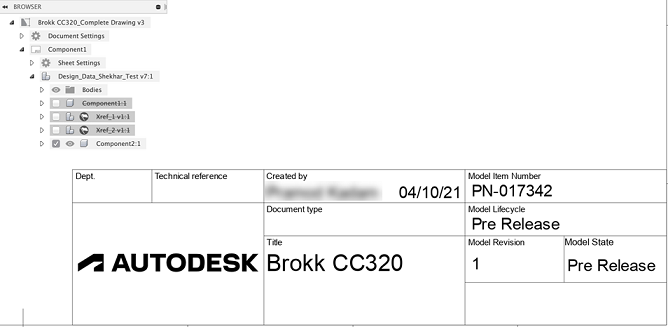
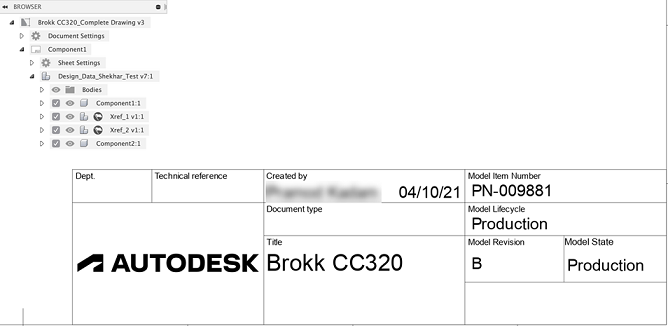
The following Fusion Manage attributes include properties from the model.
Model Item Number
Model Lifecycle
Model Revision
Model State

Click Close to exit the Attribute dialog.
Click Finish Title Block to exit the Title Block contextual environment.
Tips
Smart rules control all model-based attributes and the information displayed in the title block.
If the drawing sheet contains views of multiple components, the overall assembly properties are displayed.
If a single part is shown on a drawing sheet, the properties displayed are specific to that part.