Create a surface texture
Attach surface textures to objects, existing dimensions, or existing feature control frame symbols.
Create a Surface Texture
Select Symbols > Surface Texture
 .
.Select the edge of an object.
Select the location of the start point.
Note: Specify a start point within the extents of the selected edge to create a leader extending straight from the edge. Or, select a start point beyond the extents of the edge to create a surface extension.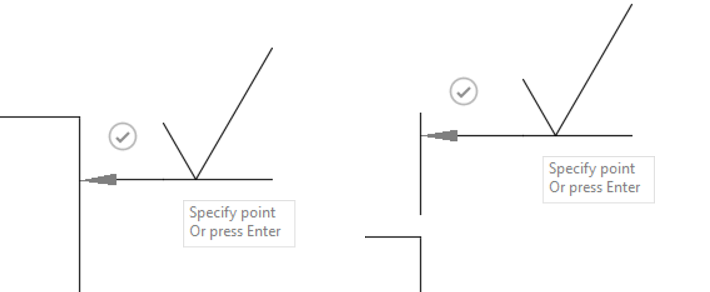
Click again to specify the next point.
Do one of the following:
- Click the check mark or press
Enterto place the surface texture. - Click to create a bend line in the leader, then click the check mark or press
Enterto place the surface texture.
- Click the check mark or press
In the Surface Texture dialog, select the symbol type and add annotations.
Select OK.
Note: The options available in the Surface Texture dialog depend on the drafting standard (ASME or ISO) and the symbol type.
Create a Surface Identification Leader
Note: Surface identification is available only for the ISO standard.
Select Symbols > Surface Texture
.Select the edge of an object.
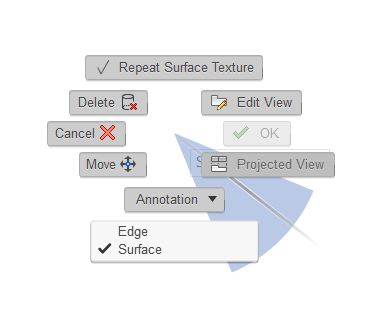
Right-click to activate the Marking Menu, then select Surface.
Select the location of the start point.
Select the location of the next point, then place the surface texture leader.
Do one of the following:
- Click the check mark or press
Enterto place the surface texture. - Click again to add an additional leader segment.
- Click the check mark or press
Edit a Surface Texture
Double-click an existing surface texture.
The surface texture dialog displays.
Modify the identifier.
Click Close.
Move a Surface Texture
- Click an existing surface texture.
- Use the gray grips to move it.