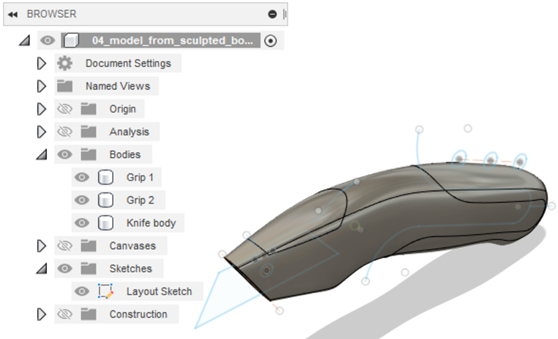
Activity 1: Split sculpted body into separate bodies
In this activity, you form the grip bodies by splitting the sculpted body into separate bodies.

Prerequisites
- Fusion is started.
- Data file location: Samples > Basic Training > 04 - Modeling > 04_Model_from_sculpted_body.f3d.
Steps
Open the utility knife model.
If necessary, click Show Data Panel
 . The Data Panel appears at the left side of the program window.
In the Data Panel, under Samples, open Basic Training > 04 - Modeling > 04_Model_from_sculpted_body.f3d.
Note: When you open a sample design in Fusion for the first time, it appears in the Model workspace.
Because the design is read-only, you should save a copy of it to a personal project.
- Click File
 > Save As.
 - In the Name box, make sure the name is "My_04_Model_from_sculpted_body".
- To the right of the Location box, click the Down Arrow icon
 .
. - If a folder called My Model Tutorials does not exist, click New Project. In the box, type My Model Tutorials, and press Enter.
- To make My Model Tutorials the current file saving location, in the Project list, click My Model Tutorials.
- Click Save.
- Click File
Create the side grips of the knife model by splitting the model into multiple bodies with the sketch lines.
Make sure you are in the Design workspace.
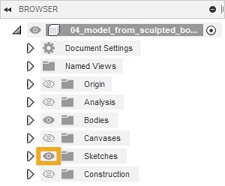
To enable the visibility of the sketches, go to the browser, and click the visibility control adjacent to the Sketches folder.
You should now see a number of sketch lines and profiles appear on your model.
From the Solid tab, go to the Modify drop down menu, and select Split Body.

Select the body as the Body to Split.
To activate the selection, click on Select adjacent to Splitting Tool(s). Select the long grip line sketch as the Splitting Tool.

To finish the split, click OK.
Split the model to create the grip at the top of the knife.
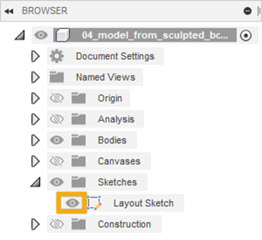
To enable the visibility of the sketch tools, go to the Sketches folder in the browser, and click the visibility control for the Layout Sketch branch.
To split the body, go to the Modify drop down menu and select Split Body.
Select the knife body as the Body to Split.
To activate the selection, click on Select adjacent to Splitting Tool(s).
Select the short grip line sketch.

To finish the split, click OK.
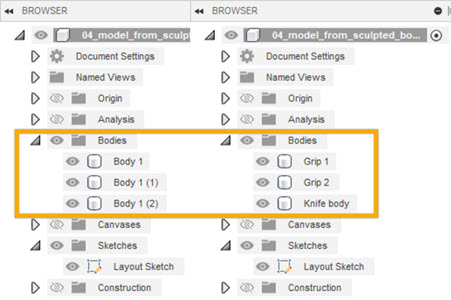
Rename the three bodies in the Bodies folder.
To view the three bodies in the folder, expand the Bodies folder in the browser.
To change the name of each, double click on a body name, and type in the new name:
Rename Body 1 to Grip 1.
Rename Body 1 (1) to Grip 2.
Rename Body 1 (1) (1) to Knife body.
Activity 1 summary
In this activity, you split the original sculpted body into three separate bodies using existing sketch lines. You then renamed the new bodies to make it easier to use them in the next activity.
