Activity 1: Modify the contour, shape, and dimensions of a canoe
In this activity, you
- Open the Canoe design from the Basic Training > 04 – Modeling folder
- Create a curved contour at the front of the canoe
- Give the bottom of the canoe a curved shape
- Change the distance of the seats from the middle
Steps
Open the Canoe design in Basic Training > 04 - Modeling.
In the Samples section of your Data Panel, browse to Basic Training > 04 - Modeling.
Double-click the thumbnail image or model name to open the Canoe model.
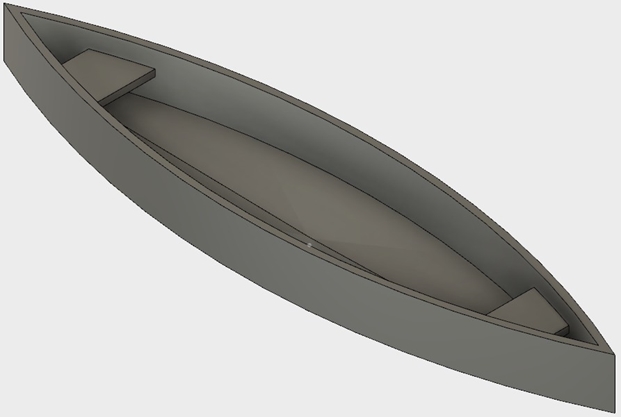
Create a curved contour at the front of the canoe.
Double-click Sweep1 in the timeline at the bottom of the Fusion window.
 Tip: The timeline enables you to go back to a previously created item in a model. This is useful when you are working with a previously created model, like the one in this activity.
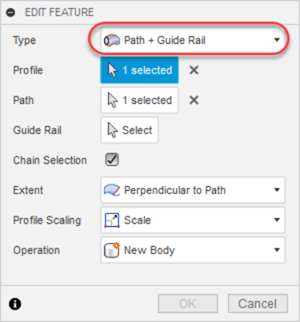
In the Edit Feature dialog, change the Type to Path + Guide Rail
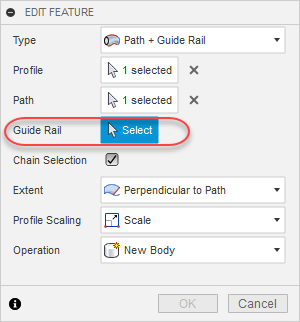
Set Guide Rail to Select.
Select the Shape sketch in the canvas.
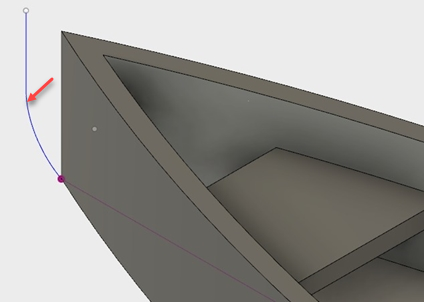 Tip: To make it easier to find and see the Shape sketch, expand the Sketches node in the browser and toggle visibility
 for the Shape sketch a few times.
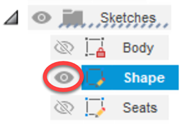
Click OK to close the Edit Feature dialog.
The front of the canoe now has a curved contour.
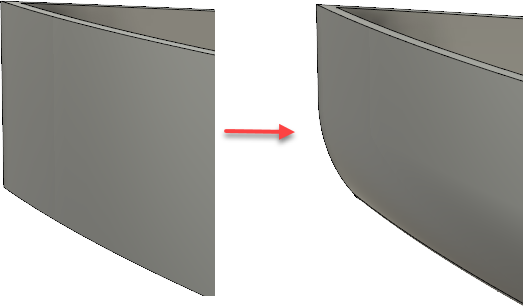
Make the bottom of the canoe curved instead of angular using a Point Tangency weight of 1.
Use the ViewCube to navigate to the right side of the canoe.
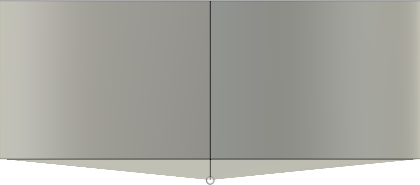
Double-Click Loft2 in the timeline.

In the Edit Feature dialog, change the Profile 2 type to Point Tangent.
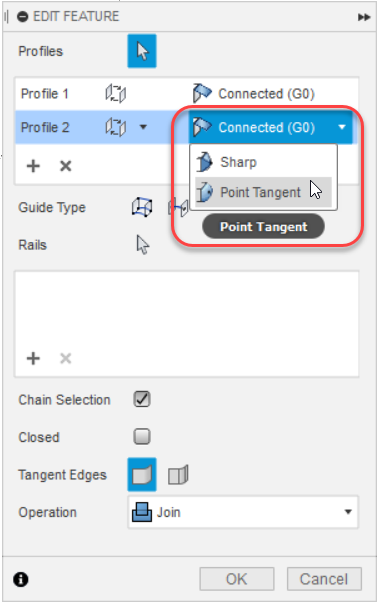
Make sure that Tangency Weight is set to 1.
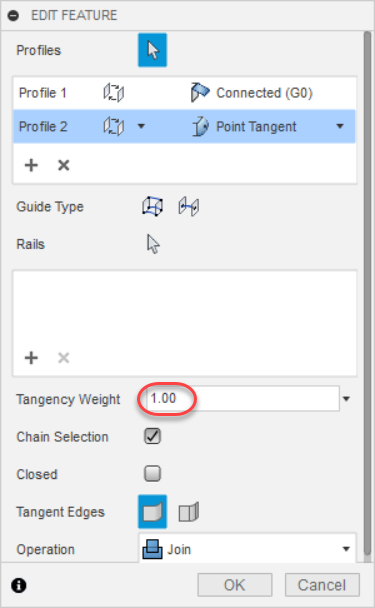
Click OK.
The bottom of the canoe now has a more natural curved shape.
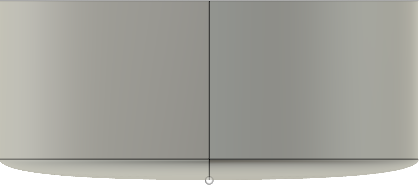
Change the distance of the seats from the center of the canoe to 45mm.
Use the ViewCube to navigate to the top of the canoe.

Expand the Sketches folder in the Browser and double-click the Seats node.
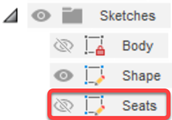
The Sketch Palette opens, and the Sketch toolbar is enabled.
Click Sketch Dimension
 on the Sketch toolbar under Sheet Metal.
Select the center point of the canoe, and one of the short blue sketch lines (seats) on either side of the canoe.

Click an area in the canvas slightly above the canoe.

In the dimension box that opens, type 45 and press Enter.
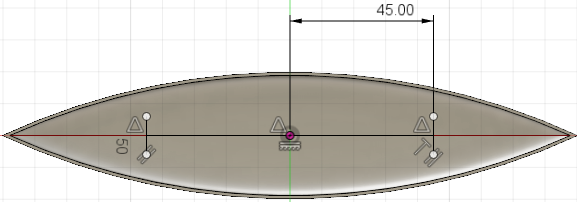
The distance from each seat to the center is now 45.
On the Sketch toolbar, click Finish Sketch
 .
.
Activity 1 summary
In this activity, you
- Opened the Canoe design from the Basic Training > 04 – Modeling folder
- Created a curved contour at the front of the canoe
- Gave the bottom of the canoe a curved shape
- Changed the distance of the seats from the middle