Analyze minimum tool radius
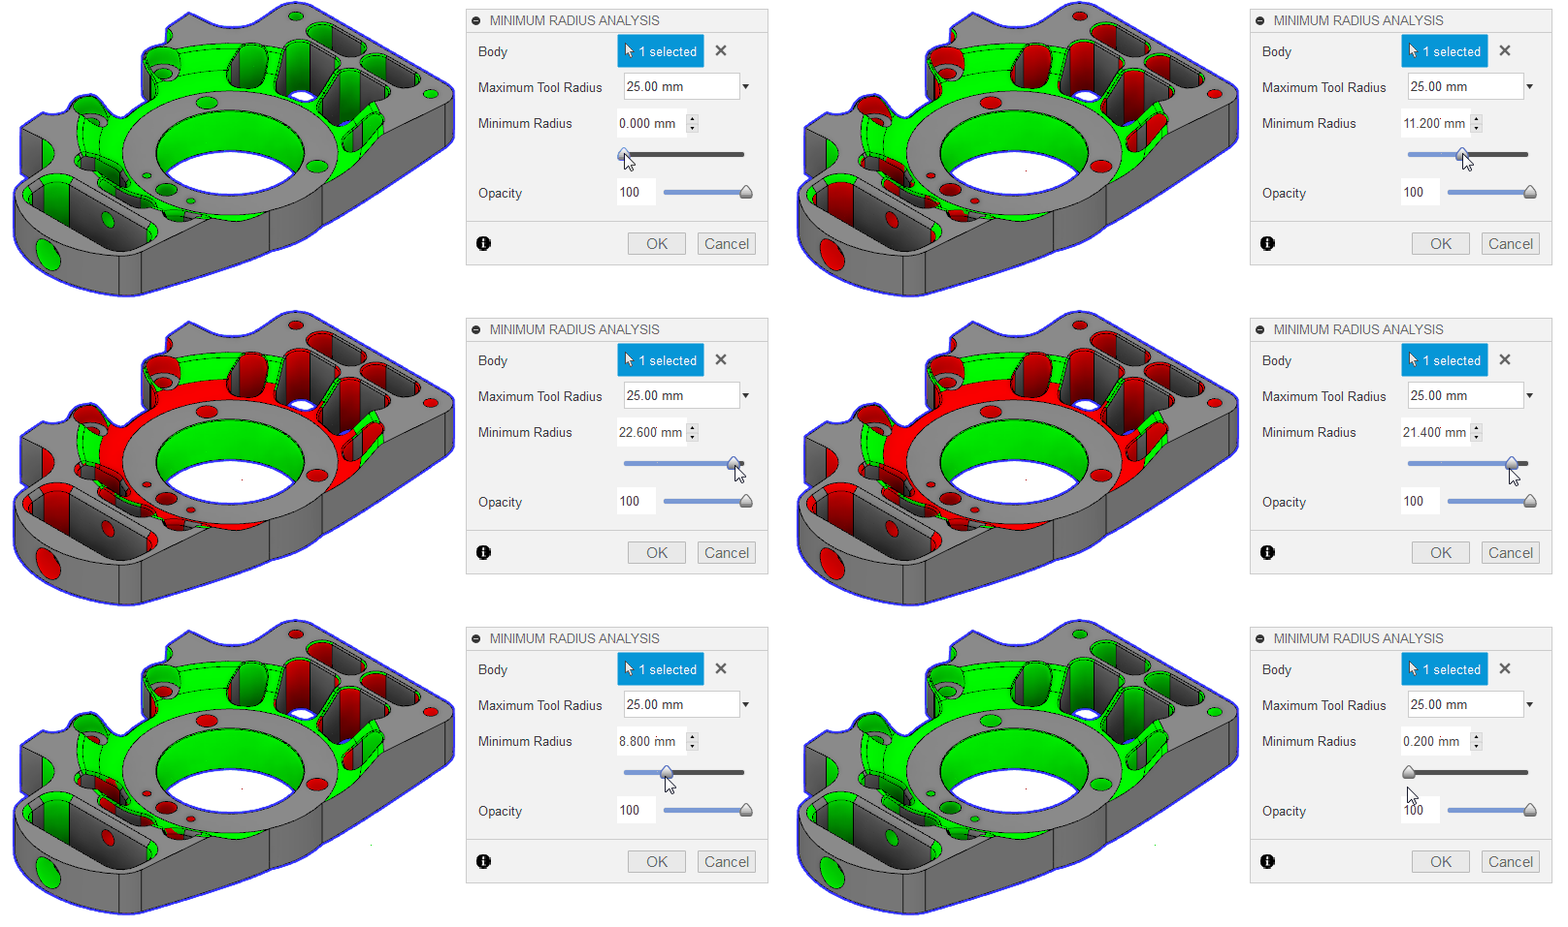
Learn how to use Minimum Radius Analysis in Fusion to determine the minimum tool radius needed for subtractive manufacturing methods.
This tool highlights high- and low-curvature areas, making it easy to identify regions that can't be machined with a specific cutter radius.

On the toolbar, select Inspect > Minimum Radius Analysis
 .
.The Minimum Radius Analysis dialog displays.
In the canvas, select the body or bodies you want to analyze.
In the dialog, set the Maximum Tool Radius.
Specify the Minimum Radius.
(Optional) Adjust the Opacity slider.
(Optional) Check Sharp Curves to include sharp curves in the analysis.
Click OK.
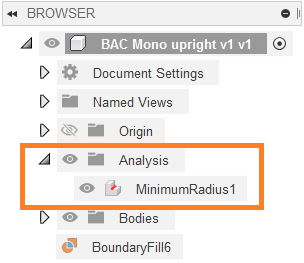
The Minimum Radius Analysis results display in the canvas and appear in the Analysis folder in the Browser.

Tips
- To edit the analysis, right-click the folder item in the Browser and select Edit.
- To show or hide the analysis in the canvas, click the visibility icon
 in the Browser.