Create a rib
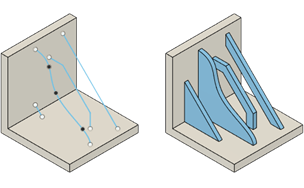
Learn how to use the Rib tool to create a thin feature from an open sketch profile, in a direction parallel to the sketch plane, extruded to the nearest faces on a solid body in Fusion.

On the toolbar, click Solid > Create > Rib
 .
.The Rib dialog displays.
In the canvas, select an open sketch profile to use as the Profile.
In the dialog, select a Thickness Direction:
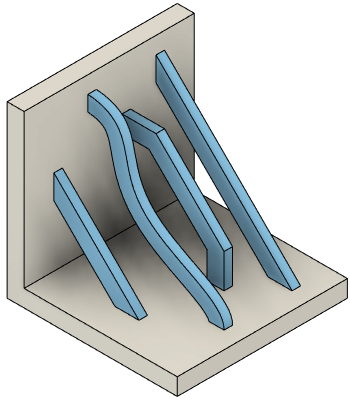
 Symmetric: Extrudes half the thickness value to each side of the sketch profile.
 One Side: Extrudes the full thickness value to one side of the sketch profile.
Select a Start option:
- From Top: Measures thickness starting from the top.
- From Bottom: Measures thickness starting from the bottom.
Specify the Thickness value to extrude the rib, perpendicular to the sketch plane:
- In the canvas, drag the distance manipulator handle.
- Or specify an exact value.
Select an Extent Type, then adjust its associated settings:
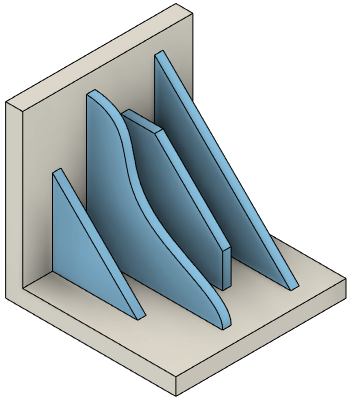
- To Next: Extrudes the rib from the sketch profile to the nearest faces on a solid body.
- Distance: Extrudes the rib from the sketch profile to a specified depth.
- Depth: Specify the distance to extrude the rib, parallel to the sketch plane, toward the nearest faces on a solid body.
Optional: Apply draft and fillets to the rib feature:
Fusion Design ExtensionThis feature is part of an extension. Extensions are a flexible way to access additional capabilities in Fusion. Learn more.
- Specify a Draft Angle value.
- Select a plane or face to define the Draft Pull Direction.
- Click Flip Pull Direction to flip the pull direction of the draft.
- Specify a Fillet Radius value to apply fillets to the base of the rib feature.
Click OK.
The rib feature is extruded in a direction parallel to the sketch plane, and displays on the solid body in the canvas.


Tips
- Click the Flip icon to flip the direction in which the rib is extruded.