Extrude a surface body
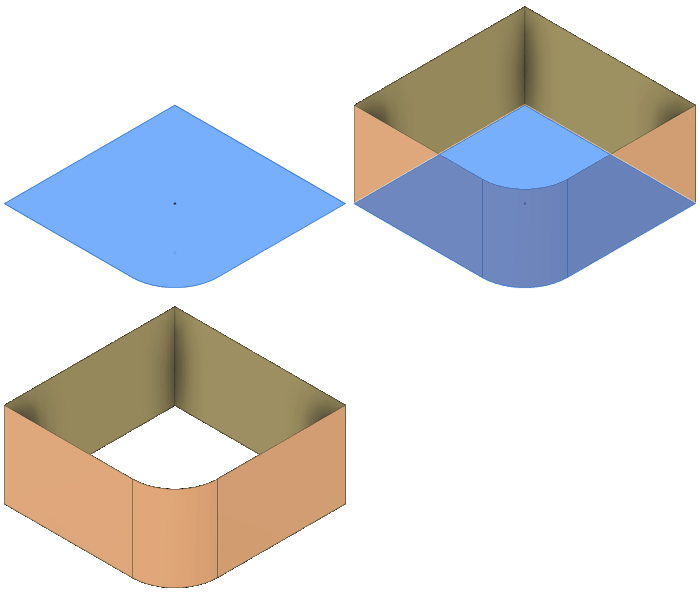
Learn how to use the Extrude tool to create a surface body in Fusion.

Click Design > Surface > Create > Extrude
 .
.The Extrude dialog displays.
Select a sketch profile, sketch curve, planar face, or single line text object.
Note: If you uncheck the box next to Chaining, you can select a single edge instead without selecting its adjacent edges.In the Extrude dialog, select one of the 3 Start settings, and adjust its associated settings:
- Profile Plane
- Offset Plane
- Offset: Specify the offset distance.
- From Object
- Object: Select an object in the canvas.
Select one of the 3 Direction settings, and adjust its associated settings:
- One Side: Creates the extrusion in one direction.
- Two Sides: Creates an extrusion in both directions and lets you specify distances for each side independently.
- Symmetric: Creates the extrusion in both directions. Each direction has the same extrusion length.
- Measurement: Specify Half Length or Whole Length
Select one of the 3 Extent settings, and adjust its associated settings:
- Distance
- Distance: Specify the distance to extrude.
- To Object
- Object: Select an object to extrude to.
- Distance:
(To)indicates the distance is to the selected object. - Chain Faces: Select Extend Faces or Chain Faces.
- Offset: Specify the offset distance.
- All
- Flip: Flip the direction to extrude.
- Distance
Specify the Taper Angle.
Select an Operation from the dropdown menu, and adjust its associated settings:
 New Body: Creates a new body in the active component.
 New Component Creates a new body in a new component. (Hybrid Design type only)
Click OK.
The extruded surface body displays in the canvas.
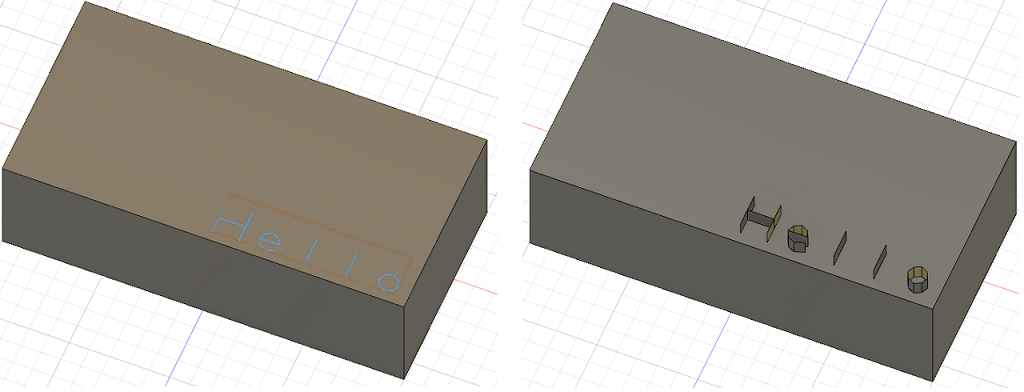
Note: You can also extrude surface bodies from text, if the text object was created with a single line font.
