Surfaces from existing geometry
The tools in the Design > Surface > Create panel let you create a surface body from open or closed sketch profiles or planar faces in Fusion.
You can use the following tools to create a surface body from a sketch or planar face:
- Patch

- Extrude

- Revolve

- Sweep

- Loft

- Ruled

- Offset

Patch
The Patch tool creates a planar or 3D surface within the boundary of a closed loop.
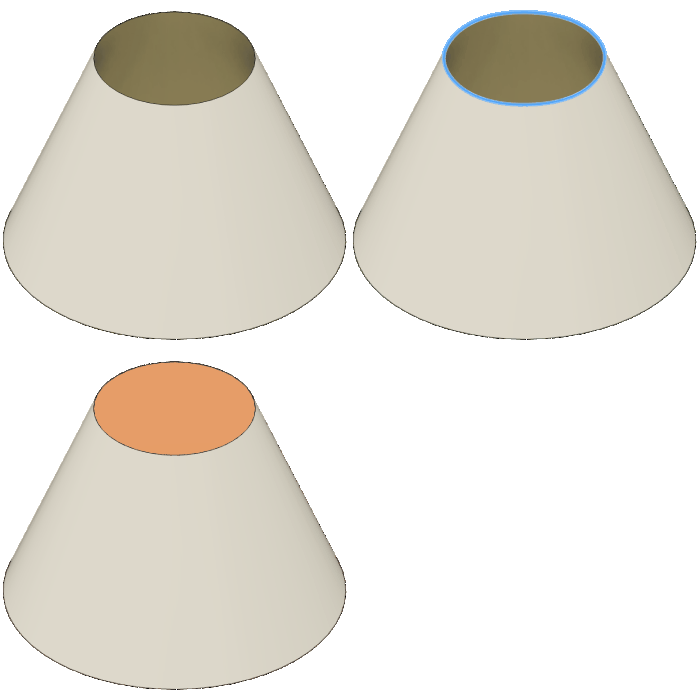
You can use the Patch ![]() tool to replace a missing face on a quilt or to create a face on an opening in a solid. You can create boundary patches to form a continuous quilt or create a solid. The missing face must have a connected series of edges that forms the boundary of the patch.
tool to replace a missing face on a quilt or to create a face on an opening in a solid. You can create boundary patches to form a continuous quilt or create a solid. The missing face must have a connected series of edges that forms the boundary of the patch.
Extrude
The Extrude ![]() tool adds depth to a sketch profile, sketch curve, planar face, or single line text object.
tool adds depth to a sketch profile, sketch curve, planar face, or single line text object.
Revolve
The Revolve ![]() tool revolves a sketch profile or planar face around an axis.
tool revolves a sketch profile or planar face around an axis.
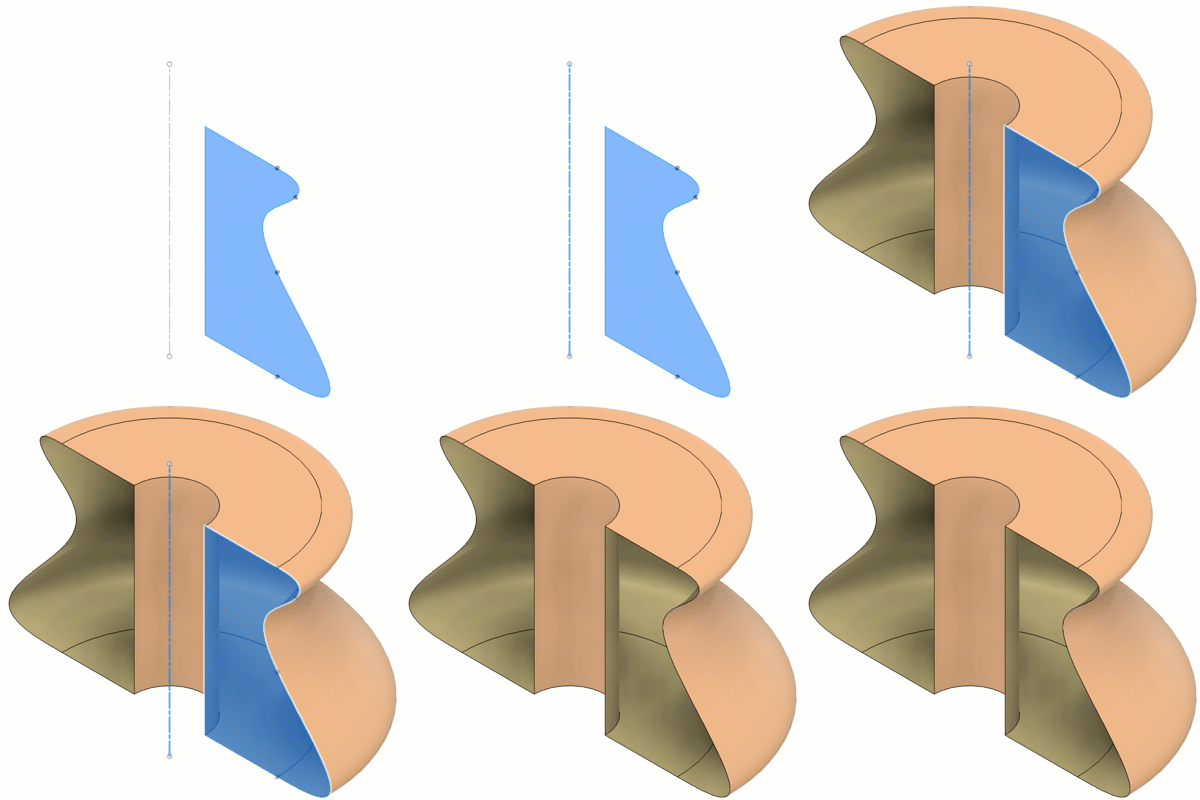
You select a profile or planar face, then select the axis to revolve around. Optionally, check Project Axis to project the axis to the same plane that the revolved profile is on, or uncheck to keep the axis in its original location.
Sweep
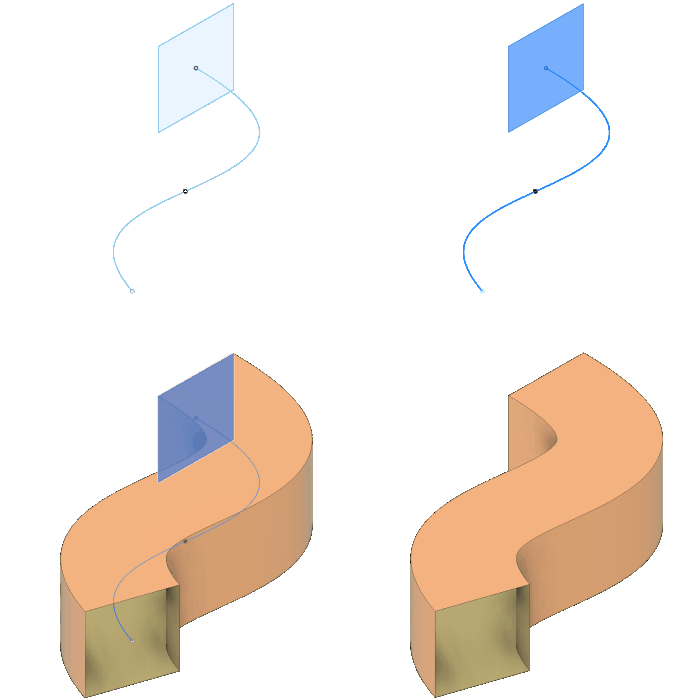
The Sweep ![]() tool sweeps a sketch profile or planar face along a path.
tool sweeps a sketch profile or planar face along a path.
Loft
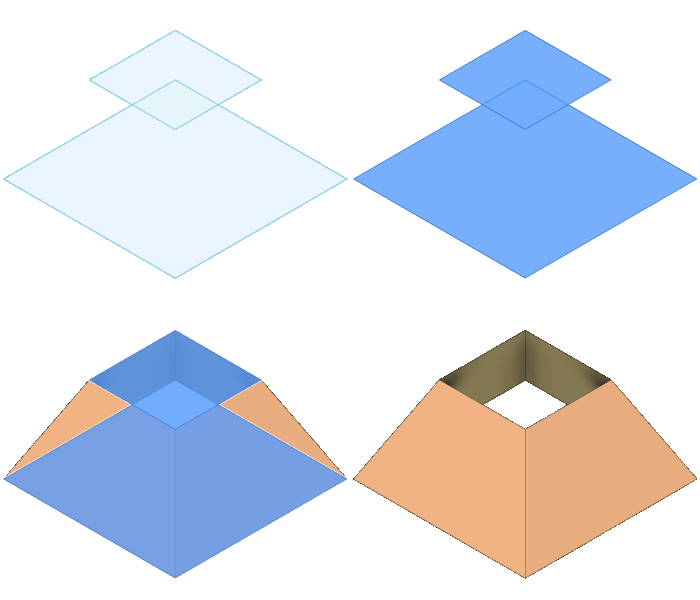
The Loft ![]() tool creates a smooth shape that transitions between two or more sketch profiles or planar faces.
tool creates a smooth shape that transitions between two or more sketch profiles or planar faces.
Ruled
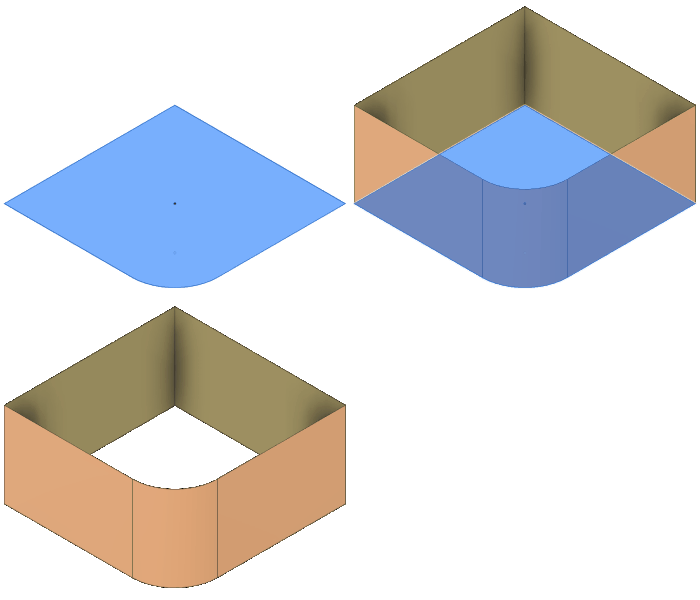
The Ruled ![]() tool creates a ruled surface at a specified distance and angle from selected edges.
tool creates a ruled surface at a specified distance and angle from selected edges.
You can add extensions to existing surfaces, create parting surfaces, or add a drafted surface that follows selected reference geometry.
Offset
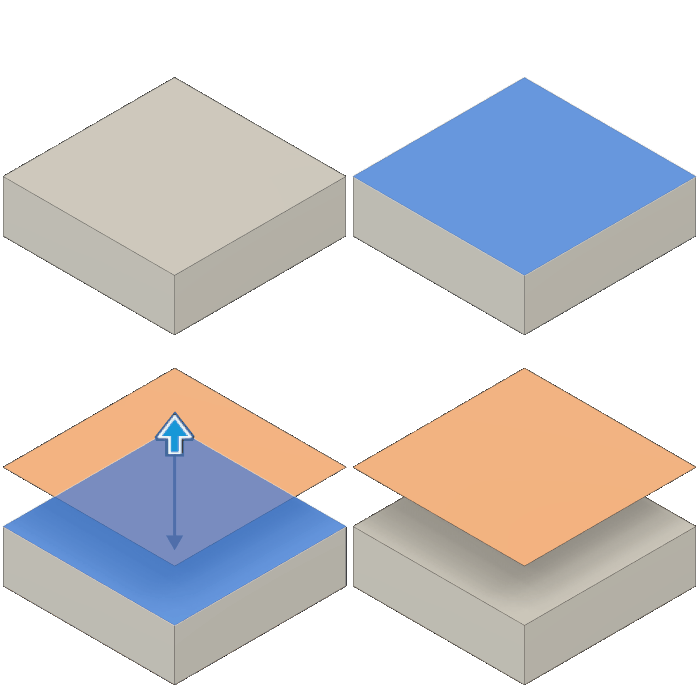
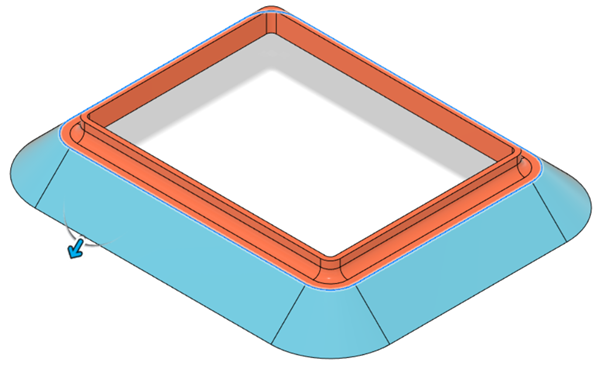
The Offset ![]() tool creates a new surface at a given distance from a selected face.
tool creates a new surface at a given distance from a selected face.
