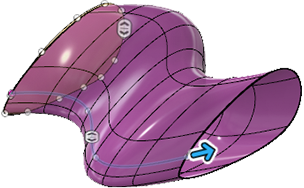
Sweep a profile along a path
Learn how to use the Sweep tool to sweep a profile along a path to create a T-Spline body in Fusion.
- In the Design workspace, Form contextual environment, select Create > Sweep
 .
. - In the canvas, select a profile to sweep.
- Select a Path to sweep along.
- In the dialog, specify the number of Faces around and along the sweep.
- Specify the face Spacing along and around the sweep:
- Uniform: Sets the spacing evenly along the curve.
- Curvature: Creates more faces where the curve is tightest.
- Select an Orientation type:
- Perpendicular: Keeps the profile perpendicular to the path.
- Parallel: Keeps the profile parallel to the path.
- Specify the distance as a decimal value as a percentage of the path length.
The swept T-Spline body displays in the canvas.