The InfoDrainage for Civil 3D® plugin works with Autodesk® Civil 3D®, See System Requirements for supported versions. As it is an optional component it is provided as a separate installer that can be installed as required.
Note: Access to InfoDrainage for Civil 3D® is only available at the Advanced Tier and above. For more information about the various tiers available, refer to InfoDrainage Tiers (Innovyze).
- Double-click the installer to begin the installation process. Click
Install.
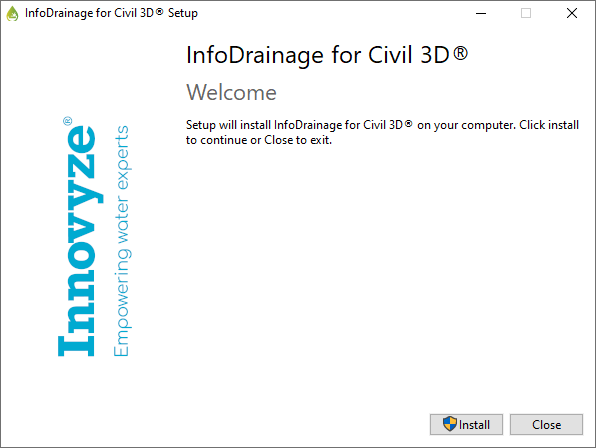
- In the wizard, click Next.

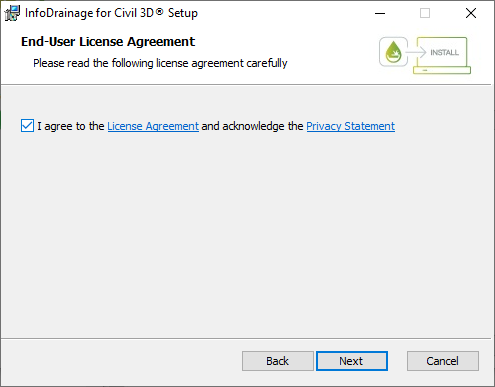
- Review the End-User License Agreement and select the check box to accept the terms. Click Next.
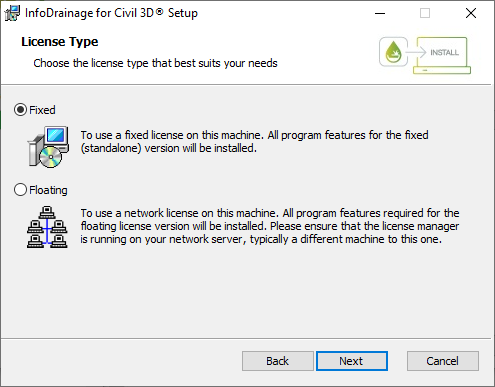
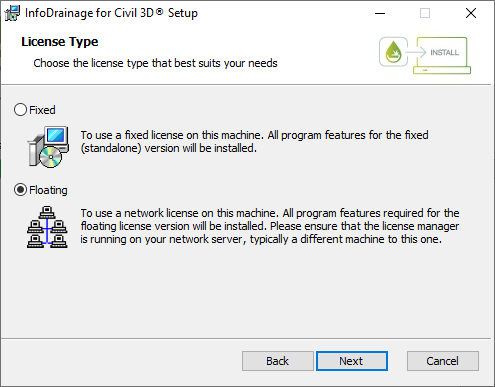
- On the License Type screen you will be able to select whether to make a Fixed or Floating installation. The next sections cover each of these options.
Fixed Version Installation
- On the License Type screen, select the
Fixed option. For this installation type, all program features for the fixed (standalone) version will be installed. Click Next. See
Licensing
for more information.
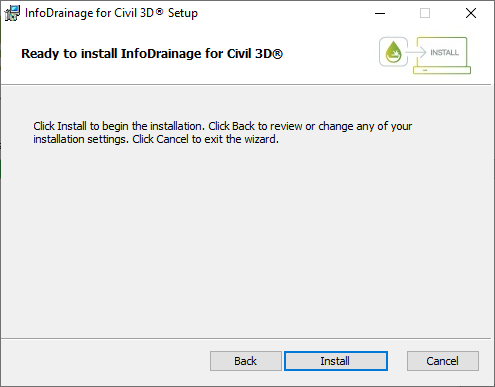
- Click Install to continue with the installation.
- When the installation is completed, click Finish.
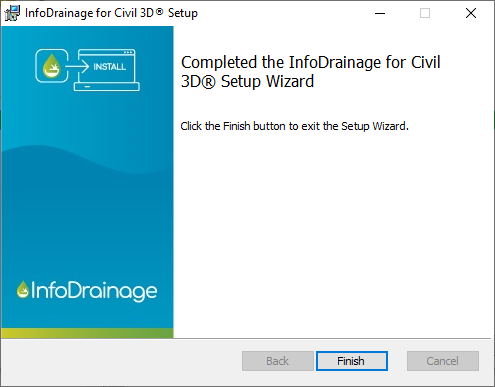
- The wizard will inform you that installation is successful. Click Close.
Floating Client Installation
- Select the Floating option. For this installation type, all program features required for a floating licensed version will be installed. Ensure that the license manager is running on your network, typically on a different machine. Click Next. See
Licensing
for more information.
- Click Install to continue with the installation.

- When the installation is completed, click Finish.

- The wizard will inform you that installation is successful. Click Close.