To add or modify water areas and rivers
Sketch water features such as river or water areas in a model or proposal.
Water areas are a Surface layer in the Model Explorer, and information about them appears on the Properties Palette. The number of water areas, as well as other information (such as total area) appears in the Water section of the Proposals Manager.
To add water areas and rivers
Click Create
 Environment, then expand the drop-down menu.
Do either:
- Click
 to sketch a River (polyline).
 - Click
 to sketch a Water Area (polygon).
- Click
Select a water style and click OK.
- If you want to use different water area or river styles than what are shown in the Select Draw Style catalog, you can create and edit grading area styles using the Style Palette. See About editing styles for more information.
- Once you have sketched a water area or river, you can modify its style. See To apply styles to individual features for more information.
- You can also edit the properties of water styles.
Sketch the boundary on the terrain.
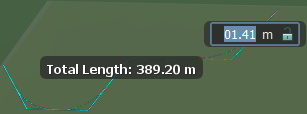
Action Result Example Click points to create a boundary for the pond or lake. Double-click the last point to finish creating the region.The boundary is filled with the water style you selected. 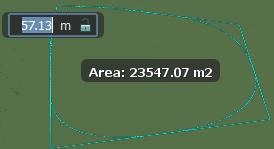 Define a linear path for the river. Double-click the last point to finish creating the line.
A linear water feature uses the water style you selected. A buffer surrounds the water on either side.