To configure raster ground imagery data
Specify ground imagery raster data settings such as Classification, Color Mask, Gamma Correction, Channel Level, and Band Mapping.
This topic describes how to configure raster data for use as ground imagery.
- To configure raster-based data grids as terrain, see To import terrain.
- To position 2D raster terrain overlays, see: To position 2D overlays by reference points.
- Click Manage
 Content
  (Data Sources) to open the Data Sources panel.
 - Select the raster data source, right-click, and click Configure.
- Select the Raster tab in the Data Source Configuration dialog, and specify desired settings. Refer to the information below for more information.
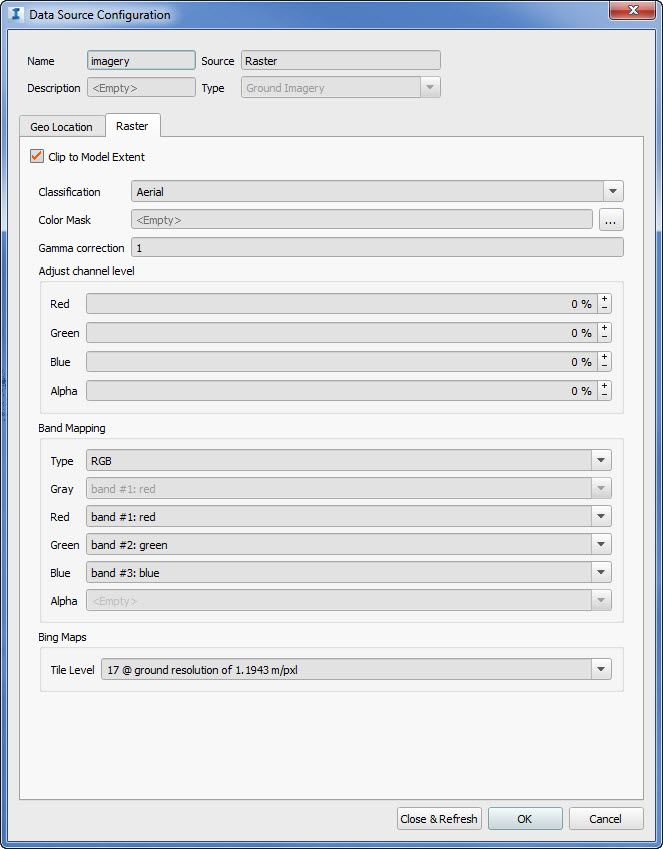
Clip to Model Extent: Checkmark this setting to limit the extent of imported raster data to the model extent (by default, your model extent is set to the boundaries of the database coordinate system). This may accelerate import performance and reduce the disk size of your project. You can define your model extent with the Model Properties dialog. However, note that your imported raster data will be clipped to the model extent at the time of import, meaning that if your model extent increases later, the raster data will still be clipped to the smaller extent-- and will have to be reimported to match the new, larger model extent.
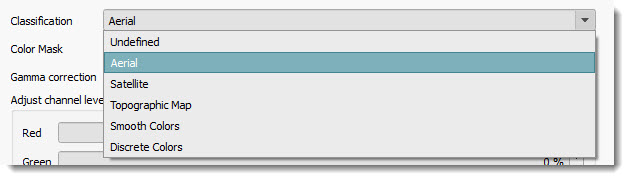
Classification: Specify how to classify the raster data source type. Set the correct classification to improve performance or display quality.
Color Mask: If you specify a color mask, all pixels in the raster image matching your color mask color will be displayed as fully transparent. The RGB value you specify will be used exactly without approximation, so image formats using lossy compression techniques (such as JPG or MrSID) are not recommended for color masks. Color masks work best when using uncompressed GeoTIFFs for your raster data source.
Gamma Correction: Set gamma correction to adjust the luminance of your raster imagery. A proper gamma correction will improve the visibility of brightness variation in your model.
Adjust channel level: Adjust the scale at which red, blue, green, and alpha channels appear in your raster image. For example, if your raster imagery has an unwanted red tint, you could adjust the red channel level to a lower value to reduce the red displaying in the image. The alpha channel describes transparency per pixel.
Band Mapping: When you import a raster image to be a ground imagery layer in your model, you can choose which bands from the source raster image to map to channels in the raster ground imagery layer that InfraWorks will create. The Type field specifies the available bands InfraWorks can bring in from your source raster image. For example, if you choose Gray as the Type, you will only be able to map bands to the Gray channel in InfraWorks, which creates a grayscale image. Once you specify a type, use the remaining available fields to determine which source image bands will be mapped to which channels in your ground imagery layer:
- Gray: A grayscale image
- Gray + Alpha: A grayscale image with a transparency band.
- RGB: A multiband color image.
- RGB + Alpha: A color image with a transparency band.
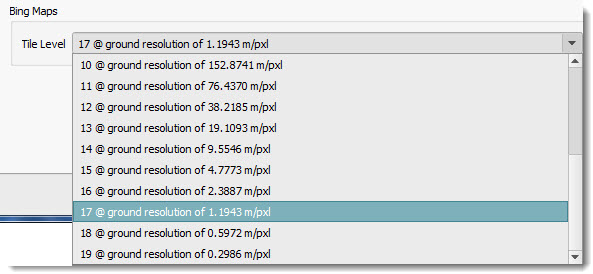
Bing Maps: The Tile Level option is only available for raster ground imagery data in models created using the Model Builder. By default, all Bing Maps raster ground imagery is set to Tile Level 17.