To position 2D overlays using reference points
Move, Scale, and Rotate 2D Raster and Vector terrain overlays in-canvas using reference points.
After you import, configure, and place raster or vector 2D overlay data in your model, you can fine-tune the location, scale, and rotation of your overlay using in-canvas reference points.
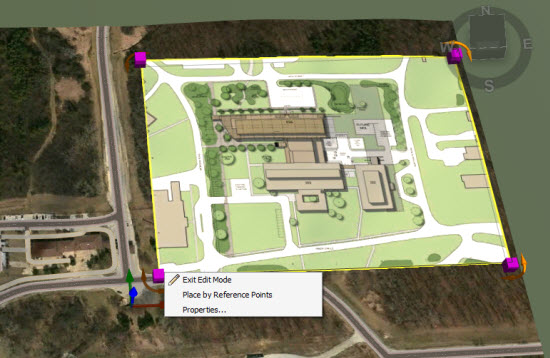
Select the 2D overlay in Edit Mode.
Right-click and choose Place by Reference Points.

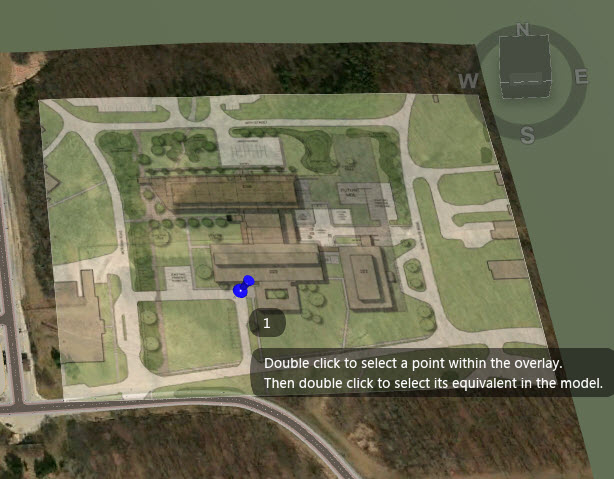
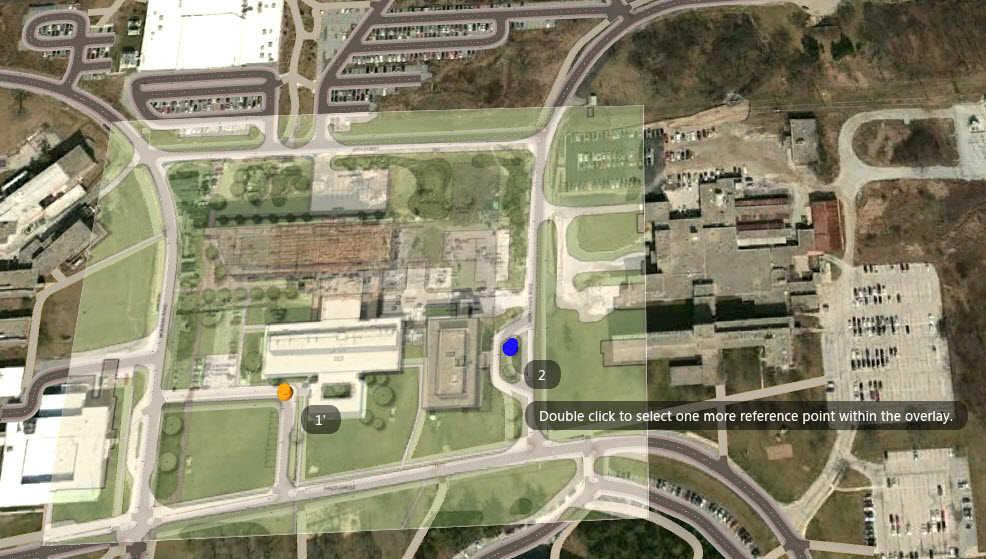
Follow the on-screen instructions. Double-click once to select an initial reference point within the 2D overlay, then double-click again to select its equivalent location in the model. Once you complete the first set of reference points, the overlay will move to the location you have defined, and that set of reference points will be represented by an orange pin.
 Note: Each set of reference points will be numbered sequentially with blue pins. Once you complete the first set of reference points, that location will be represented by an orange pin. A blue pin represents an incomplete or in-progress set of reference points.
Repeat the process of placing sets of reference points as prompted by the application. You will need to define two more sets of reference points to refine the scale and rotation of the overlay.

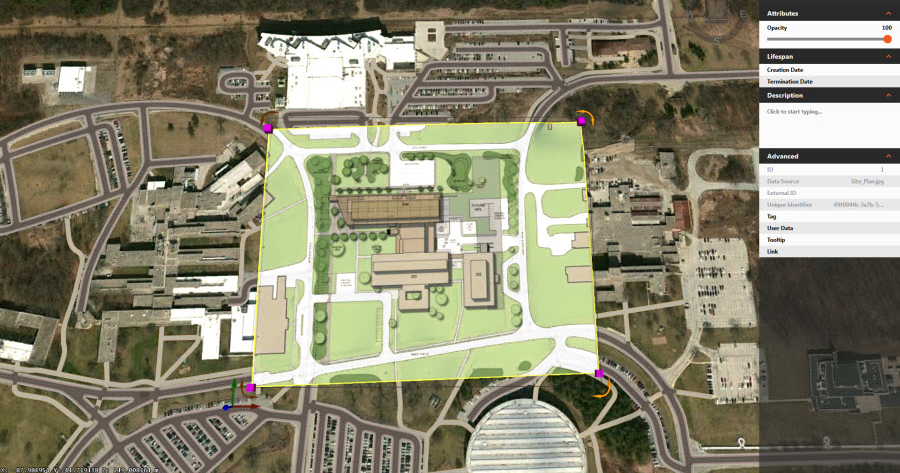
When you have finished placing by reference points the push pins will disappear.

