To add or modify trees or vegetation
Add an individual tree, stands of trees, or rows of trees in a model or proposal. Any type of 3D model object , such as street lights, cars, vegetation, or safety cones can be added instead of trees.
Trees are a Vegetation layer in the Model Explorer, and information about them appears on the Properties Palette. The number of 3D model objects that you add, and the area they occupy, appear in the Trees section of the Proposals Manager.
Visit the Have You Tried: Vegetation? article to learn how you can use vegetation to provide a more complete vision of an InfraWorks project.
To add trees
Click Create
 Environment, then expand the drop-down menu.
Do either:
Click
 to add a stand of trees.
Click
 to add a row of trees.
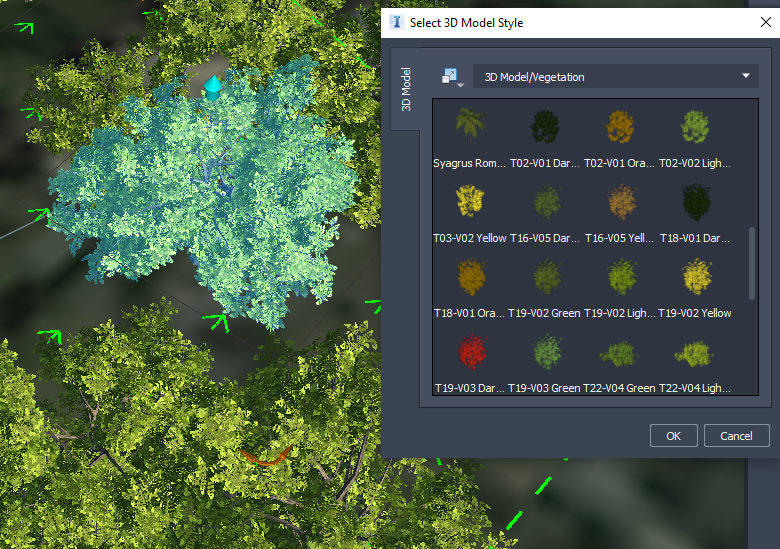
Click a 3D model object style in the catalog that displays to select it.
Note: Adaptive tree styles are located in 3D Model Vegetation Adaptive Trees. With these styles, the geometry automatically adapts to the camera distance, improving model visualization and performance at different levels of detail.
Your initial selection becomes the default for adding trees until you change it again.
To add a single tree
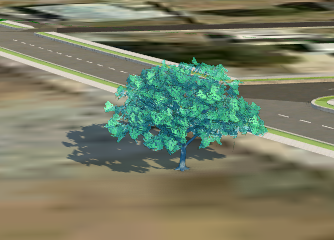
Double-click a point. A single tree is placed at that point.
To add a stand of trees
A stand of trees is a group of trees that resemble a grove or forest.
Click
.Select a draw style.
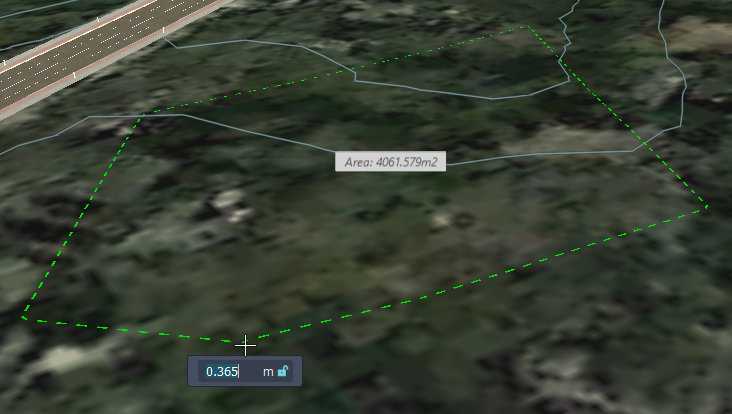
Draw a polygonal area for the stand of trees. Single-click to place individual points. Double-click to finish. A group of tree is randomly placed inside the region.
Use the density slider to adjust the number of trees in the stand.
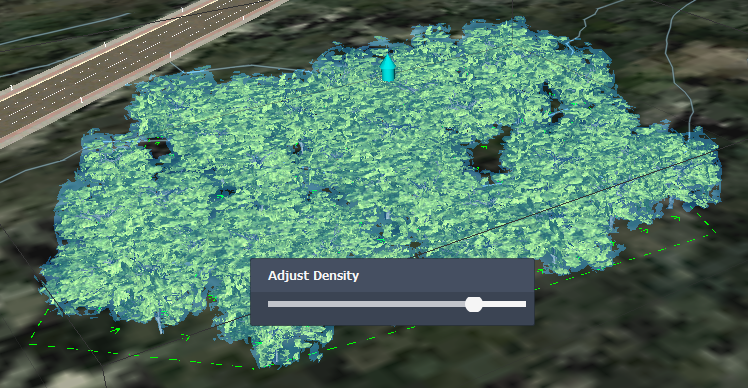
You can double-click a tree within a stand to re-display the density slider. It is important to modify the density before adjusting other features, such as height, so that you don't lose your edits.
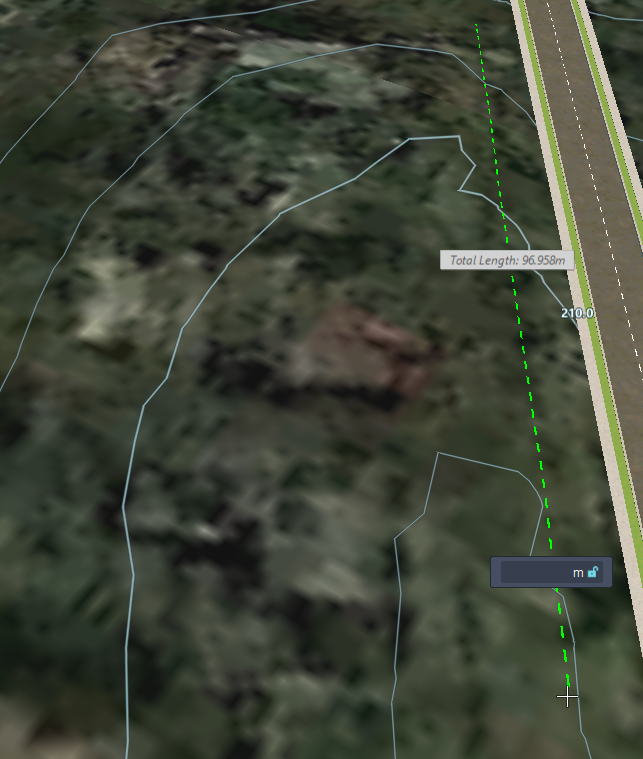
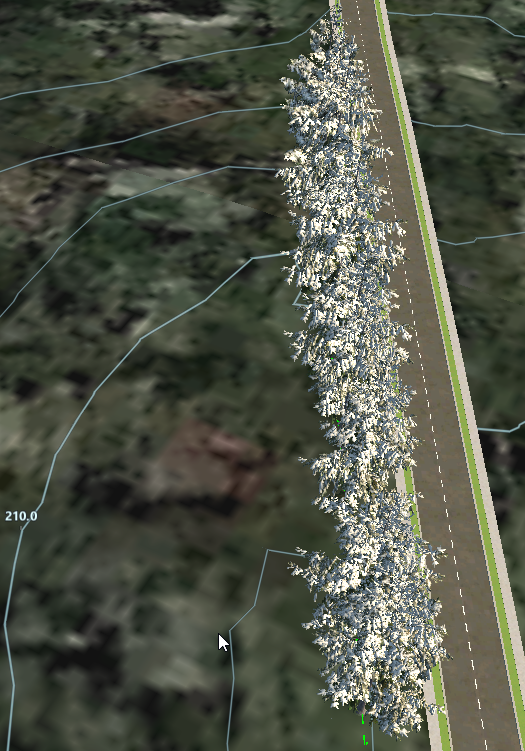
To add a row of trees
A row of trees places the 3D model objects that you choose along a linear path that you define.
Click
.Single-click to place individual points. Double-click to finish.
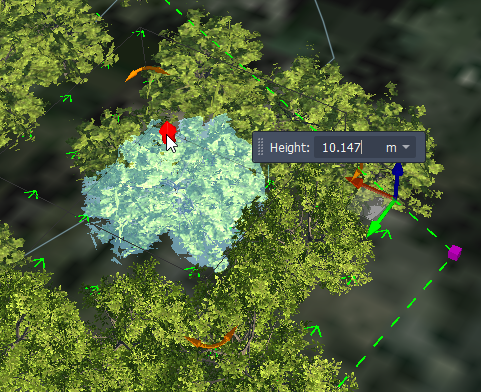
To modify trees
Double-click a tree in the stand or row to select all of the trees within the boundary.
Use the Density slider to adjust the number of trees in the stand or row.
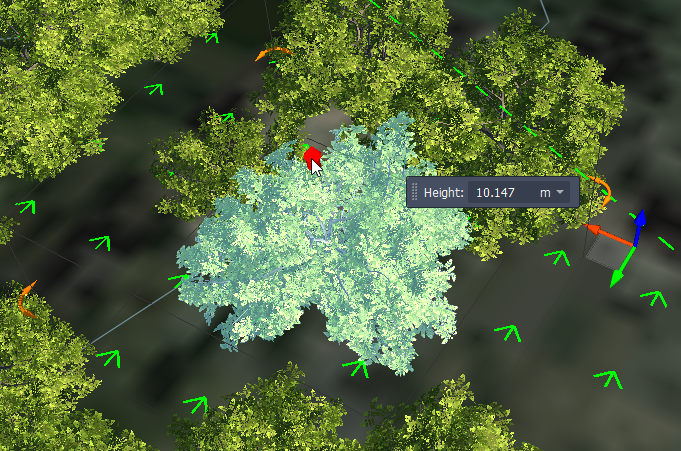
Use the elevation gizmo to adjust the height of the plants.
Once you add a tree, or a row of trees, you can move individual trees or groups of trees to different locations and scale them as needed.
If you want to use different tree or vegetation styles than what are shown in the Select Draw Style catalog, you can add or modify tree vegetation styles using the Style Palette. See About editing styles for more information.
Drag a style from the 3D model tab of the Style Palette and drop it on to an existing tree to modify its style. See To apply styles to individual features for more information.