To add or modify grading areas
Similar to coverage areas, grading areas are used to identify areas for development. When you sketch a grading areas in a model or proposal it will flatten the terrain surface where it is drawn. Grading areas can also be used to add grading styles to a specified area. Grading styles allow you to specify cut slope, cut material, fill slope, and fill material values.
To sketch a grading area
Click Create
 Environment
 (Grading area).
Click on a grading area style in the Select Draw Style catalog that displays.
Note:- If you want to use different grading area styles than what are shown in the Select Draw Style catalog, you can create and edit grading area styles using the Style Palette. See About editing styles for more information.
- Once you have sketched a grading area, you can modify its style. Grading area styles are located in the Material style tab in the Land Cover style catalog, and grading area grading styles are located in the Grading tab. See To apply styles to individual features for more information.
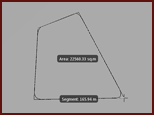
Sketch the grading area in the model or proposal.
Note: Grading areas flatten the terrain surface when they are sketched.
| Action | Result | Visual |
|---|---|---|
| Click the starting point for the grading area and click again for each corner. Double-click to finish the area. | The boundary is filled by the grading area style you selected. |  |
To add or modify a grading in a grading area
Select the desired grading area and right-click.
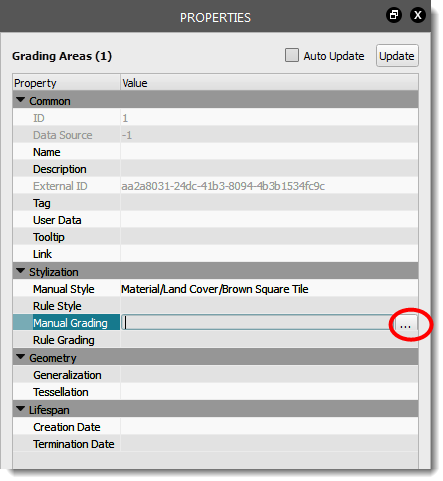
Click on Properties.
Click the Manual Grading field in the Properties Palette, and click the browse button.

Select a grading style from the dialog that displays, and press OK.
Click update in the Properties Palette.
Alternatively, you can also apply a style to a Grading area by dragging the style from the Style Palette and dropping it onto the desired grading area.
Additional info
Grading areas are a Surface layer in the Model Explorer, and information about them appears on the Properties Palette. The number of grading areas, as well as information (such as area) appears in the Grading areas section of the Proposals Manager.