Civil Structures Workflows
Publish Civil Structures
Use the publish civil structures command in Autodesk InfraWorks to send parametric bridges or tunnels to Autodesk Civil 3D or Autodesk Revit. You can also update your InfraWorks model with changes made in Civil 3D or Revit.
Workflow Overview
Video
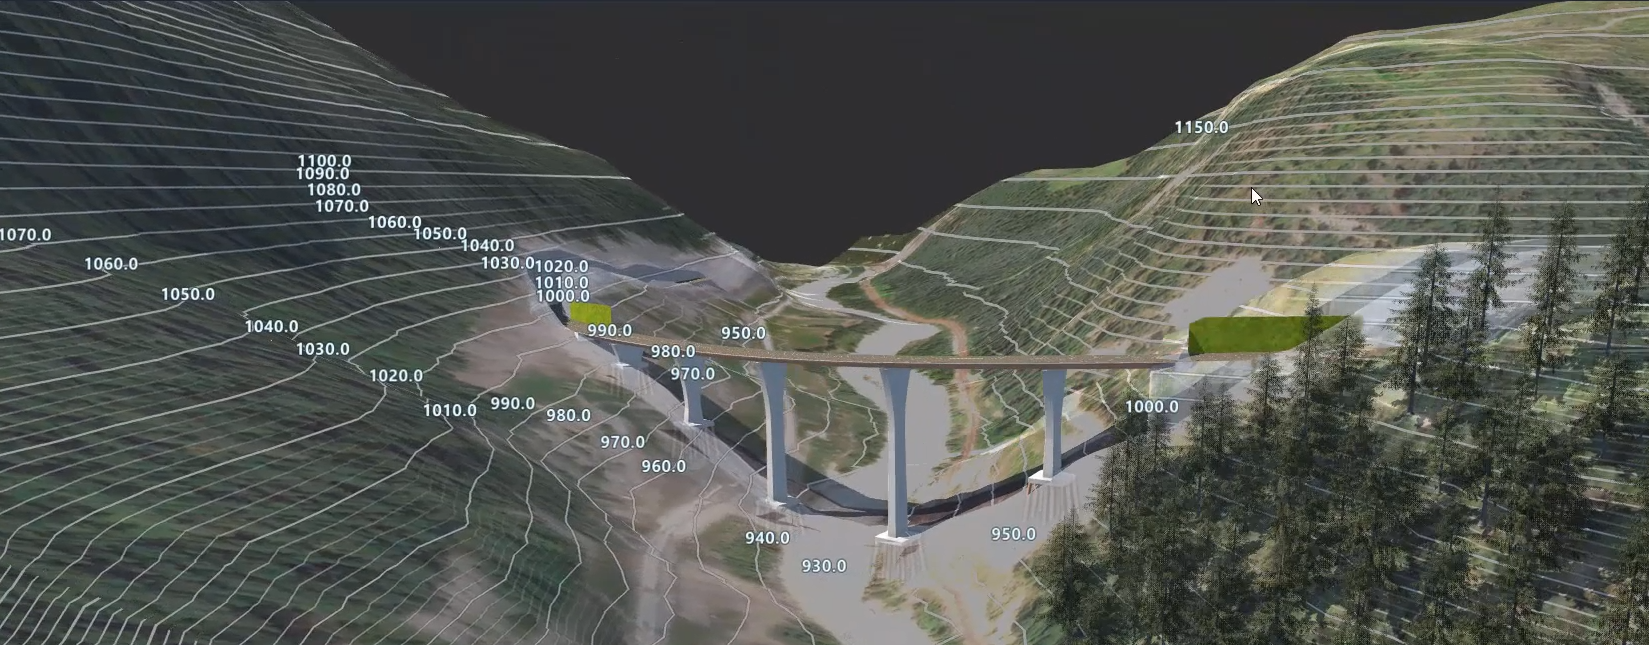
The video provided below illustrates how this could workflow could be used to design a detailed road model with a detailed, parametric box girder bridge in the Canadian Rockies, 100 meters above a highway on the west side of Lake Louise.
Video Description
In this workflow, a road designer (or a team of road designers) could build the road alignment and corridor in Civil 3D, then send the road to InfraWorks and Revit for the bridge and detailing teams to use.
We then move into InfraWorks, showing how the bridge team could use the road model from Civil 3D to get involved and start modeling a parametric bridge.

When the bridge designers are ready for the next step, they use the Publish Civil Structures command to export the updated bridge and road designs to your local system in IMX format.
From here, designers could embark on several iterations of detailed road and bridge design for this dataset, alternating between Revit, Infraworks, and Civil 3D to suit their project needs. In the video, we see the bridge design team open the updated bridge model from InfraWorks in Autodesk Revit, so they can review the bridge and begin working on detailed bridge design, rebar setup, and documentation.
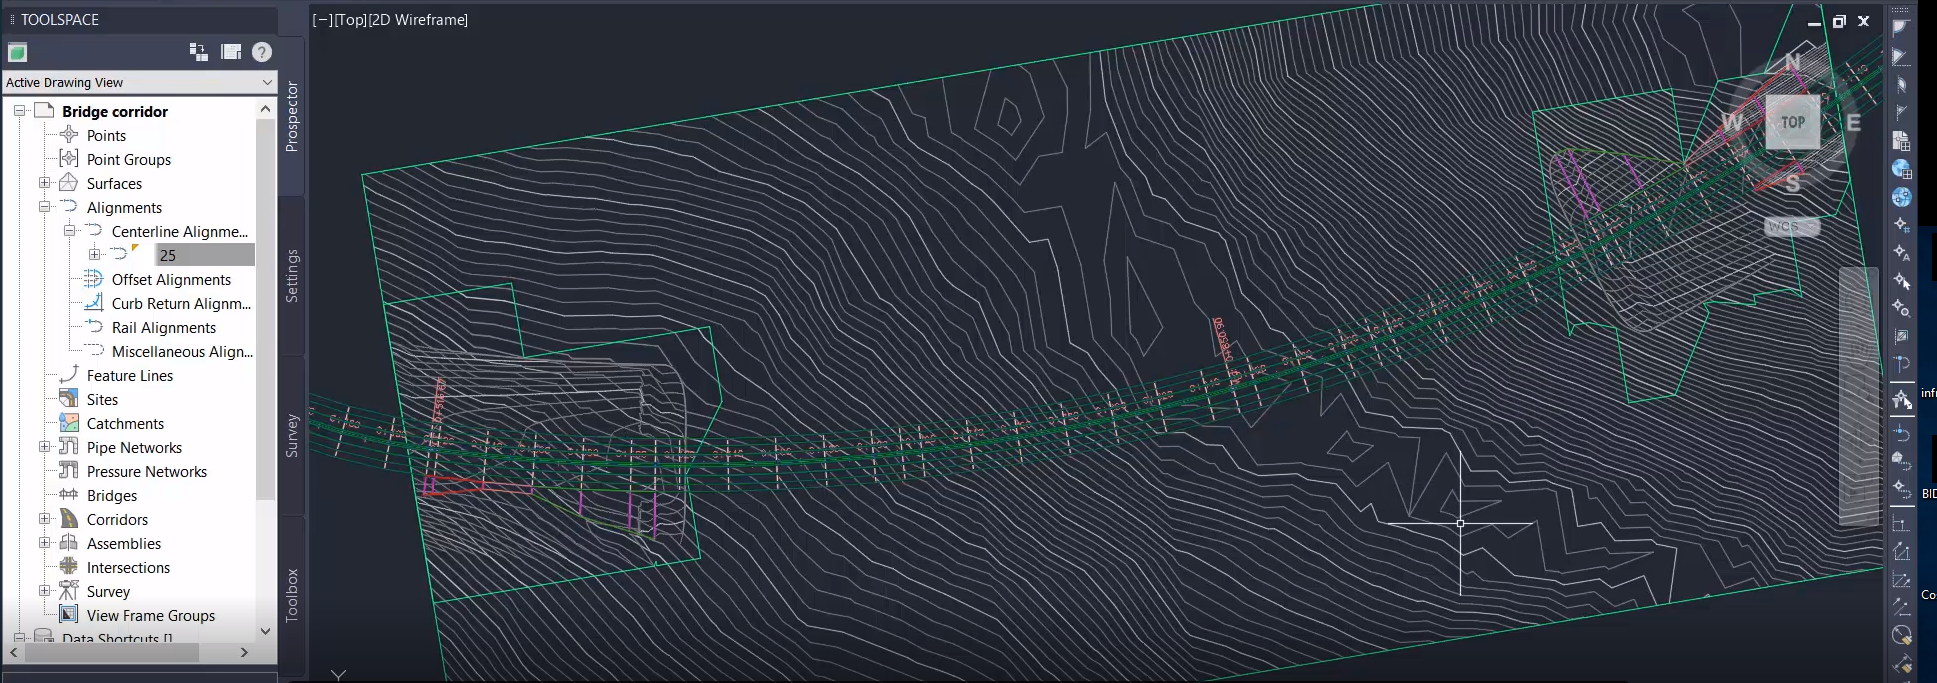
At this point in the video (3:54), we've seen the road modeled in Civil 3D, the bridge modeled in InfraWorks, and the start of bridge detailing in Revit. Now, we switch back to Civil 3D and return to our road model for some more detailed corridor modeling in the context of the bridge model from InfraWorks.
First, you can see that the bridge model's component attributes are consistent across InfraWorks, Revit, and Civil 3D.
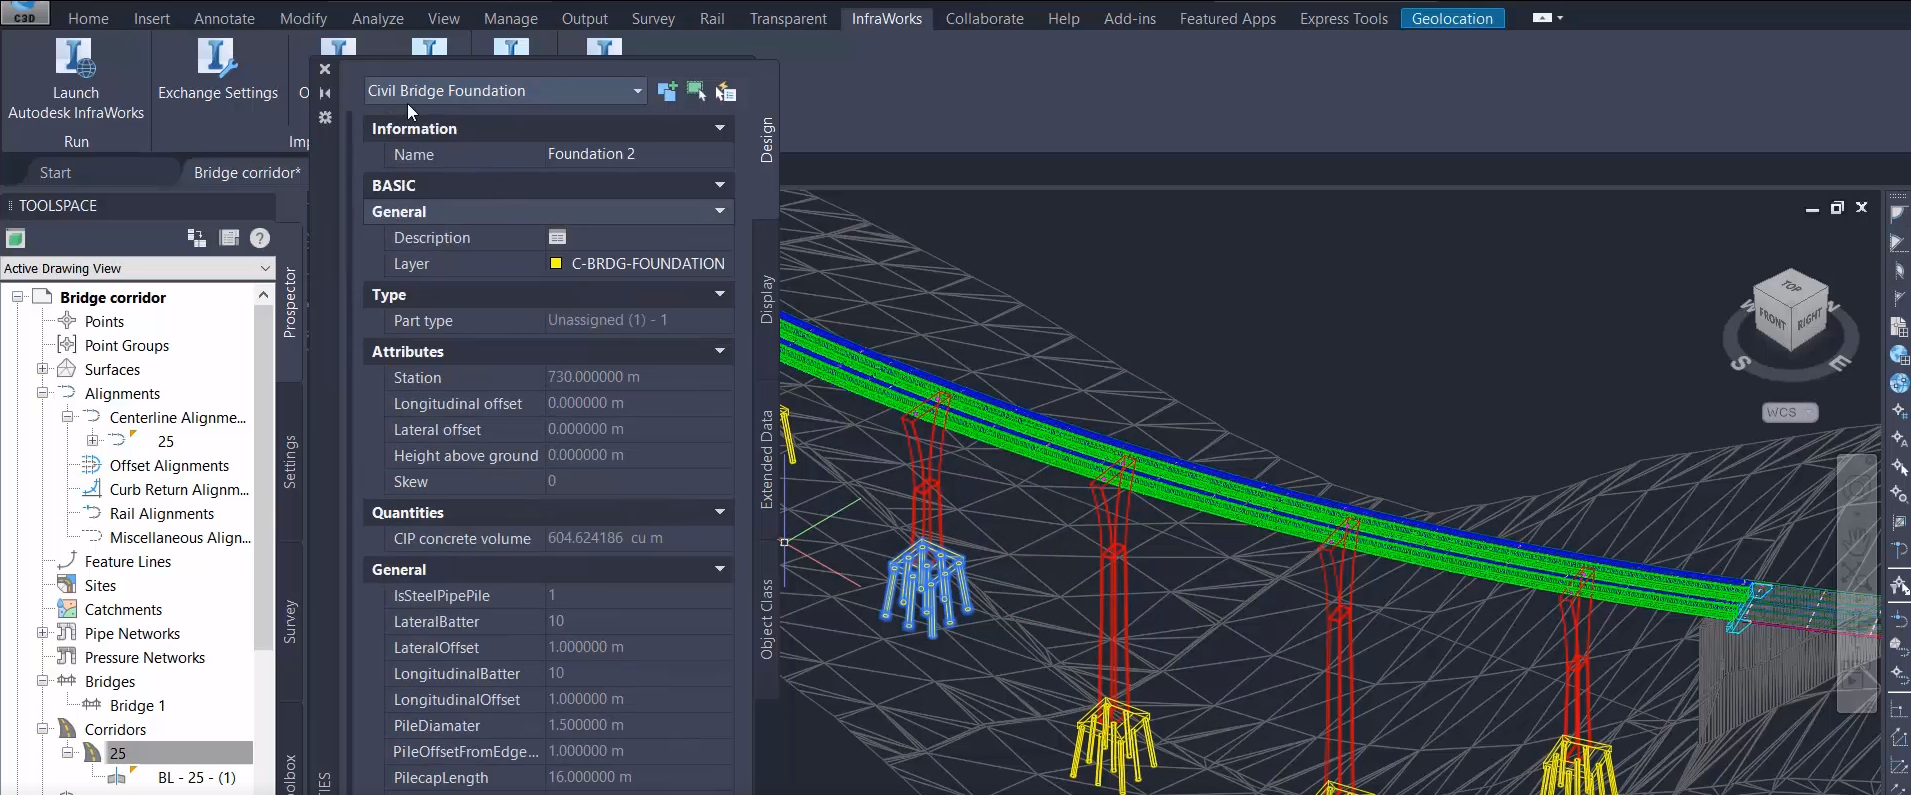
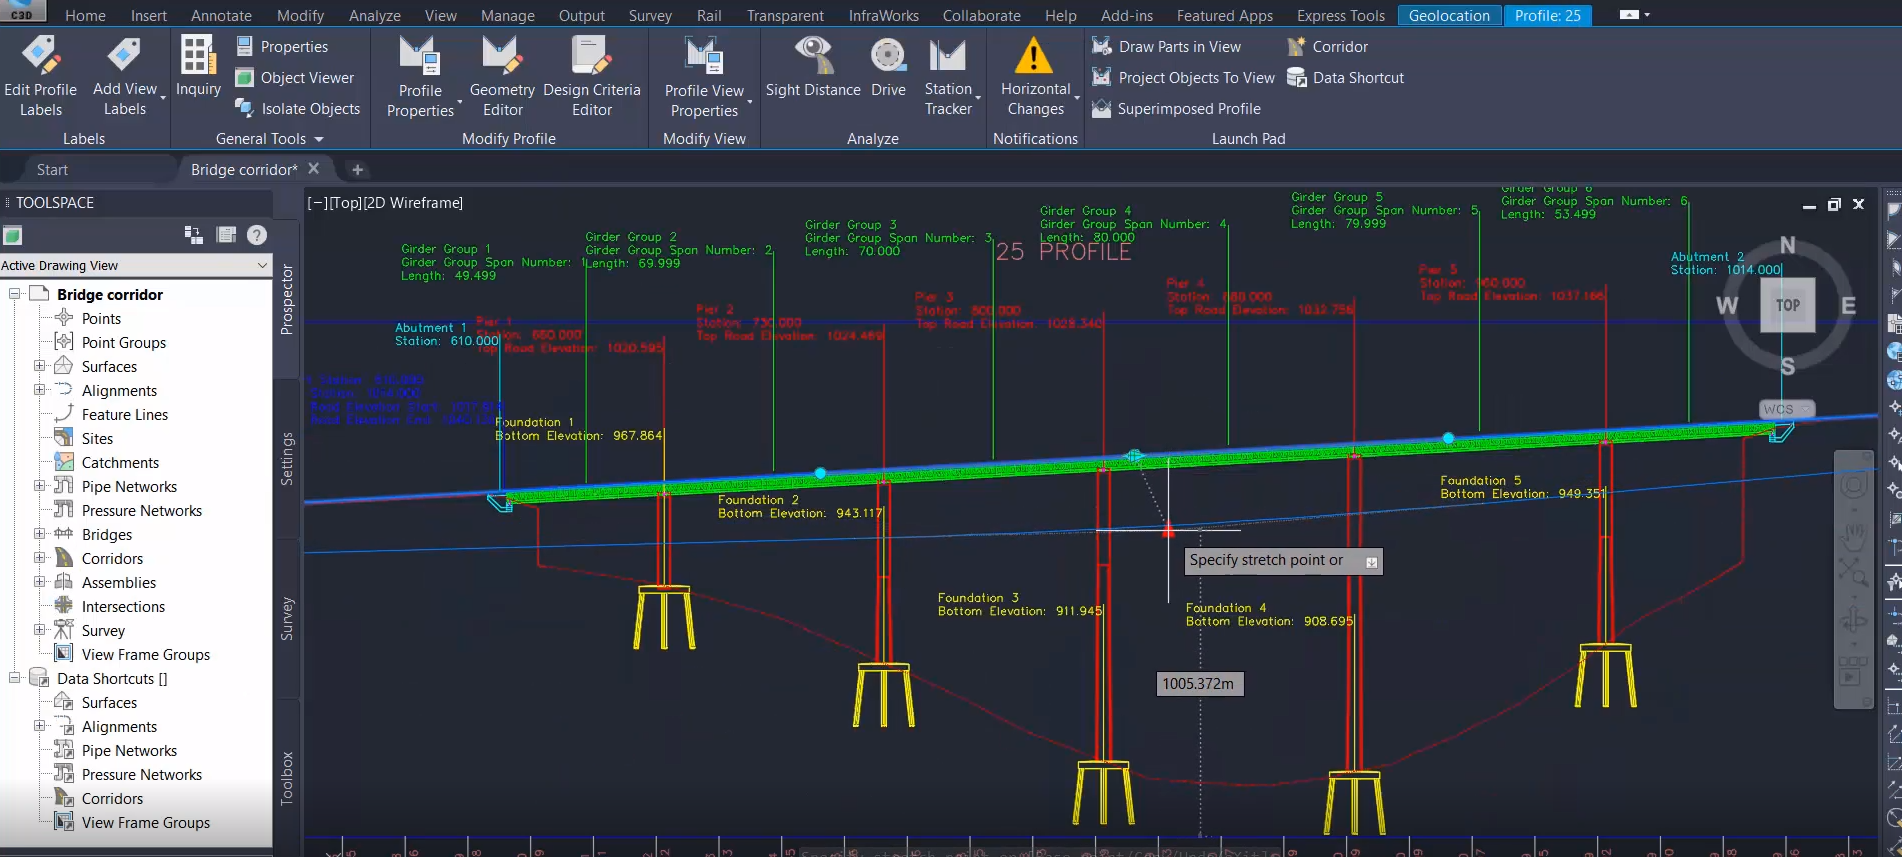
Next, you'll notice that bridge components can be used in the Project Objects to Profile View command, so you can see the entire bridge and its components in the Civil 3D Profile View.
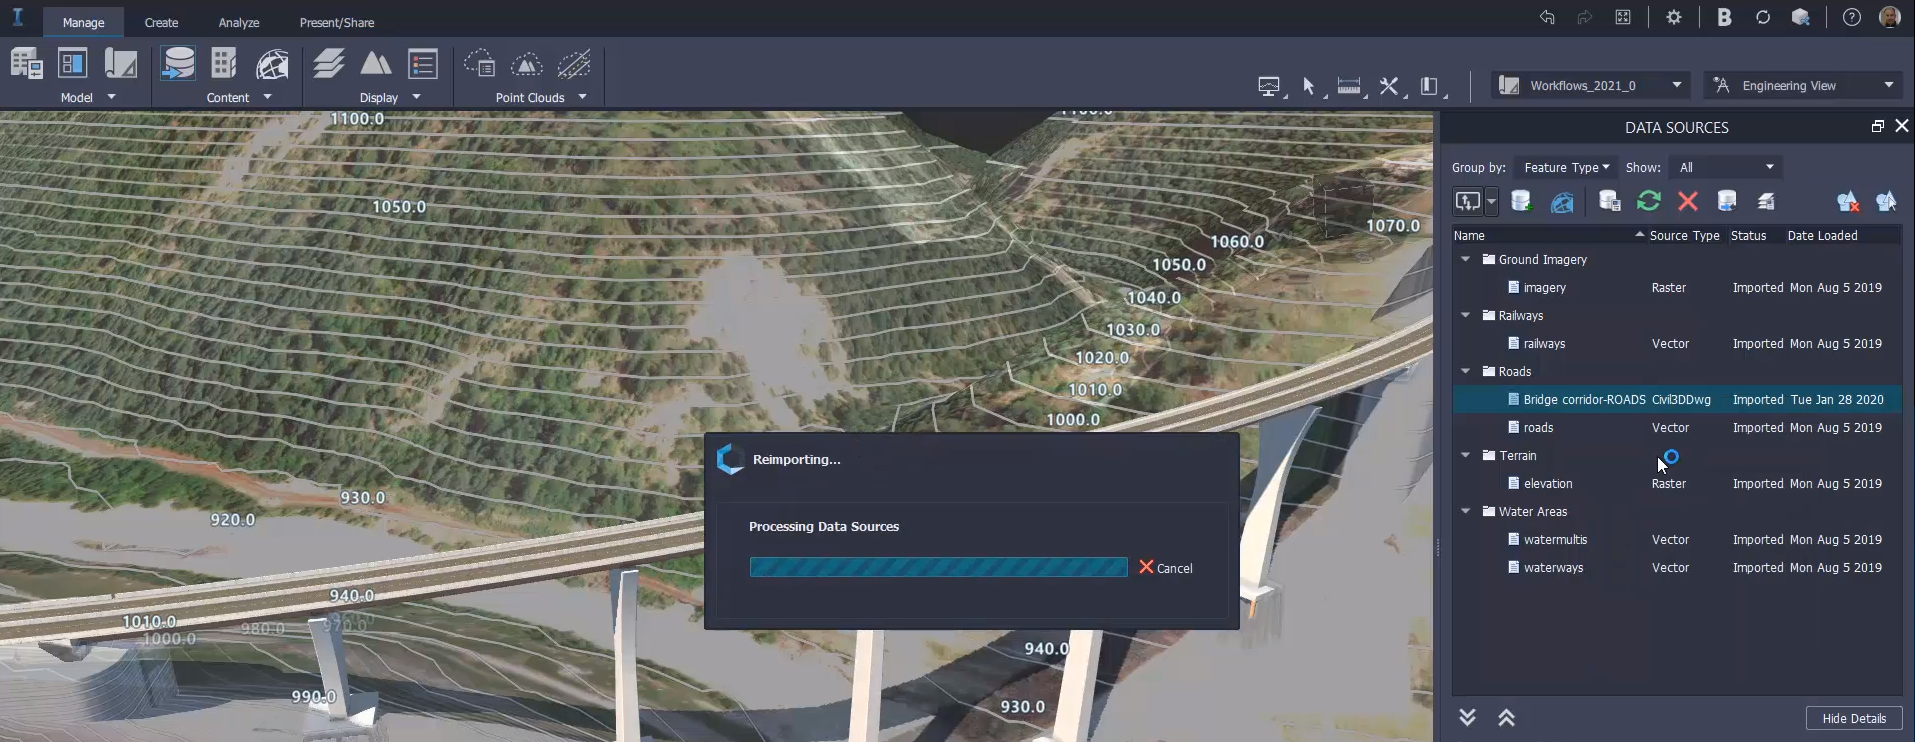
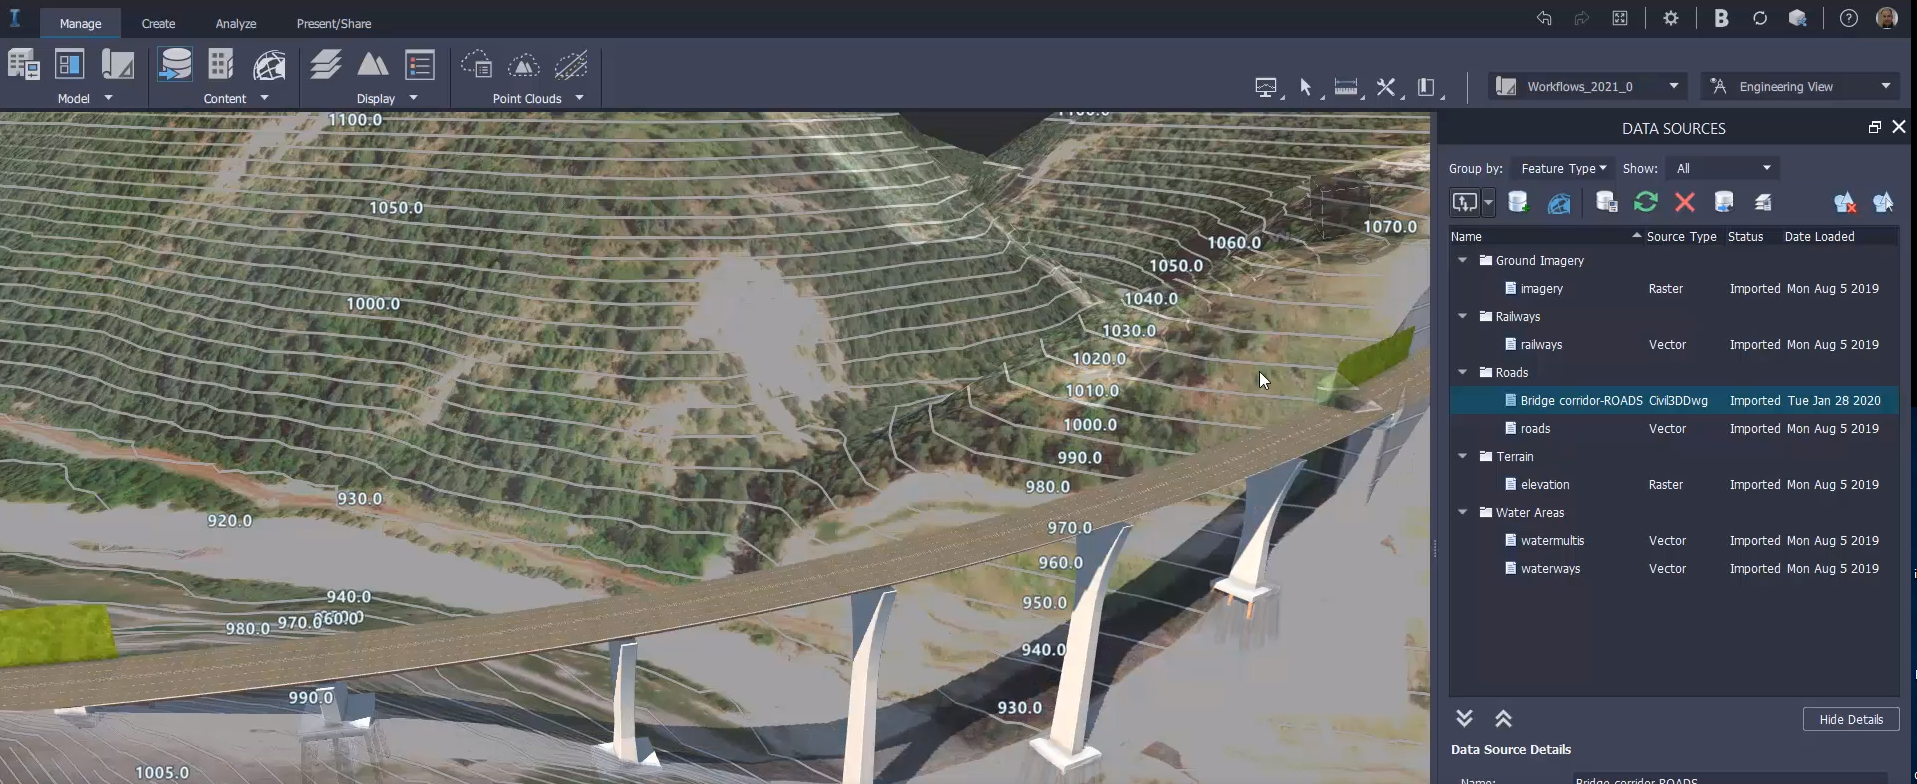
After a few tweaks to the corridor elevation in Civil 3D, the road designer sends the design back to InfraWorks from Civil 3D. Updates from the modified Civil 3D road model are applied to the InfraWorks road model using the Reimport command in InfraWorks.
Now that the bridge design team has received the updated road model from Civil 3D, which contains updates to the road corridor, they decide to reconfigure the InfraWorks road model to use corridor geometry from Civil 3D. (The component road geometry will become read-only in InfraWorks with this option, so that more precise horizontal and vertical geometry from Civil 3D can be used in InfraWorks to place bridges and structures.)
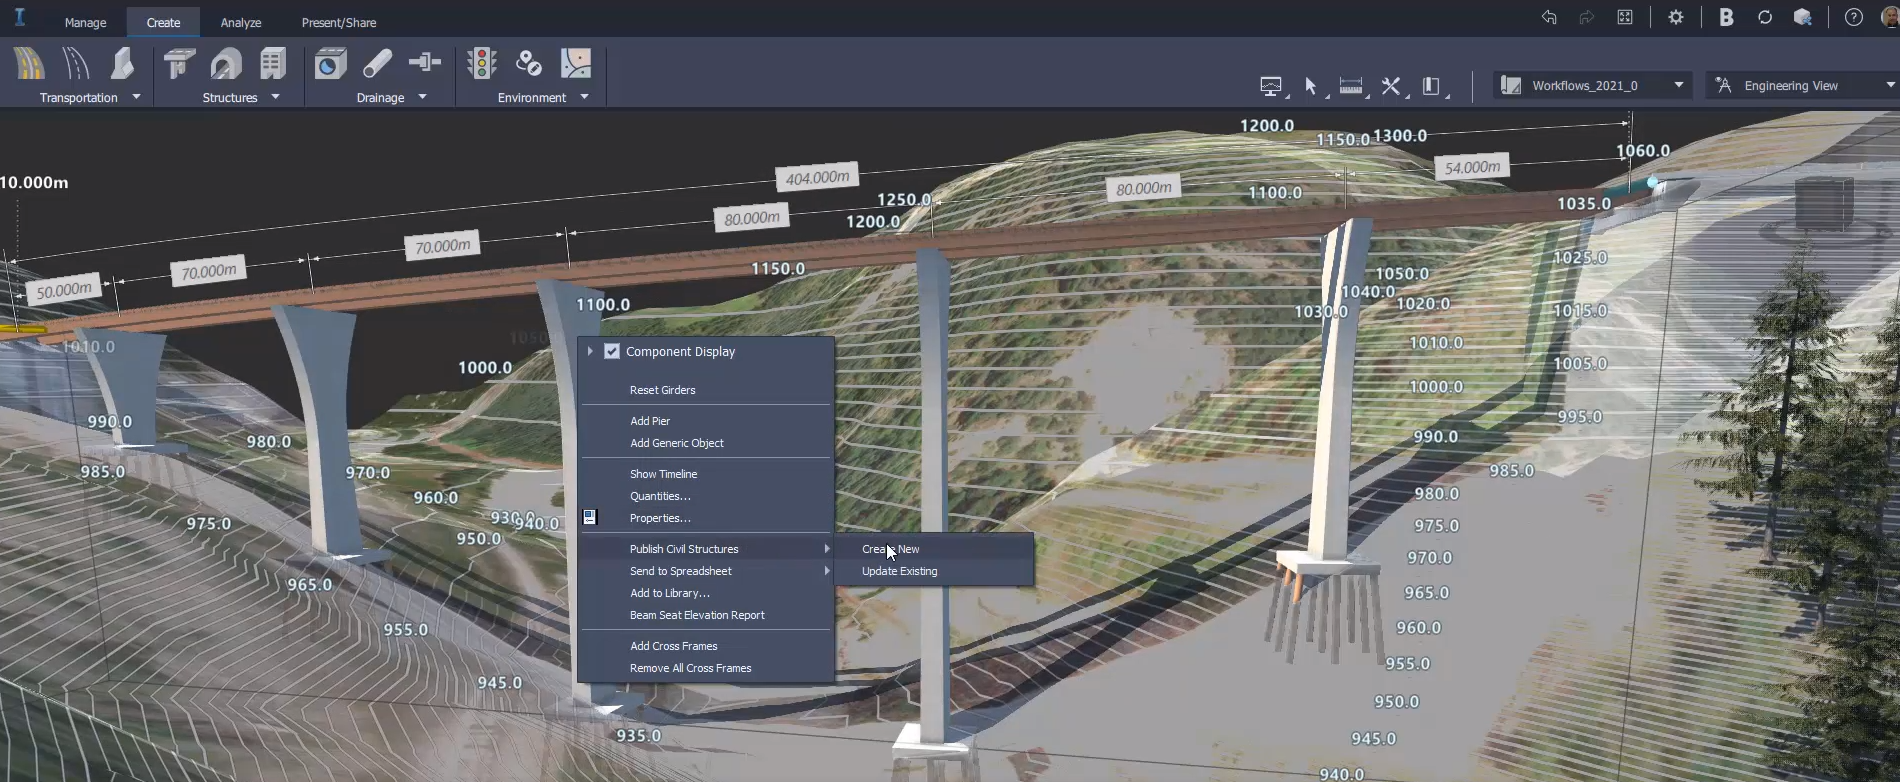
Done working in InfraWorks for the moment, the bridge design team uses the Publish Civil Structures
 Update Existing command in InfraWorks to update the connected civil structures data in Civil 3D and Revit.
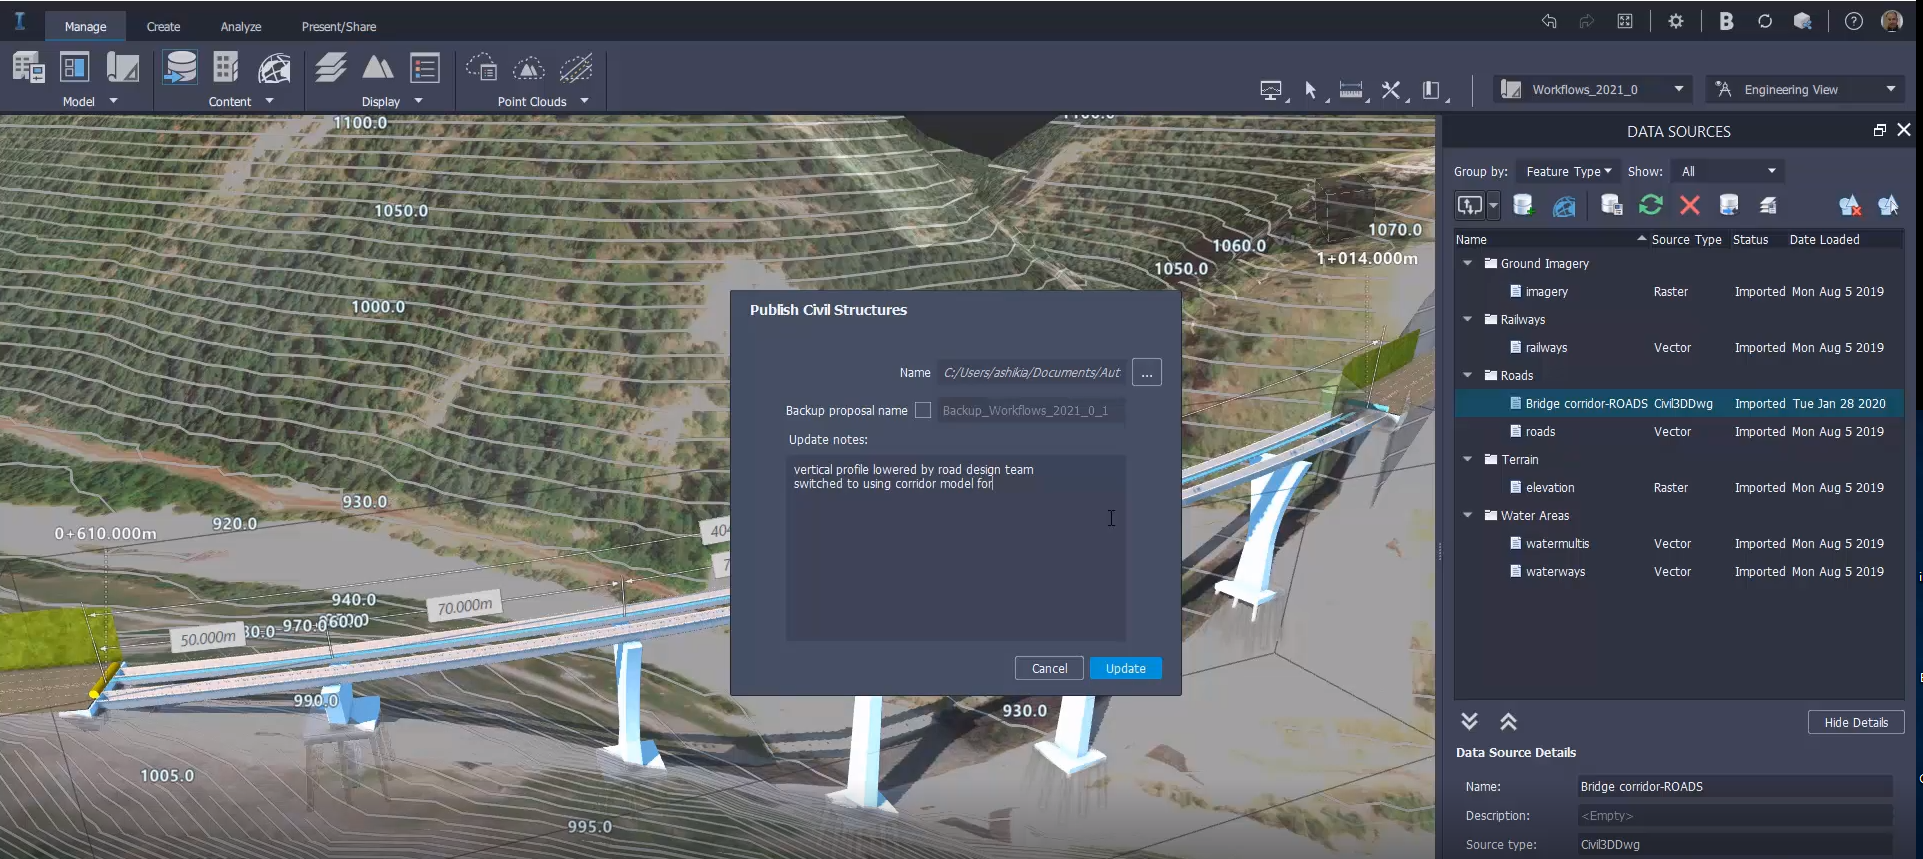
Returning to Civil 3D, we are greeted with a notification that the InfraWorks dataset has been modified and needs to be reloaded. A simple reload of the InfraWorks dataset in Civil 3D causes the Civil 3D road model to dynamically update and pull in modifications to the road elevation along with the bridge model.
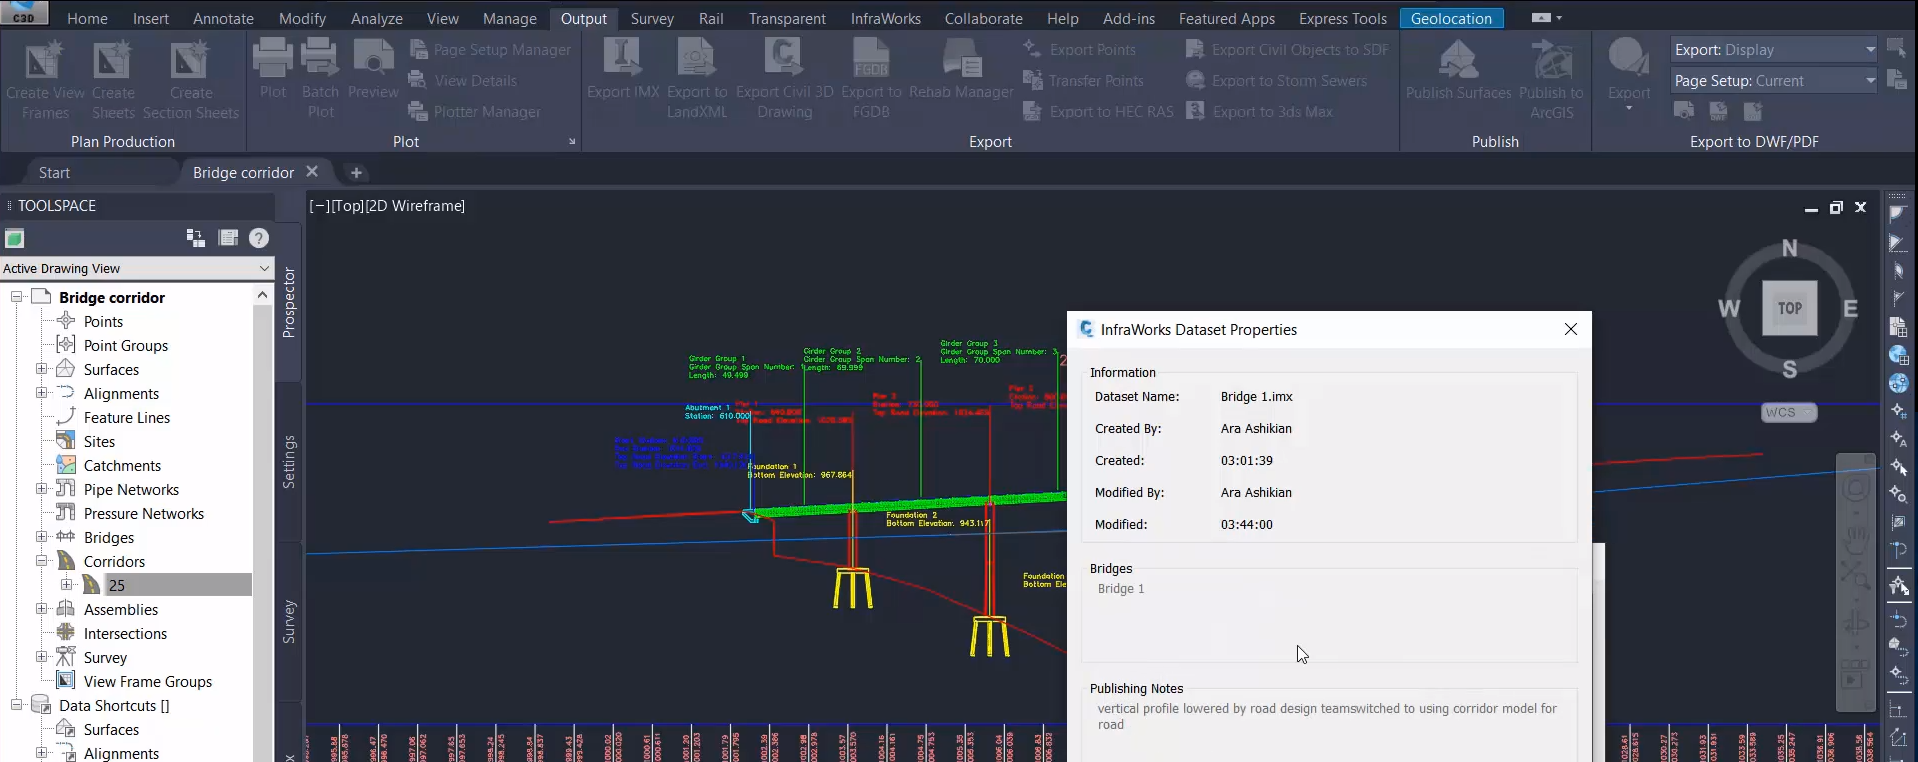
The Civil 3D road and bridge model now up-to-date and in parity with the InfraWorks model, let's head over to Revit.
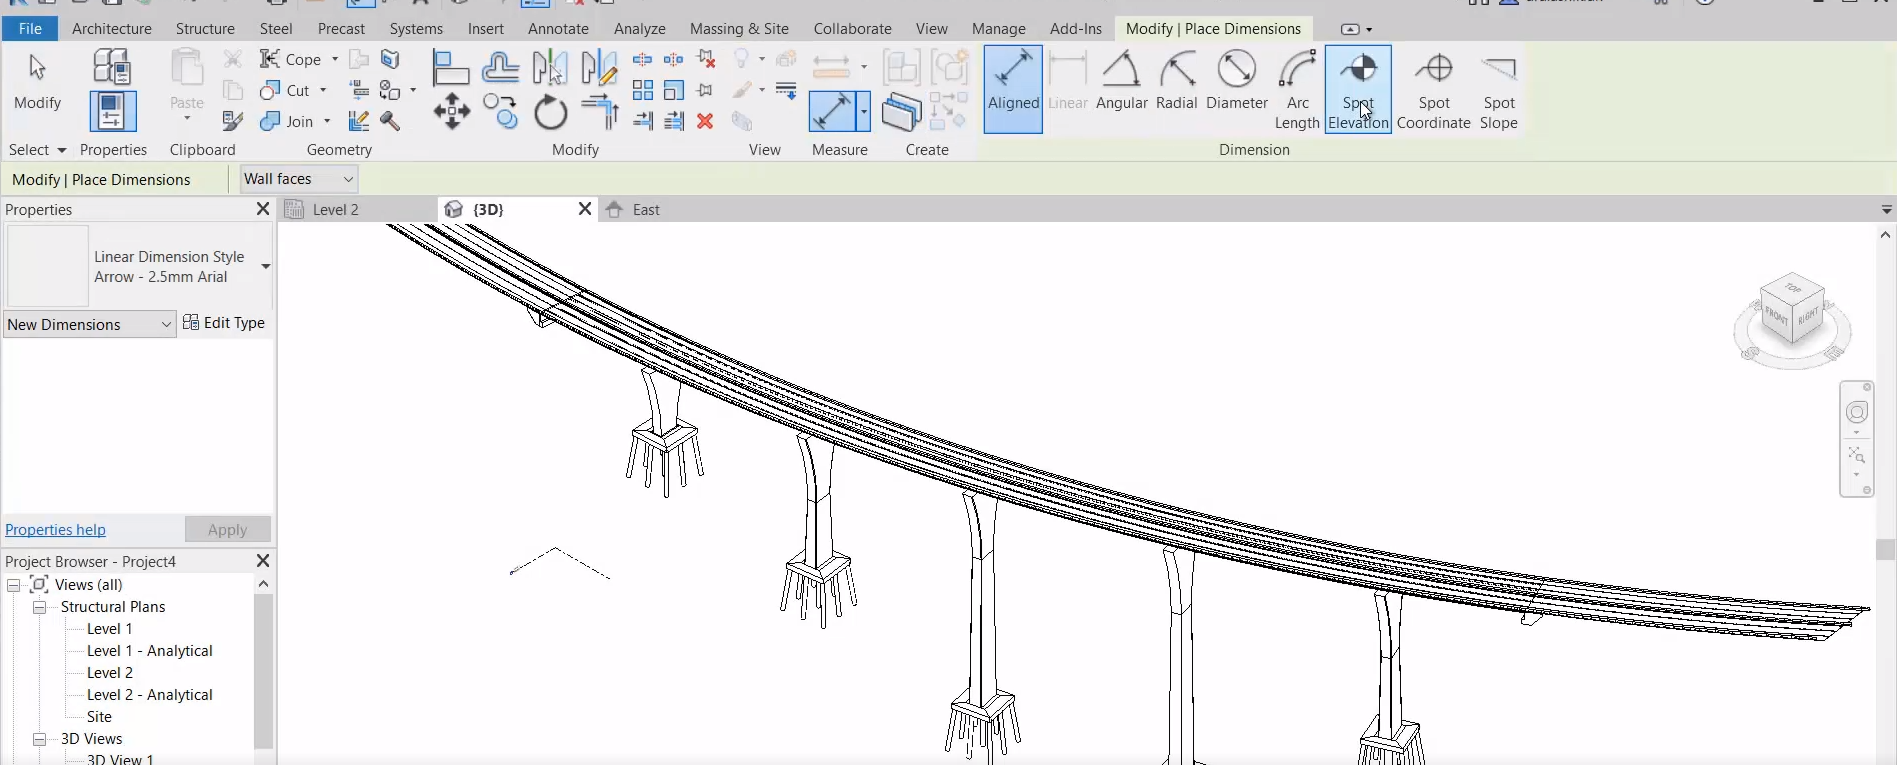
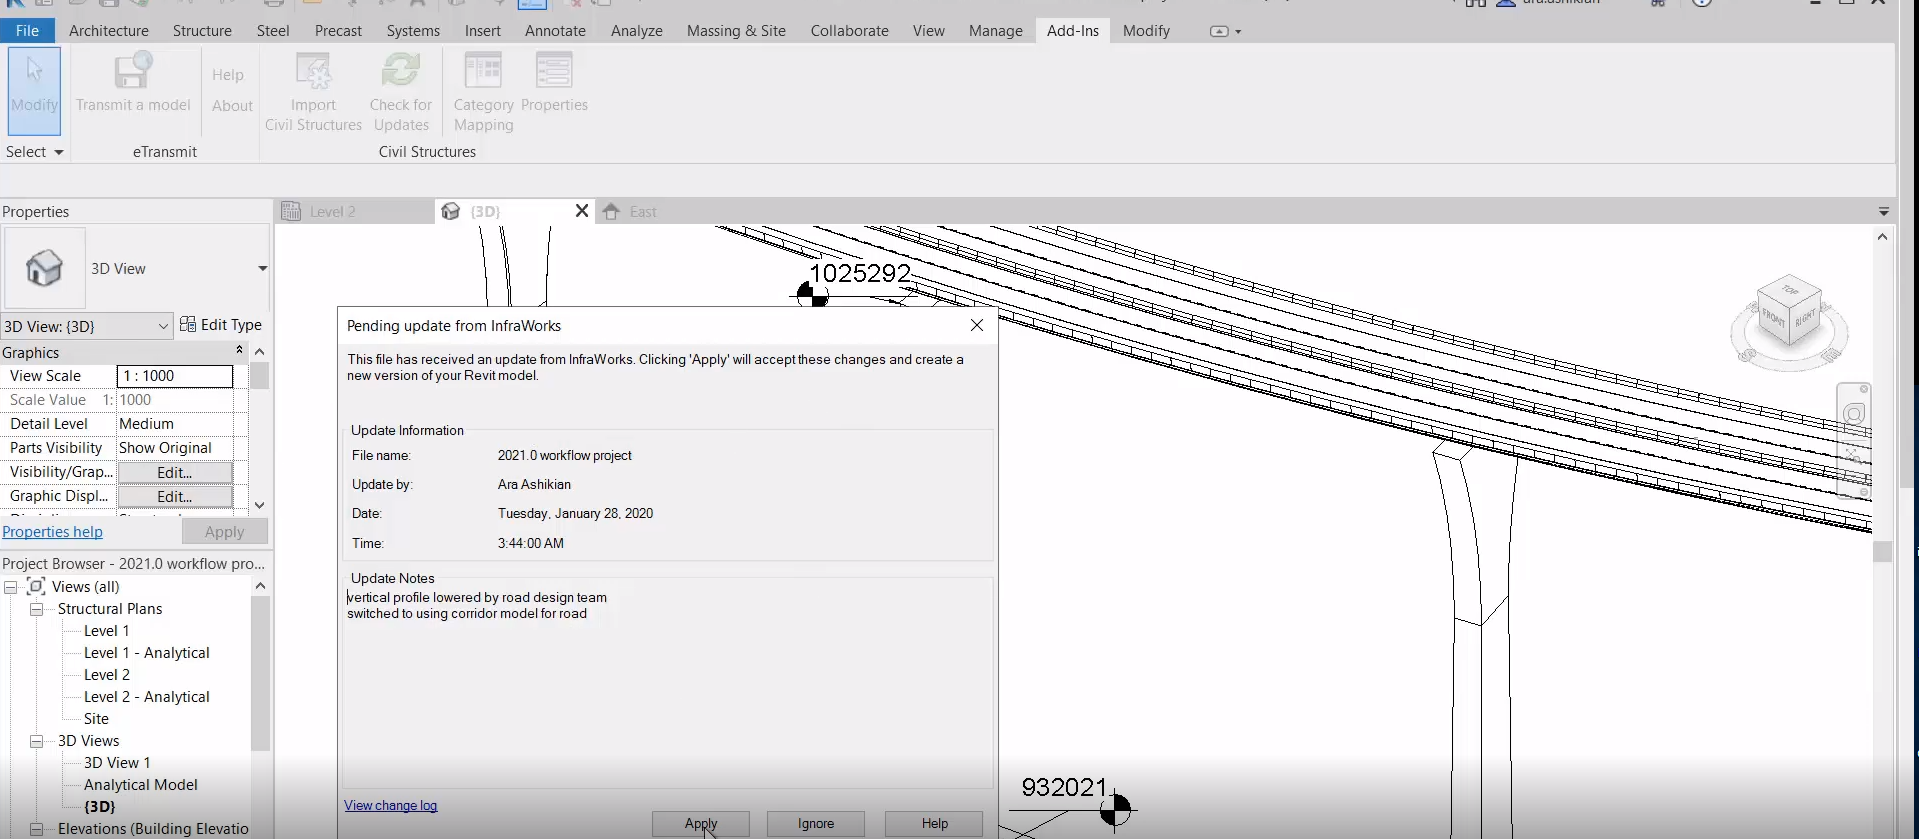
Opening Revit, we see that the most recent usage of the Publish Civil Structures command in InfraWorks also triggered Revit to recognize that the civil structures dataset had been modified. Applying the changes causes the bridge model to dynamically update in Revit with the latest changes from InfraWorks.
You'll notice that the bridge attributes for selected components, show in Revit Properties, match the attributes for this bridge in Civil 3D and InfraWorks.
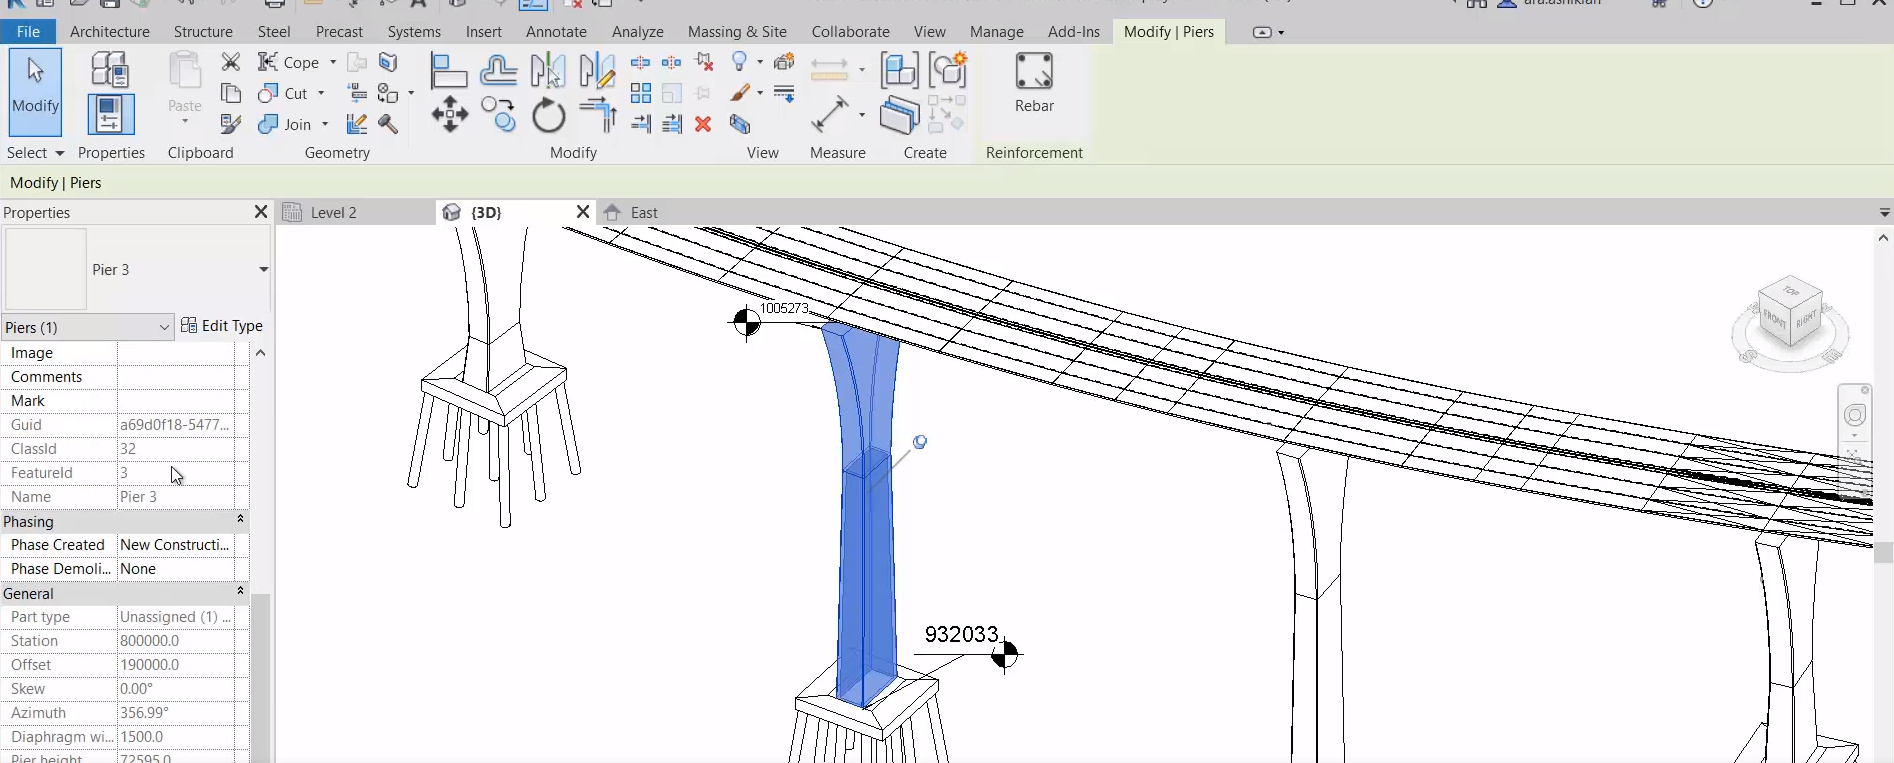
With all the latest updates to the bridge in their Revit instance, the bridge designers can take advantage of Revit enhancements that we've added to better support civil structures. For example, we added a new Infrastructure discipline filter to Revit.
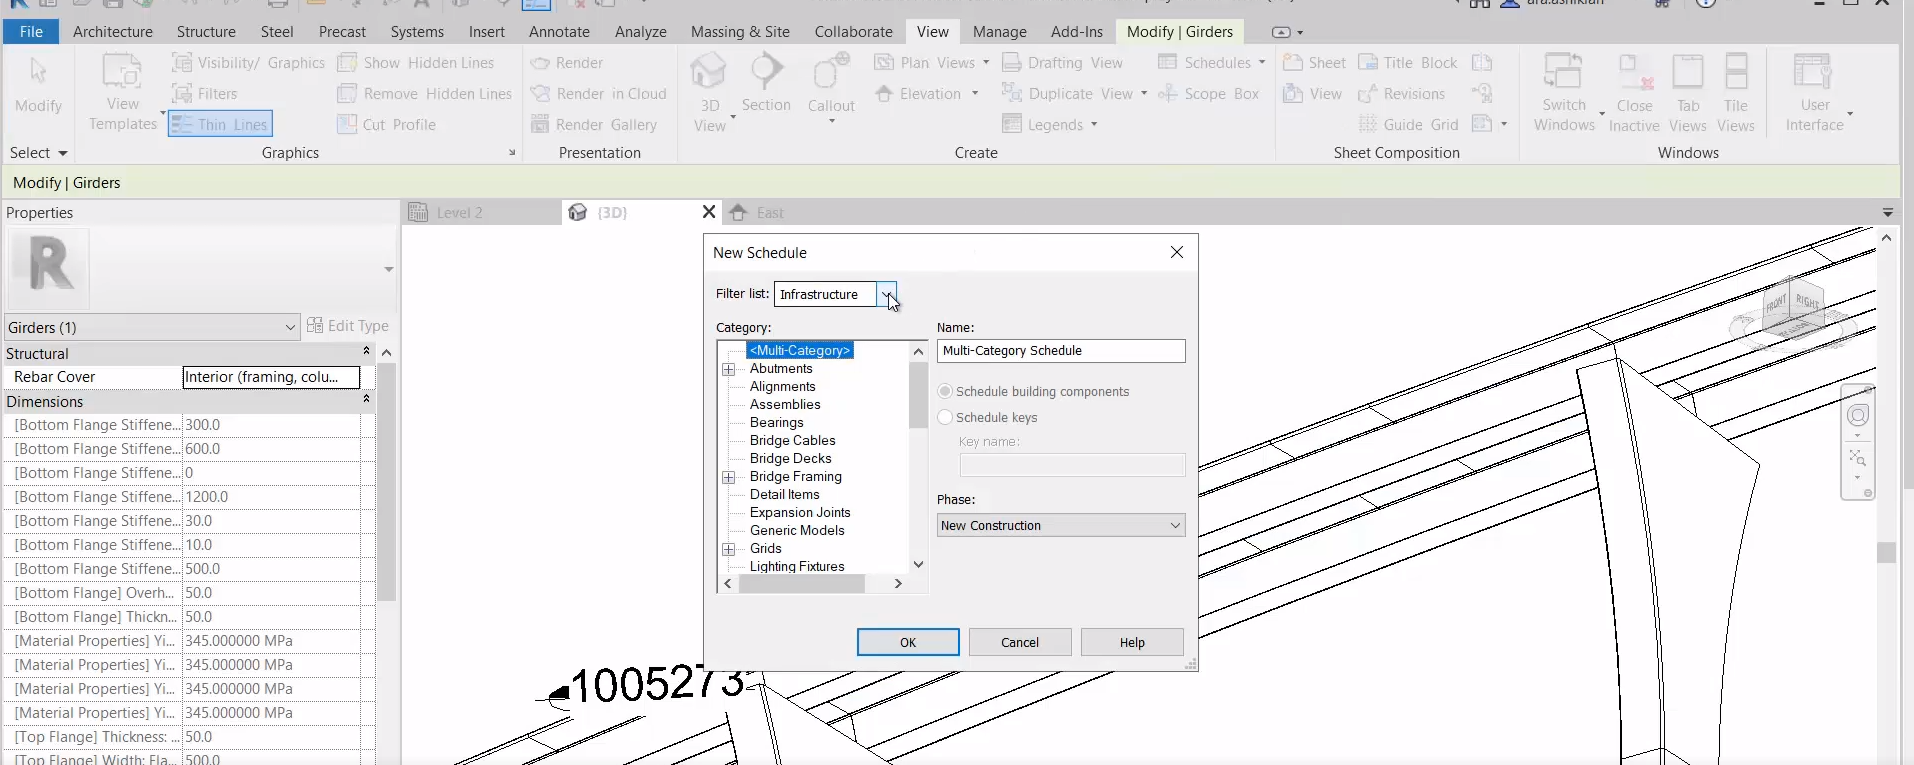
We also added 26 new model categories and 20 new annotation categories for infrastructure!

And with that, the demo concludes, having shown a full iteration of the civil structures workflow from initial design to detailed design and documentation.
From here, design teams could keep on iterating and refining to suit their project needs.
Advanced Tips
Optionally, you can link your Autodesk Civil 3D topography with your Autodesk Revit model as part of your civil structures workflow. Refer to the diagram below for more information.