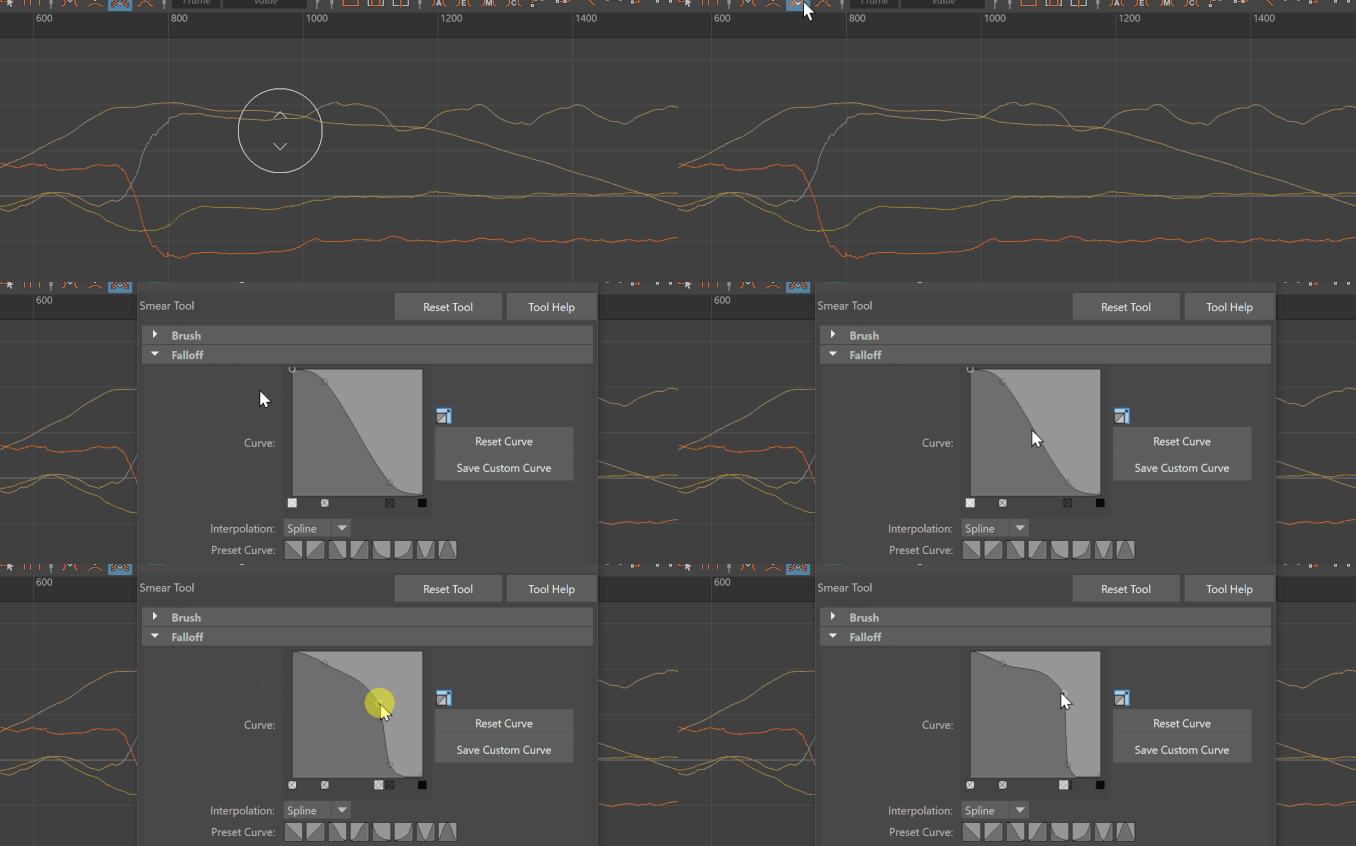
You can use the Graph Editor Sculpting tools to perform intuitive modifications to keys on curve segments using a brush-style tool.

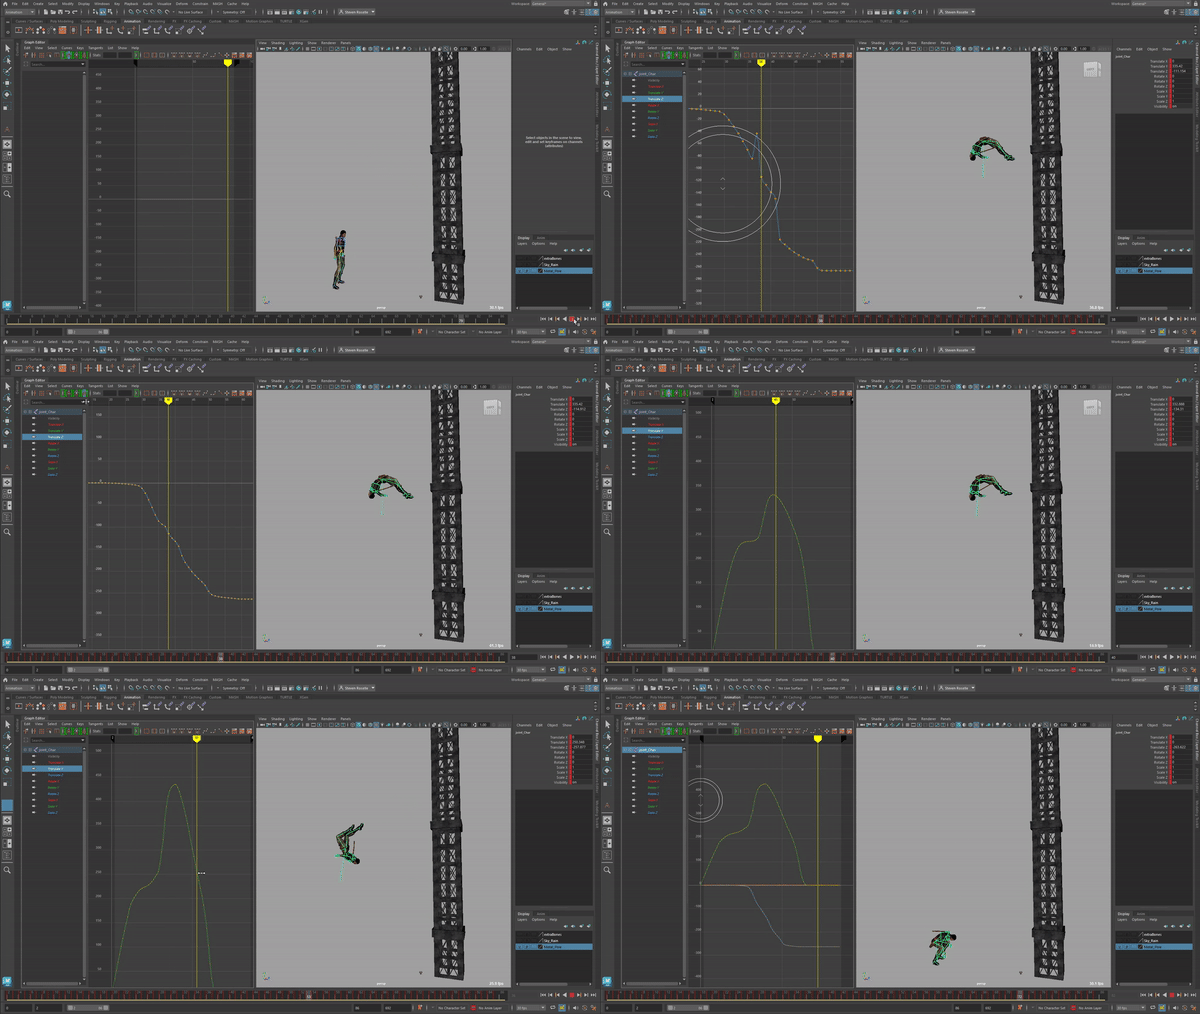
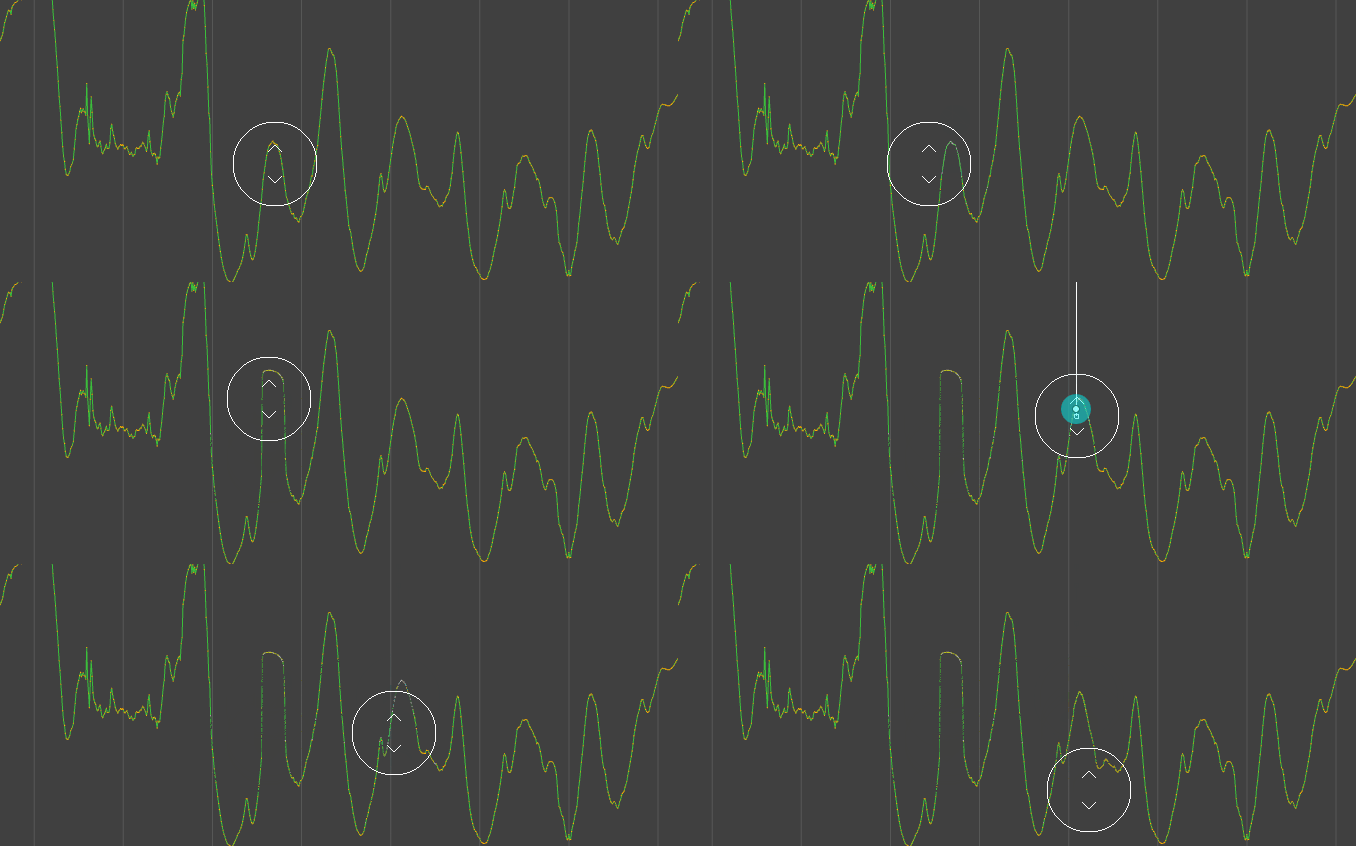
The Curve Sculpting tools used to modify animation (demo courtesy Jim Donovan)
To open the Graph Editor Curve Sculpting tools, do one of the following:
- Click
Grab
 ,
Smooth
 ,
Smear
 , or
Key Reducer
 on the
Graph Editor toolbar.
- In the
Graph Editor Edit menu, select
Transformation Tools >
Sculpting Tools > and choose:
- Grab tool
- Smooth tool
- Smear tool
- Key Reducer tool
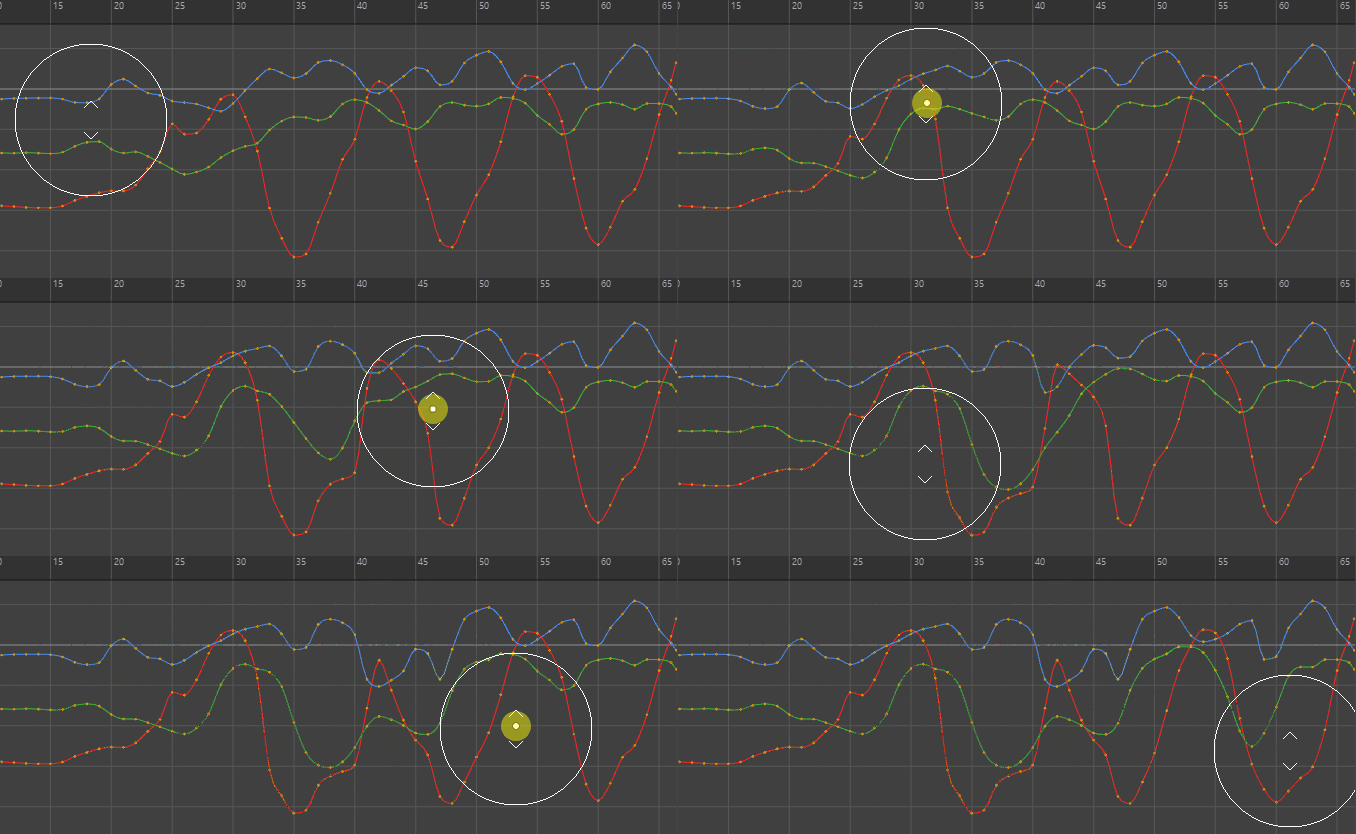
Push keys up or down on a curve (Grab tool)
Select the Graph Editor
Grab tool
 and drag over the area of the curve you want to shape key value in the
Graph View.
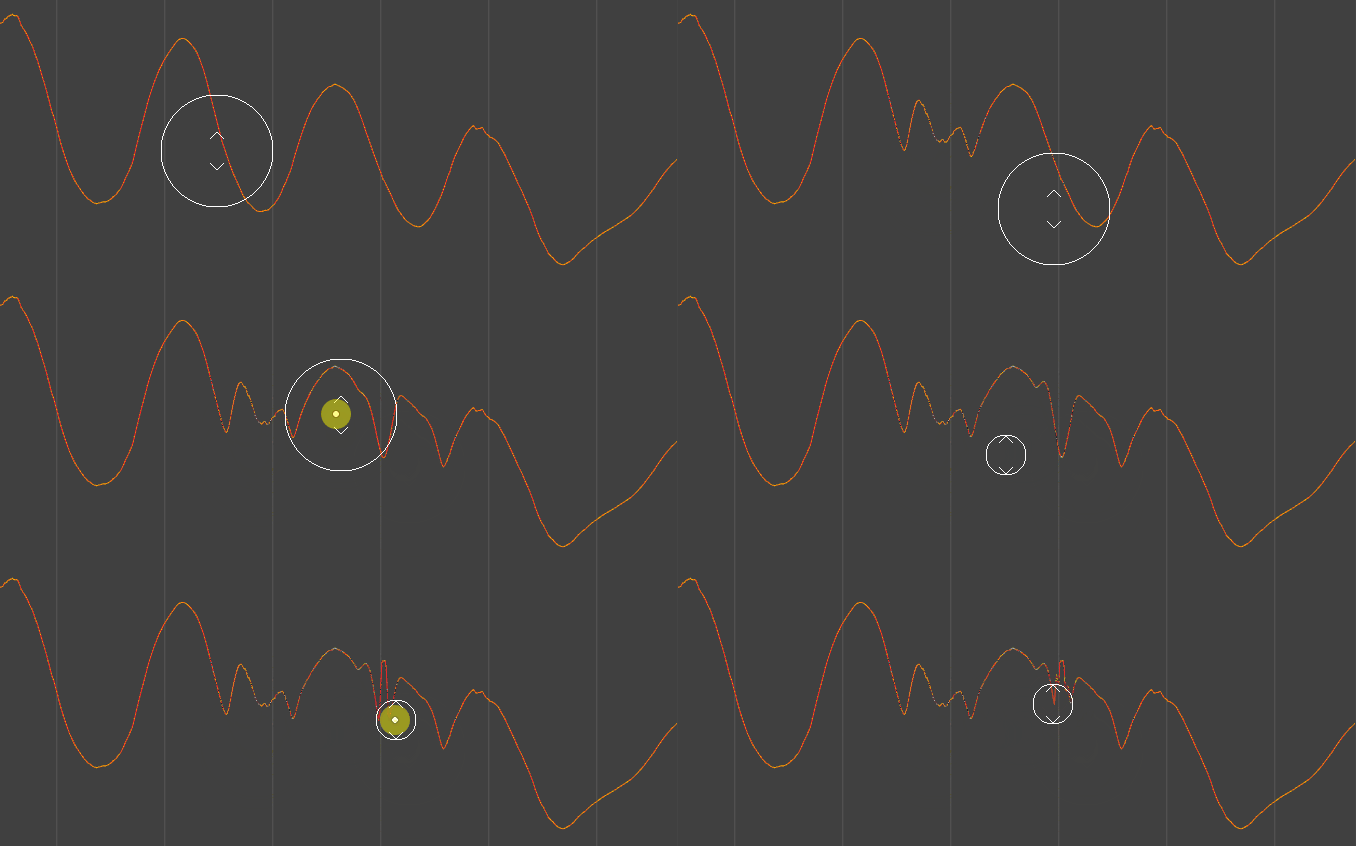
Flatten keys on a curve (Smooth tool)
 and drag over the part of the curve you want to smooth in the
Graph View.
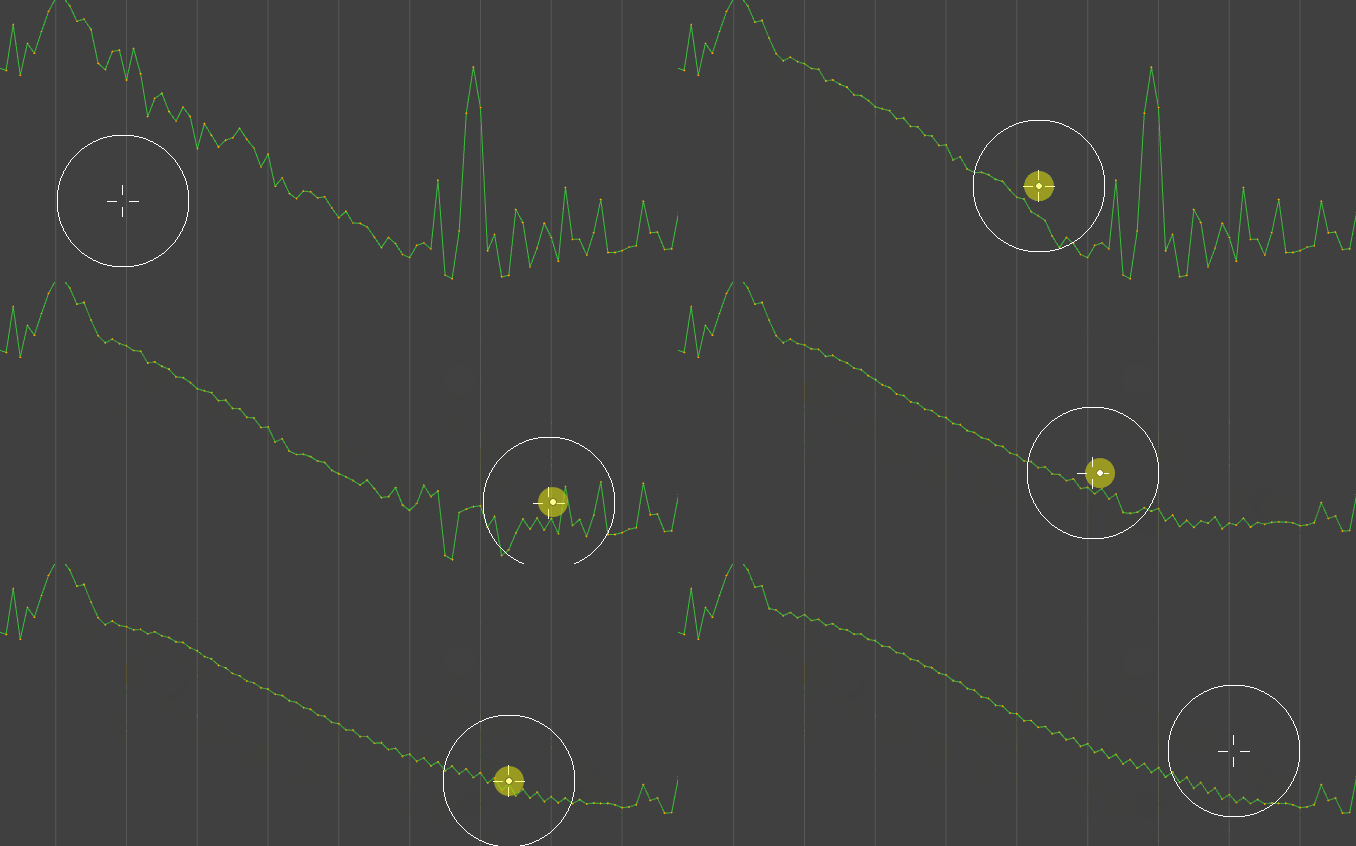
Nudge keys on a curve within a configurable brush radius (Smear tool)
 from the
Graph Editor toolbar and drag over the area of the curve you want to influence in the
Graph View.
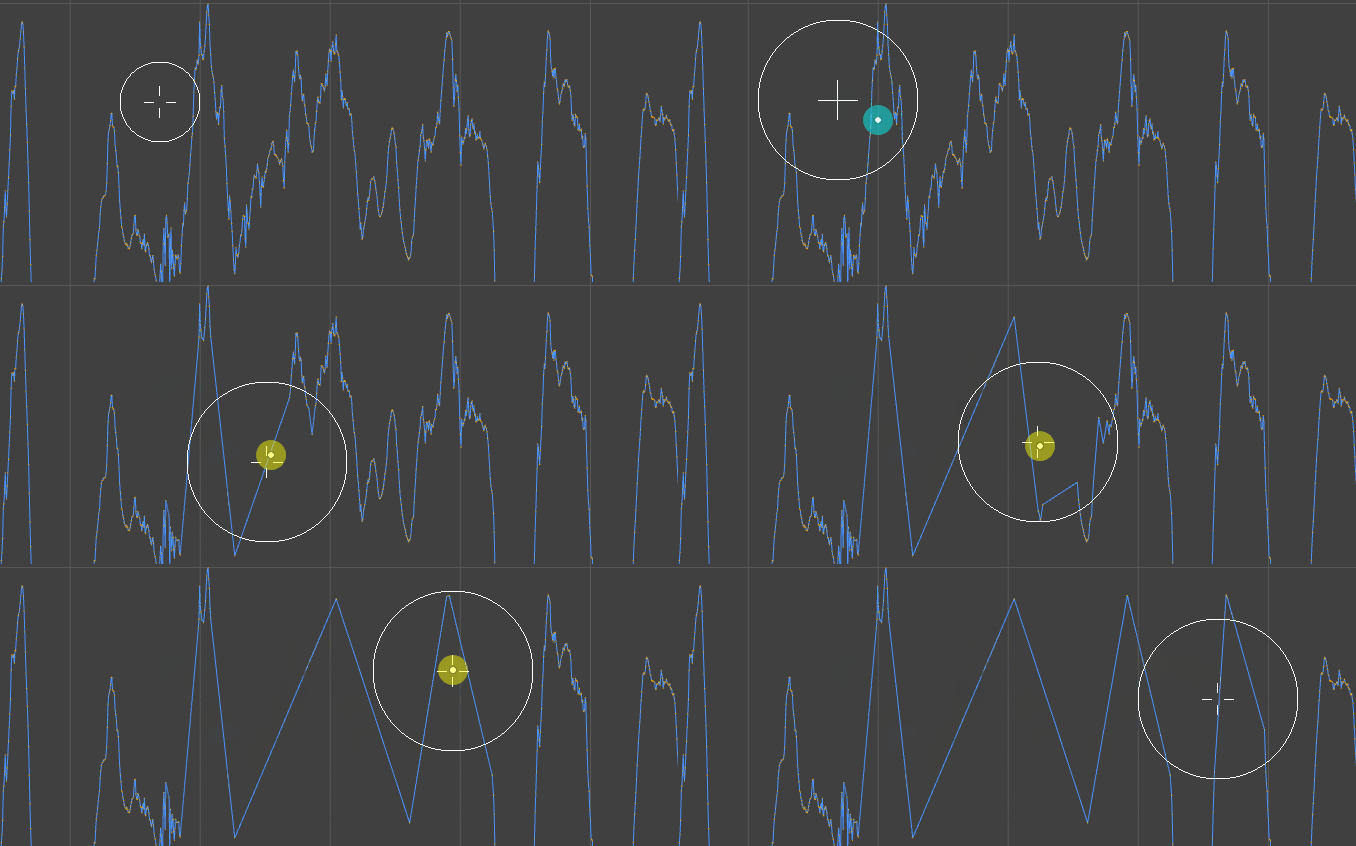
Lessen the number of keys on a densely-keyed curve (Key Reducer tool)
Select the Graph Editor
Key Reducer tool tool
 and drag over the area of the curve in the
Graph View where you want to reduce the number of keys. Using the
Key Reducer tool lets you simplify densely keyed curves to reduce file size and improve performance.
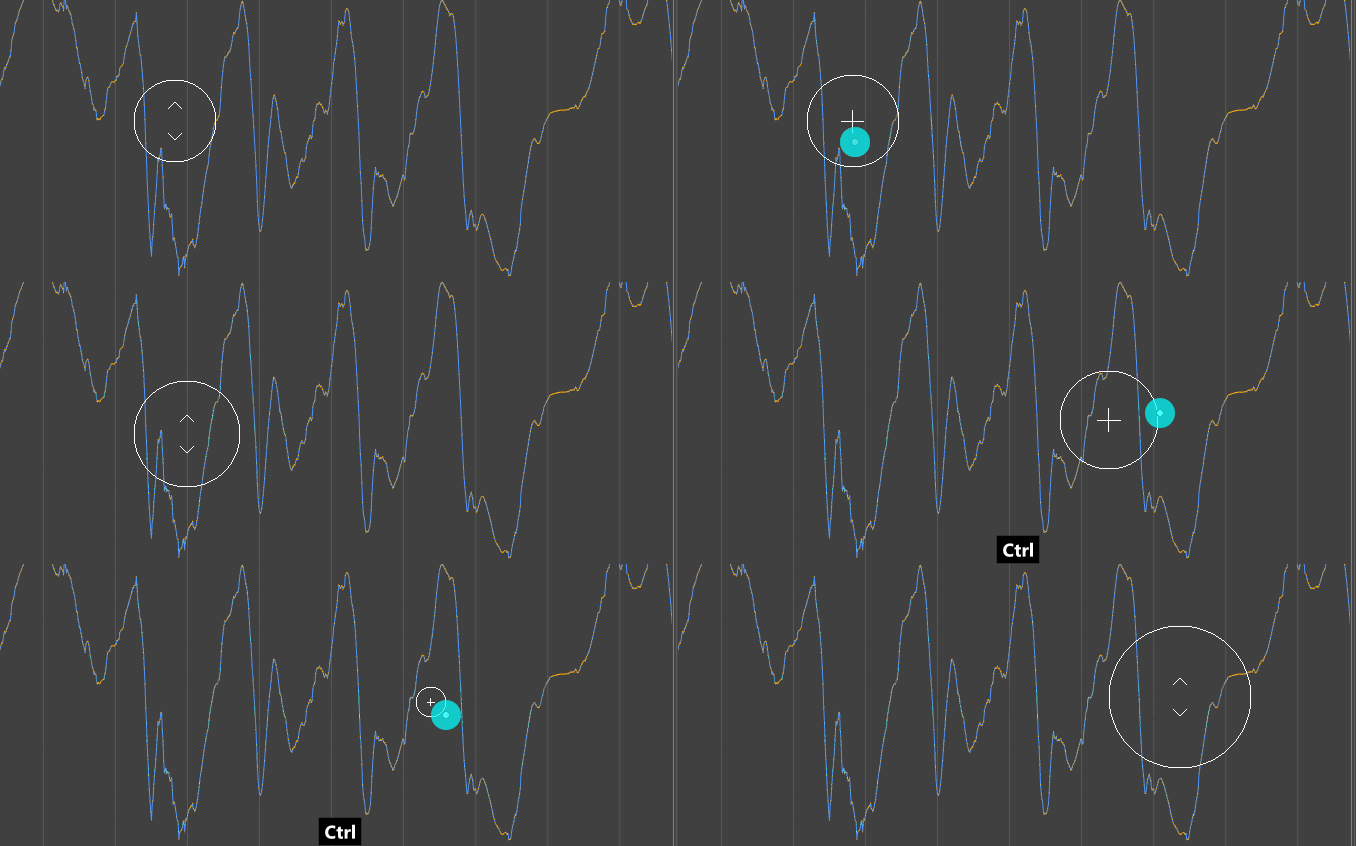
Select curves to sculpt
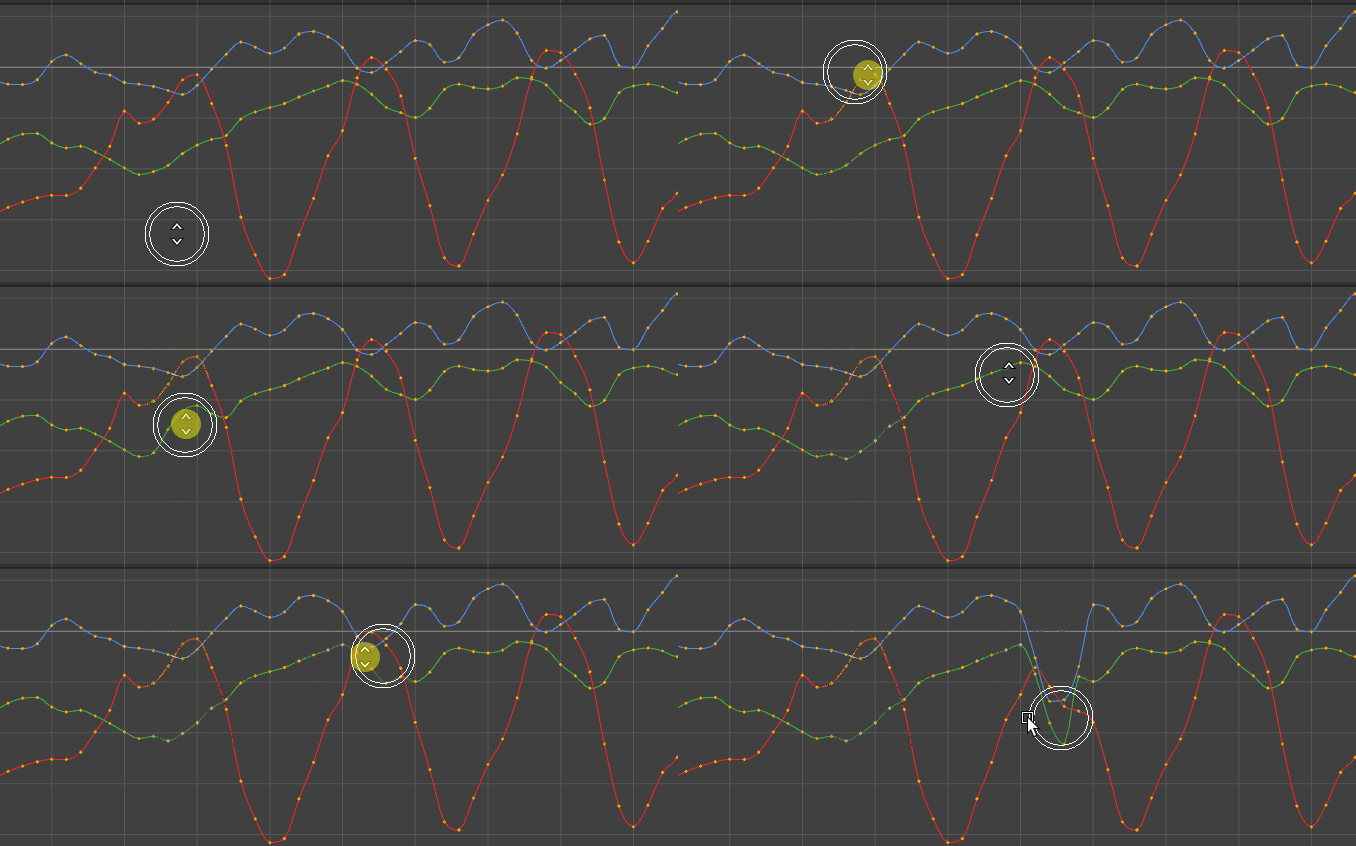
Resize a Graph Editor Sculpt Brush
Adjusting the size of the Sculpt brush
Increase the strength of a Graph Editor Sculpt Brush
Adjusting the strength of the Sculpt brush
See Sculpt Curve tools for more on the tool settings.
Create a custom brush using Falloff
