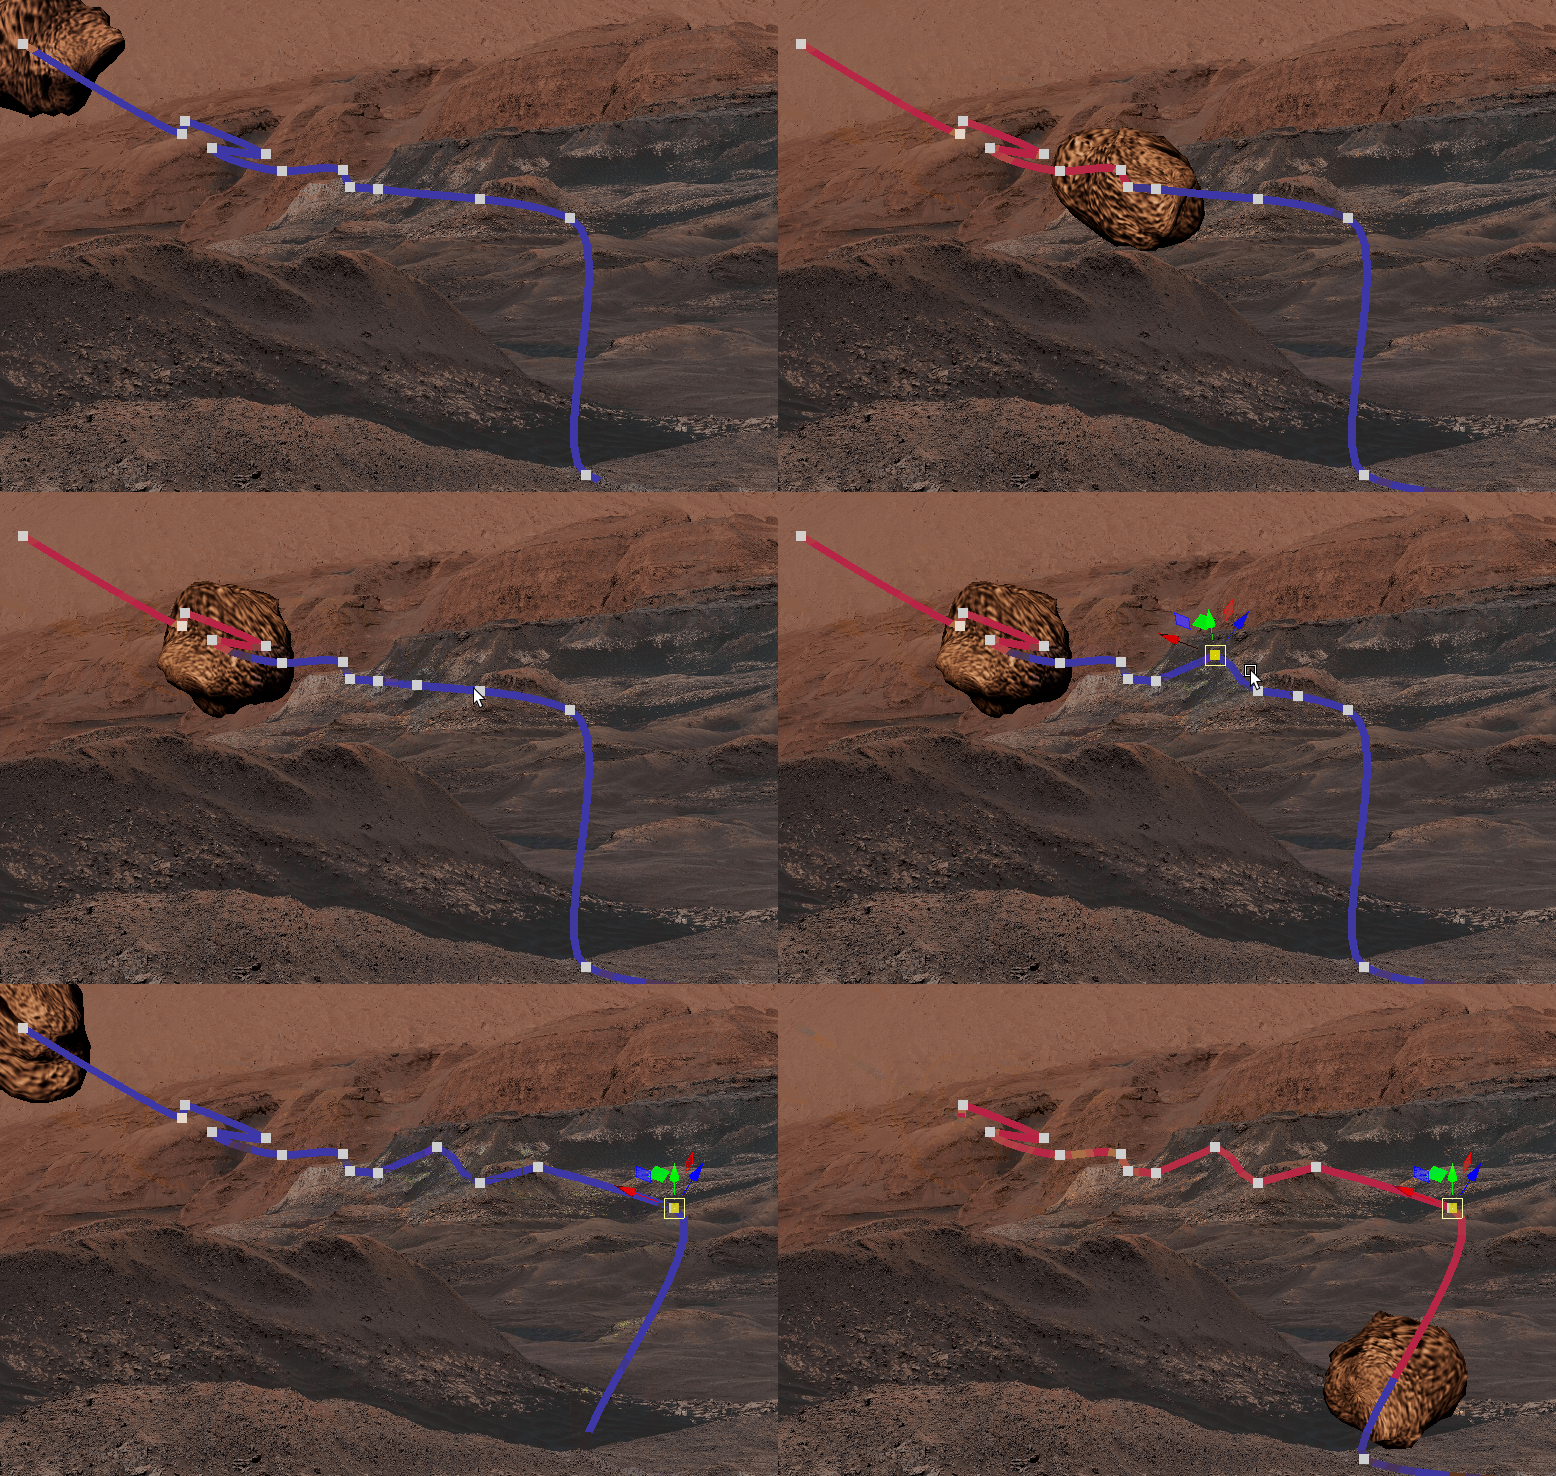
To modify keys on a Motion Trail
- Right-click the
Motion Trail and select
Add/Remove Keys from the
Marking menu.
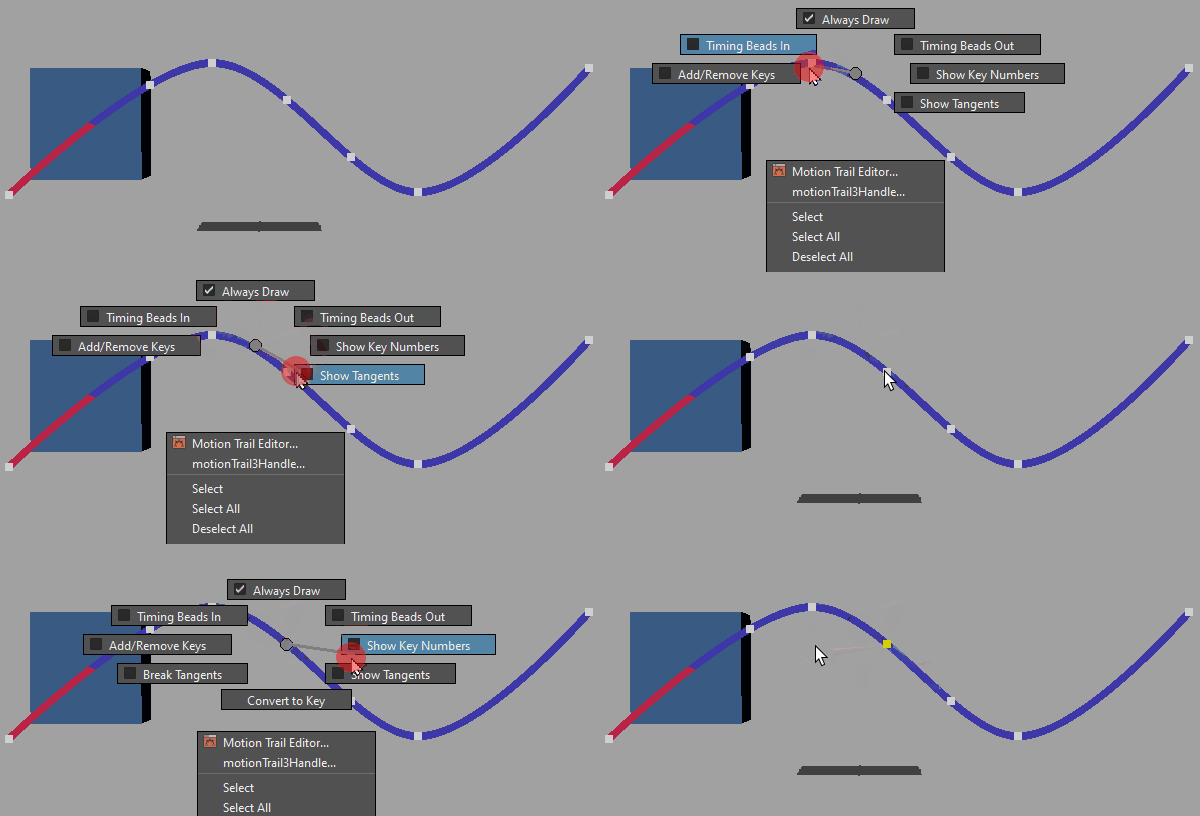
Right-click a Trail to view the Marking menu
This sets the Motion Trail to Add/Remove Keys mode, letting you adjust keys directly on the Motion Trail:
To... Do this: Insert keys
Right-click the Motion Trail and select Add/Remove Keys from the Marking menu. Click the place on the Motion Trail where you want to insert a key.
Move keys
Select a key, press w to activate the Move tool and slide the selected keys along the Motion Trail.
Delete keys
Right-click the Motion Trail and select Add/Remove Keys from the Marking menu. Shift + click a key on the Motion Trail to delete it.
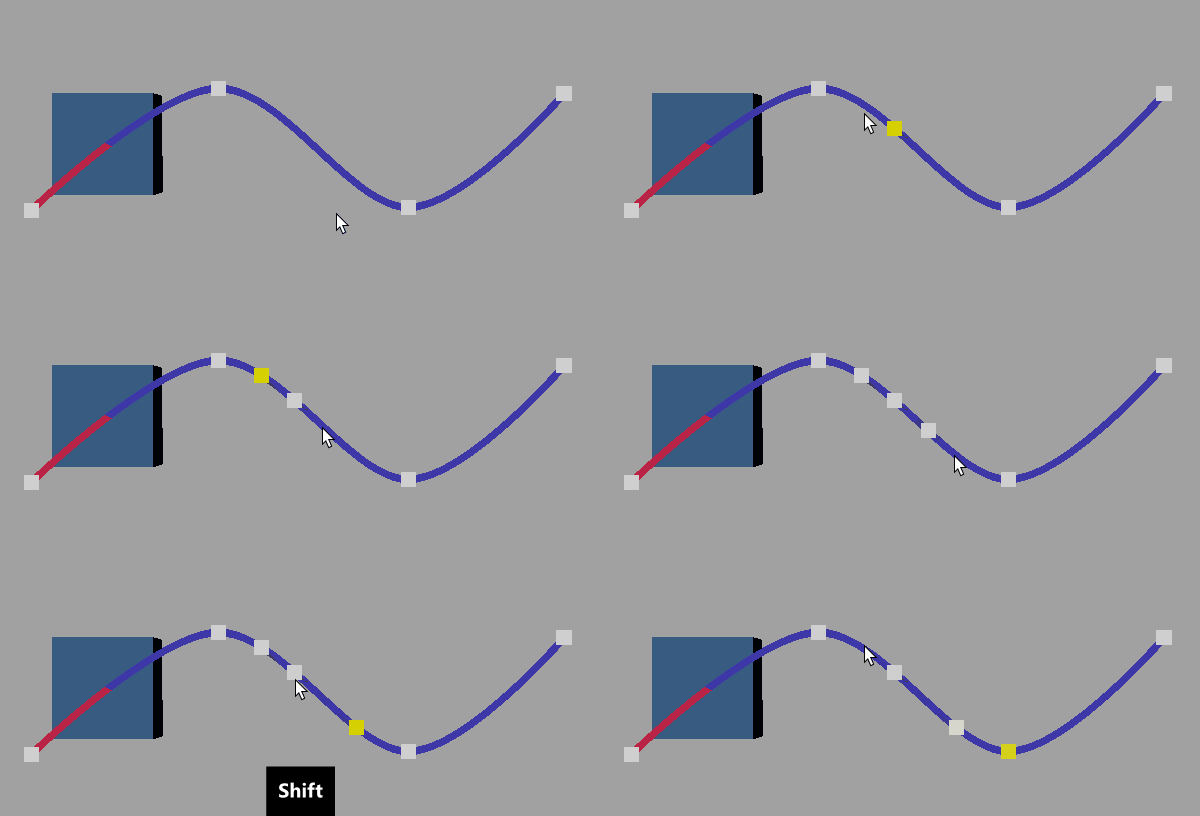
Click to add a key and Shift-click to remove a key from the Trail
Note:If you are editing a selected Motion Trail key using the Graph Editor, be careful when using the Region Tool or Lattice Deform Keys Tool to modifyMotion Trail curve segments to not delete the selected key. In this case, the Graph Editor refreshes to display an empty Graph view, since the selected key no longer exists.
This type of modification to the Motion Trail occurs if you create a trail based on a fixed time range, for example with a Start time of 1 and an End time of 10. If you drag a region including a key at frame 8 until it is beyond the 1 to 10 range, the Motion Trail key at frame 8 is deleted.
To display and edit tangents
- Select an editable key on the
Motion Trail, then do either of the following:
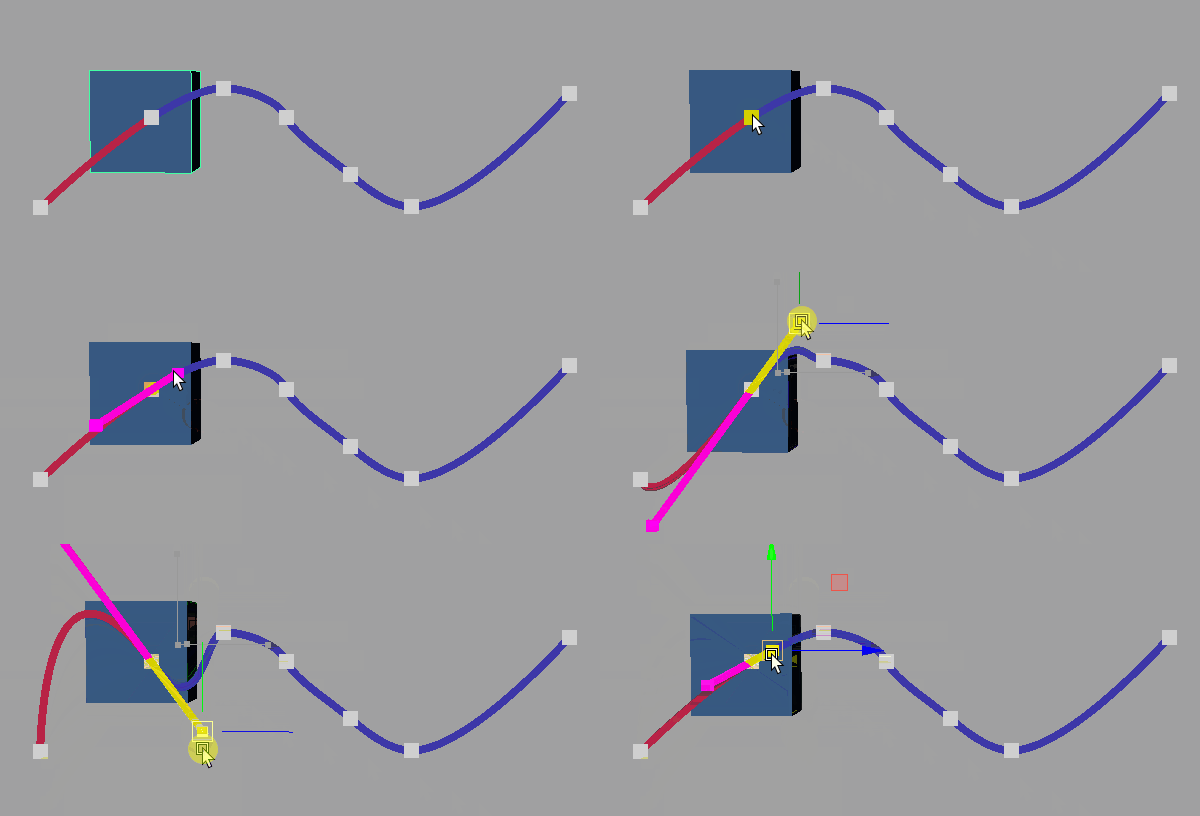 Note: Tangents are not available in the Motion Trail Editor, only the MotionTrailHandleShape of the Attribute Editor or the Motion Trail marking menu.
- In the Attribute Editor, turn on Show In Tangent or Show Out Tangent (on the motionTrailHandleShape tab, under MotionTrailShape Attributes).
- Right-click, then select Show Tangents from the Motion Trail marking menu.
The in and out tangent now displays on any key you select.
- Select the tangent handle (the tip of the tangent), then use the Move tool (w) to adjust the tangent and modify the shape of the trail.
A Motion Trail displays editable tangents of the following types: Spline, Linear, Clamped, Flat, Fixed, Plateau, and Auto.
Display and edit Timing beads
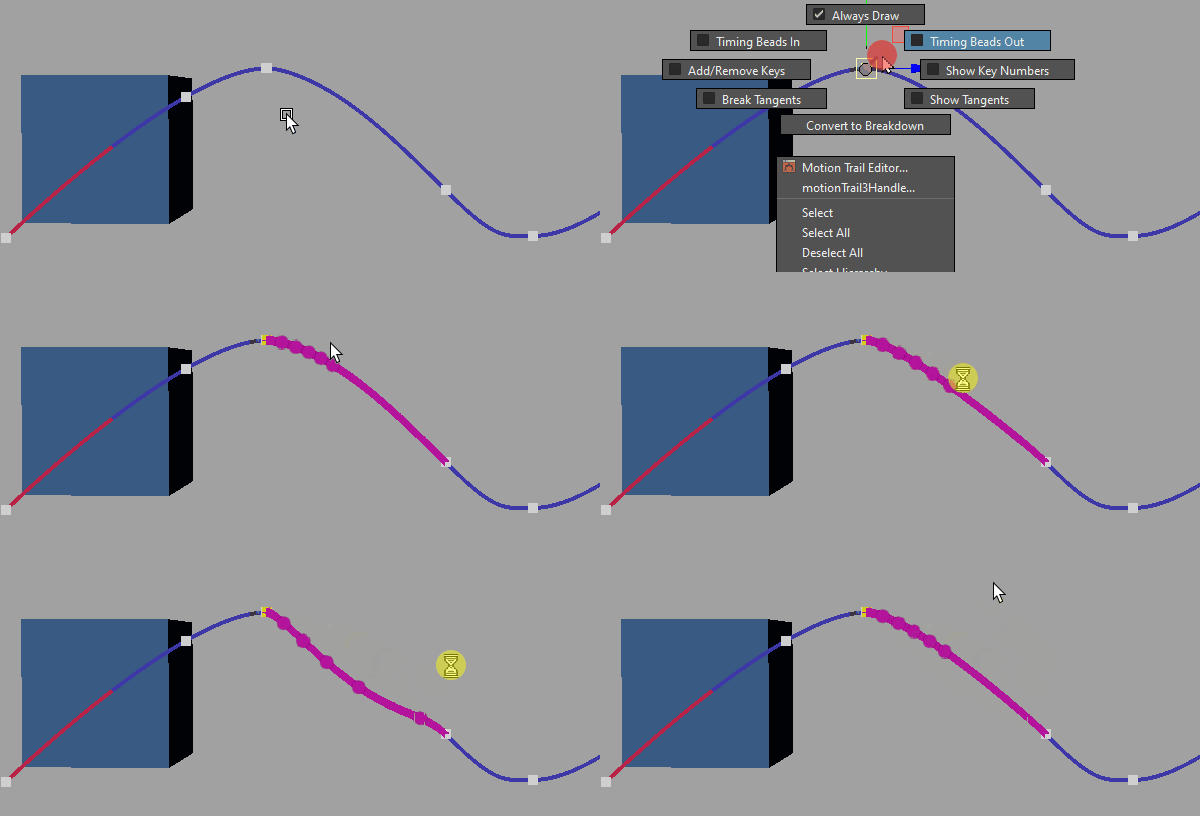
You can display and adjust timing beads on a motion trail to control the ease-in and ease-out of your animations at each keyframe. Timing Bead represent a frame in time. You can adjust the spacing of timing beads on either side of a key change the movement of the object as it approaches and moves away from the key: Stretching the timing beads slows the movement of the object into or out of the key, and compressing the beads speeds the movement up.
To display and edit timing beads
- Select a key on the
Motion Trail, then do either of the following:
- Right-click the key and select Timing Beads In or Timing Beads Out from the Marking Menu that appears.
- In the Attribute Editor, turn on Show In Bead or Show Out Bead (on the motionTrailHandleShape tab, under MotionTrailShape Attributes).
- Drag the timing beads toward or away from the keyframe on the trail to control the speed at which the object approaches and moves away from the selected key. Stretch the beads further apart to slow the movement, or compress the beads closer together to speed up the movement.
