This Shading menu displays above the scene view, or above each view panel in a layout with multiple scene views (like the Four View layout).
The Shading menu provides a number of ways to look at your scene. The quality can range from a simple wireframe display to a smooth- shaded view.
- Wireframe
-
Draws edges for polygon meshes and isoparametric curves for surfaces. This is the default shading quality.
- Smooth Shade All
-
Displays all surfaces, meshes, and particles as smooth-shaded objects.
Note:Shader plug-ins and textures plug-ins are supported when you use Hardware Texturing. When you use Smooth Shade All mode, only the attributes of the following specific names are used: diffuse, hardwareColor, color, transparency, incandescence, specularColor, shininess.
- Smooth Shade Selected Items
-
Displays selected items as smooth-shaded objects.
- Flat Shade All
-
Displays all surfaces and meshes as flat-shaded objects.
- Flat Shade Selected Items
-
Displays selected items as flat-shaded objects.
- Bounding Box
-
Displays objects as boxes that represent their bounding volumes. Bounding boxes speed up Maya operations and can make a significant difference for complex models.
The bounding box encompasses the hulls as well as the actual geometry. As a result, the bounding box may have dimensions larger than those of the geometry.
Note:To see bounding box coordinates, open the Attribute Editor, click the shape node tab, and open the Object Display section. It shows the read-only minimum and maximum world space boundary coordinates of a surface along the X, Y, and Z axes.
- Use default material
-
Displays the default shading material on objects when displaying in shaded mode regardless of the assigned shading material.
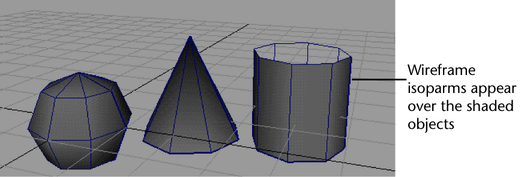
- Wireframe on Shaded
-
Superimposes a wireframe display on all shaded objects in a view.

- X-Ray
-
Displays all shaded objects as semi-transparent. This can be useful for seeing hidden parts of a model.
- X-Ray Joints
-
Displays skeleton joints over top of other shaded objects to aid joint selection.
- X-Ray Active Components
-
Displays active components over top of other shaded objects. This shaded mode is useful when you want to ensure you don’t accidentally select unwanted components. Applies only to polygon objects when in component mode.
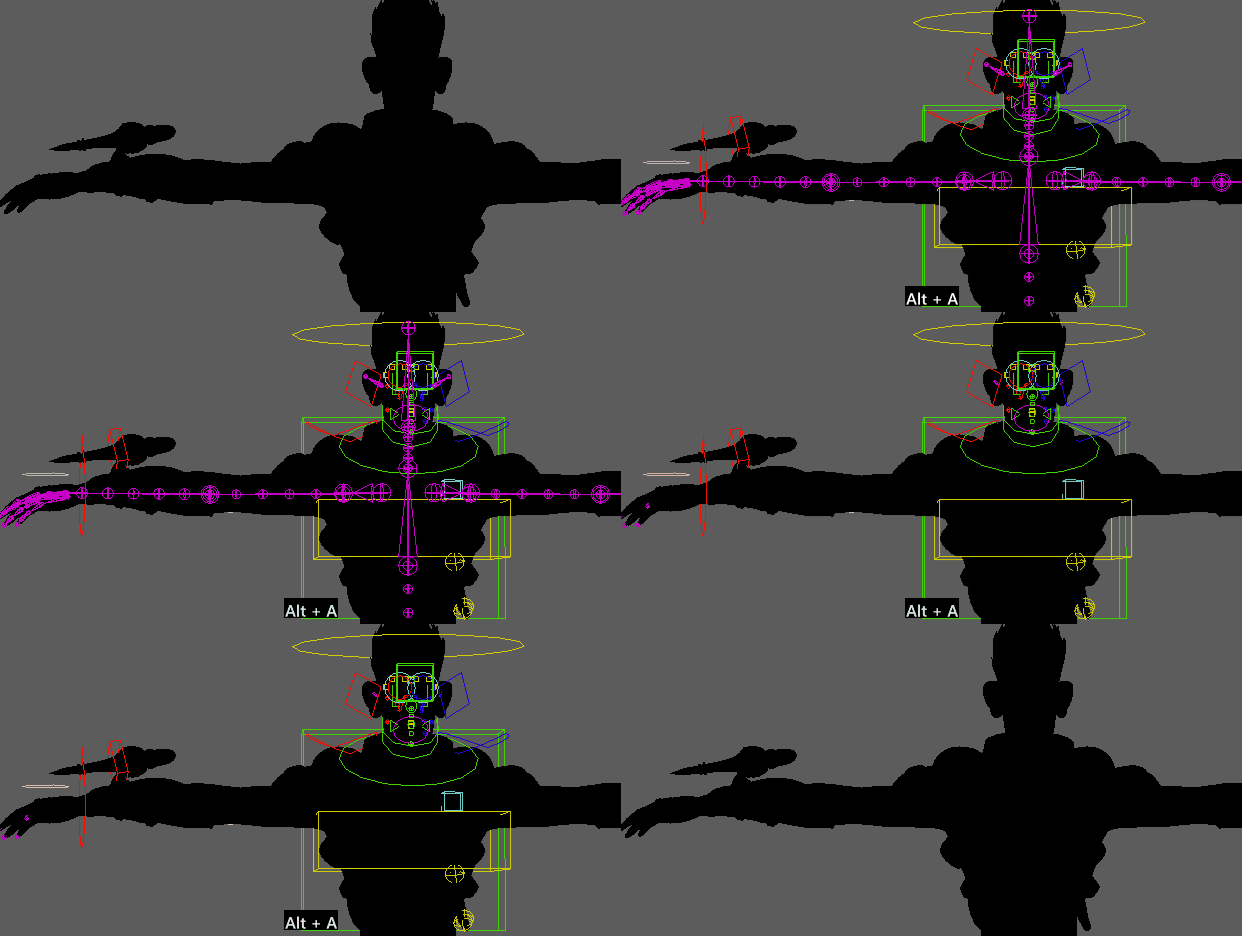
- Cycle rig display mode
-
 Lets you switch between Viewport display modes similar to MotionBuilder, Press Alt + A to cycle between the following 3 view modes:
- Display mesh only
- Display mesh, rig and joints with X-Ray
- Display mesh, rig and joints without X-Ray
- Backface Culling
-
For objects displayed in smooth shade or flat shade mode, makes the object’s back face transparent which helps speed the display or manipulation of objects.
- Smooth Wireframe
-
Displays smooth wireframed objects in Maya’s 3D views.
Note:Does not work in 2D views, including the UV Texture Editor.
- Hardware Texturing
-
Displays hardware textured rendered results in the scene view, as if they were being displayed in an external viewer.
This mode is on by default.
- Hardware Fog
-
Simulates hardware fog effects achievable in programs outside of Maya. Displays how a spotlight's fog is distributed before you render. Used for preview purposes, Hardware Fog only displays in the perspective view.
In Viewport 2.0, when you select Shading > Hardware Fog >
 , the
Hardware Renderer 2.0 Settings window appears and enables you to adjust the fog settings. Select
Shading > Hardware Fog >
 to set the
Hardware fog options.
- Depth of Field
-
When using Viewport 2.0, you can enable or disable depth of field per viewport. To see the depth of field effect in the viewport, you must first enable Depth of Field in the camera Attribute Editor. See View the depth of field effect in Viewport 2.0 and Adjust depth of field.
- Apply Current to All
-
Applies the current 3D view's shading style to all objects in the scene.