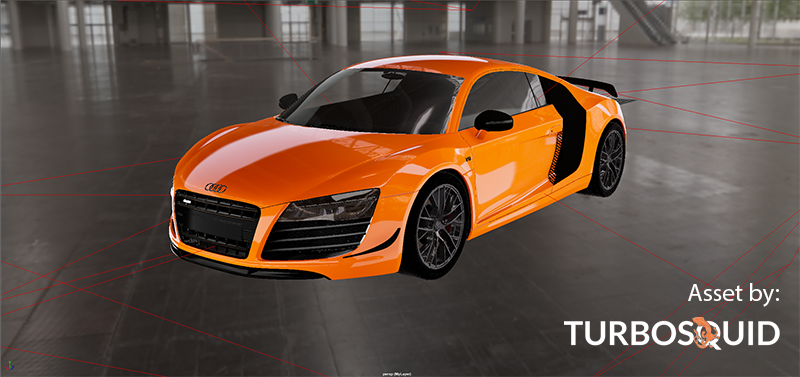
To add a light to your scene, select it from the Create > Lights menu, and adjust attributes such as its intensity and color from the Attribute Editor. Alternatively, you can also create lights from the Light Editor, and adjust and position the lights directly within the editor. If you are using the Arnold for Maya renderer, you can add Arnold lights to your scene in addition to Maya lights.
Position the light as you would any object, or use a light manipulator
to interactively place a light. To easily adjust your light position with respect to the objects in your scene, select the light, then select
Panels > Look Through Selected from the
panel menus or click
 from the
Light Editor.
By default, the Maya Creative viewport illuminates your scene with a directional light so that you can see your objects. This is known as the default lighting mode (Lighting > Use Default Lighting in the panel menus). To see the effect of lights you created, press 7 or select Lighting > Use All Lights.
Both lights and objects cast and receive shadows by default. To see shadows in the viewport, you need to enable Lighting > Shadows. You must also enable Lighting > Use All Lights to see shadows.
If you are using the Arnold for Maya renderer, you can also add environment lighting in your scene by creating a Skydome Light. Use it with an HDR image, for example, to illuminate your scene with the texture file.