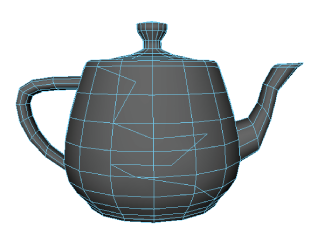
You can interactively divide components on your mesh by drawing new edges with the Multi-Cut Tool. This allows you to change the topology of your mesh very quickly.
To cut faces with the Multi-Cut Tool
- Select the mesh you want to cut.
- Open the Multi-Cut Tool.
- (Optional) Turn on object, world, or topological symmetry to make cuts on both sides of your mesh. See Activate or deactivate symmetry.
- (Optional) Set a live surface for the cut edges to adhere to.
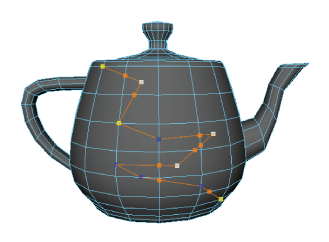
- Click either an existing edge or vertex to act as a start point. A cut must start on a vertex or edge. If you start a cut on a face, the closest vertex is also selected, creating two cut points.
Tip: Shift-click an edge to start drawing from its midpoint.Note: You can use grid (hold X) or point (hold V) snapping when placing cut points.
- Use the percentage indicator that appears to make precise cuts.
- Click additional edges, vertices, or faces to add points to the cut line.
When you insert points that are several faces apart, any necessary intermediate points are automatically created. You can also make multiple cuts along the same edge.
-
You can also interactively edit a cut line while the Multi-Cut Tool is active by:
- Pressing Backspace to remove points.
- Holding Shift to snap points along edges. Use the Snap % field in the Multi-Cut Options to adjust the snap interval.
- Undoing (hotkey: z) or redoing (hotkey: Shift + z) any action.
- Dragging to reposition cut points anywhere on your mesh. Reposition cut points with the Multi-Cut Tool.
- In the Multi-Cut Options, adjust the Cut/Insert Edge Loop Tool settings.
- When finished, do one of the following to cut the faces:
- Press Enter
- Right-click
- Switch to another tool
- Click
 again to exit the tool