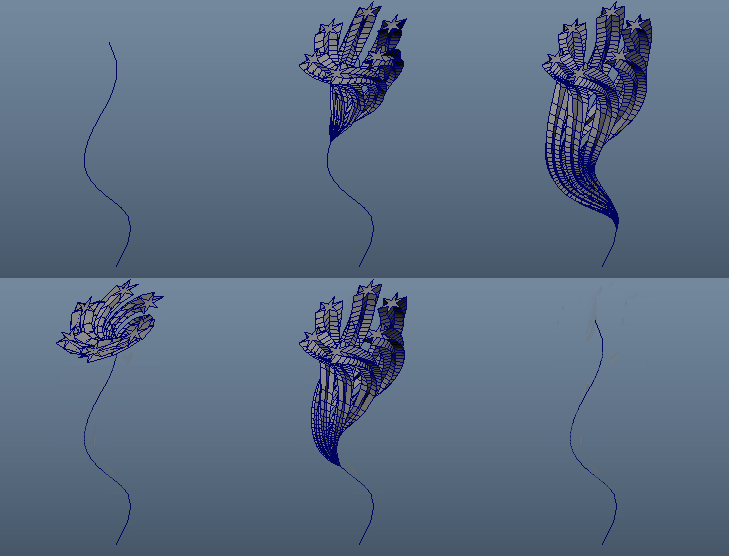
This example shows you how to use the Sweep Mesh tool with other tools in Maya Creative to create unique effects. Try this workflow to create a growing vine effect based on an animated curve.
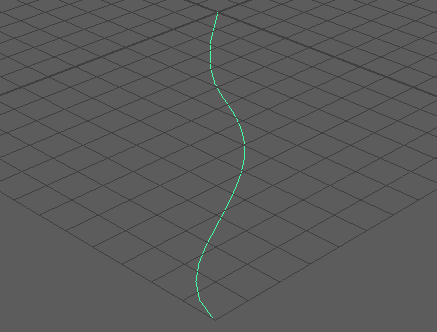
- Create a curve to be your base for the animation. (Select
to draw out a curve.)

- Select your curve and go to
>
 to open the
Offset Curve Options.
- Set Offset Distance to 0.00.
- Set Curve Range to Partial and click Offset. A new curve is created on top of the original.
- With the new curve selected, open the Attribute Editor (Ctrl + A)
- Locate the
offsetCurve1 tab, and click
>
 (Upstream Connection).
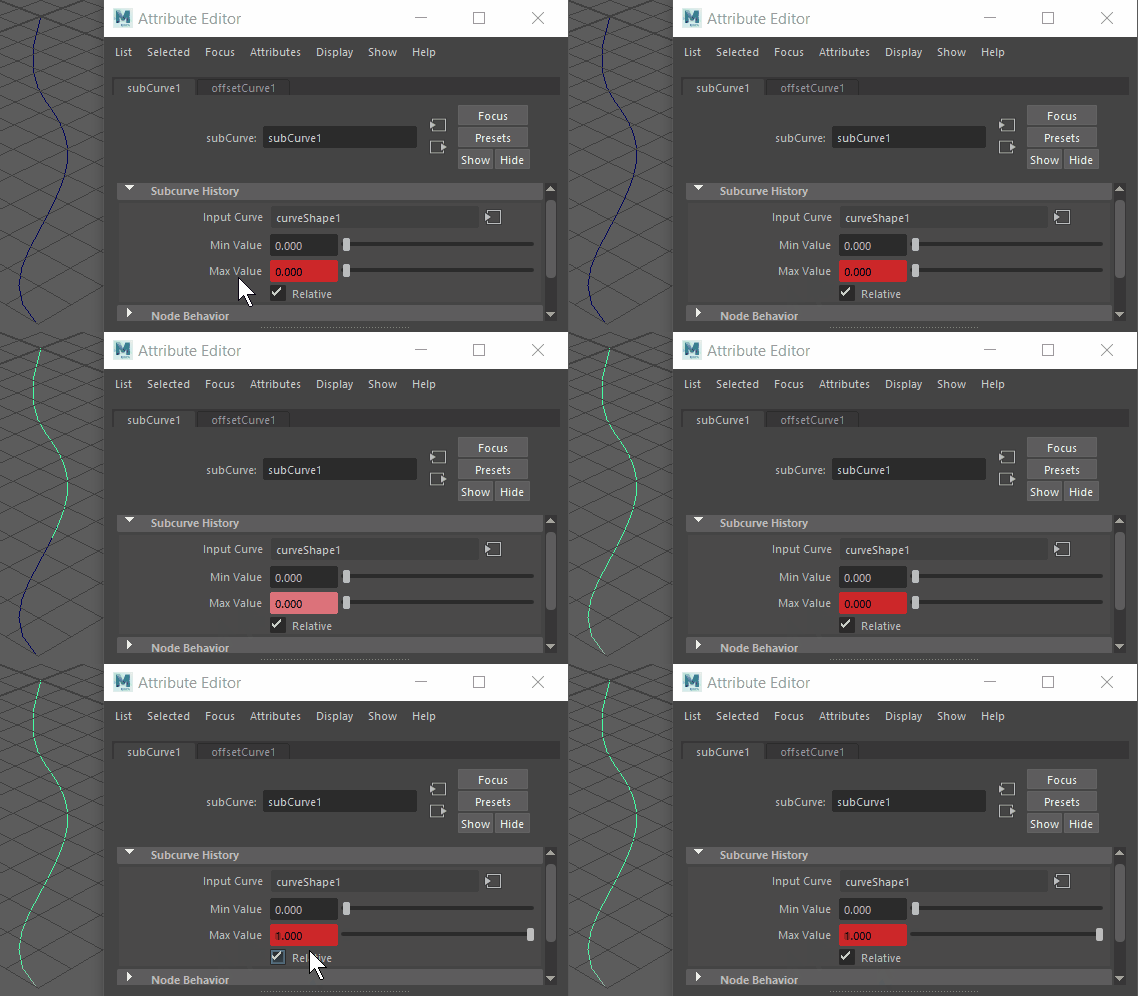
- With the Time Slider at frame 1, change the Max Value of the Subcurve History to 0.00.
- Right-click the Max Value field and choose Set Key.
- Move the Time Slider to frame
120 and change the
Max Value of the
Subcurve History to
1.00. Right-click
Max Value and set another key. Scrub the Time Slider to ensure the offset curve length changes from 0 to 1.

- Select the animated offset curve, and select
Sweep Mesh
 from the Poly Modeling shelf or
in the
main Maya Menu.
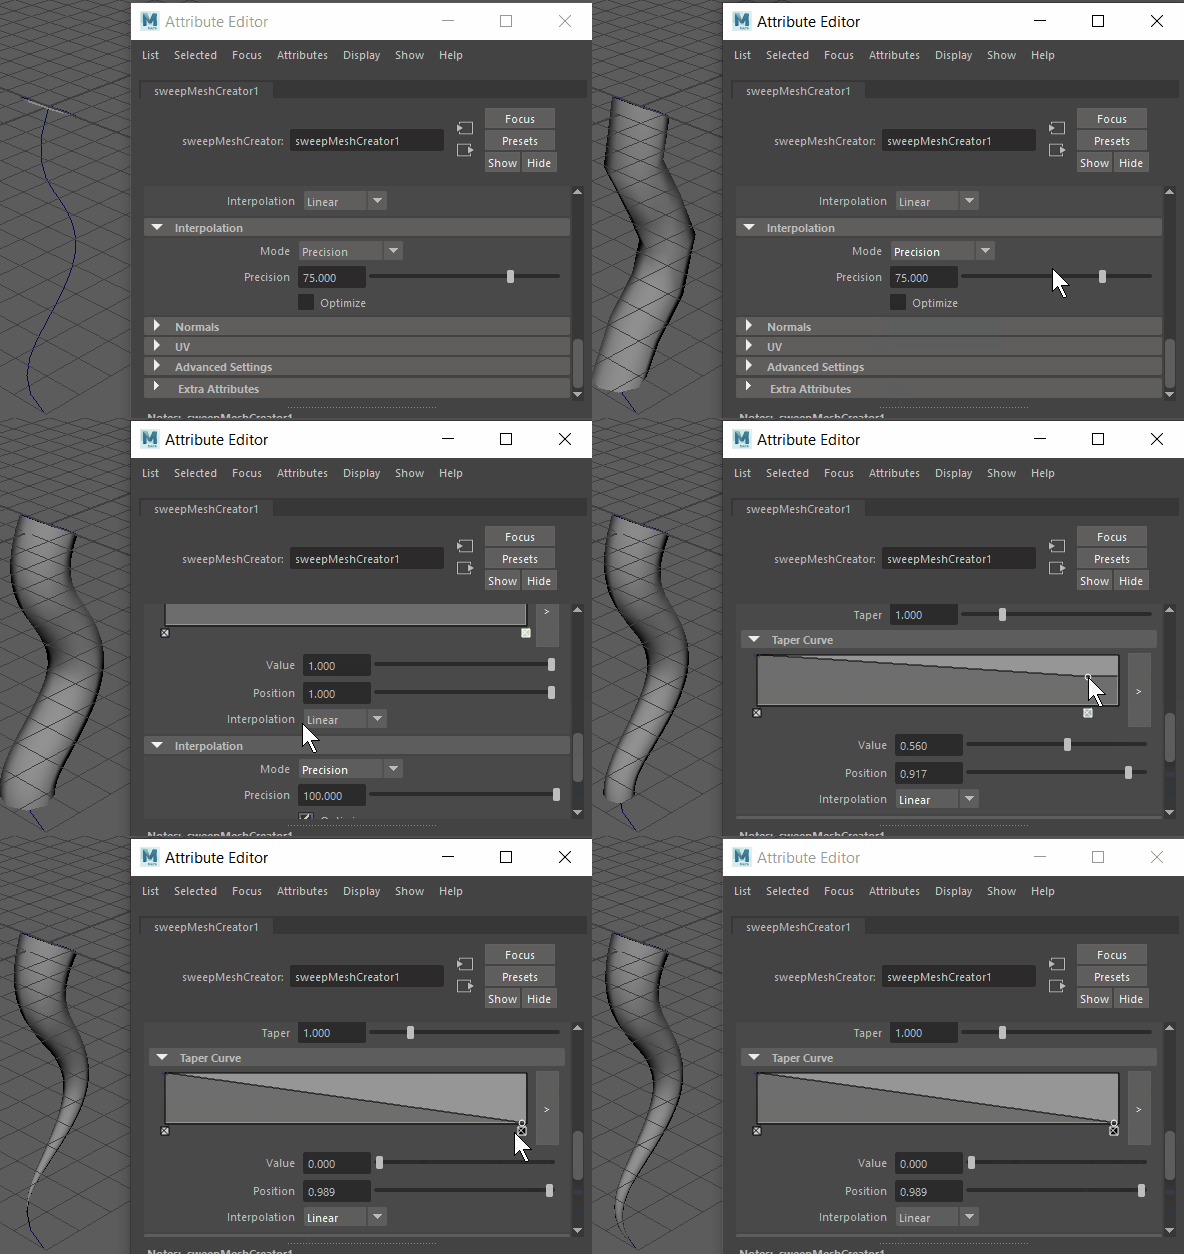
- Play back the animation. The mesh grows like a tube but the curve has angles.

- In the Sweep Mesh Interpolation section, set the Mode to Precision, the Precision value to 1.00, and click Optimize. The mesh curve smooths out.
- Next, in the
Taper Curve section, adjust the ramp so that the tip of the mesh thins to a point.

- Experiment with other Sweep Mesh options like Profile and Distribution.
See other workflows using Sweep Mesh with Sweep Mesh example workflow: Corkscrew and Sweep Mesh example workflow: Frame.