To apply the checker pattern shader
- Select the object and open the UV Editor ().
- In the
UV Editor toolbar, click the checker pattern shader icon
 or go to
.
or go to
.
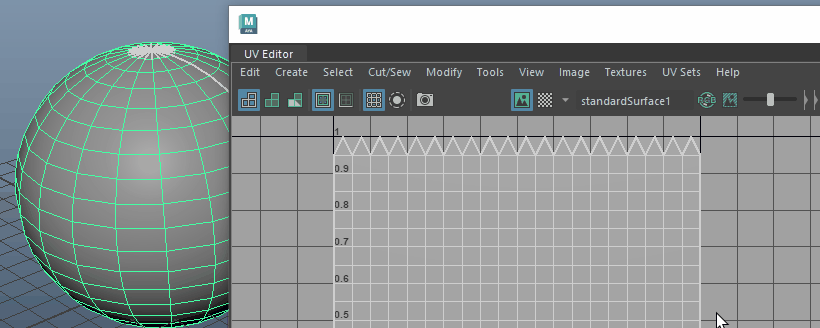 The checker pattern shader is applied to the surface of your UV mesh and appears behind the grid in the UV Editor. Right-click to toggle between a simple black and white shader to a color gradient in the Checker Map options. The color gradient makes it easy to locate tiles on your UV mesh.Tip: If the checker pattern shader doesn't appear on your mesh, ensure that Viewport 2.0 is selected in the Renderer panel menu.In the following example, the size of the checkers is inconsistent, indicating that the texture is stretched in some areas.
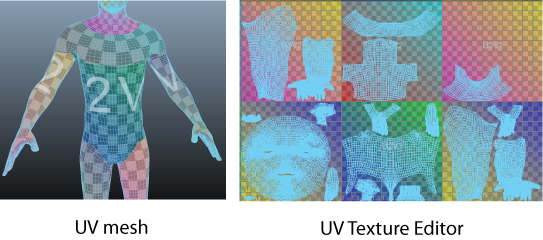 Note: The checker pattern shader does not affect the object's original materials, shaders, and texture assignments.
 - Do one of the following to turn off the checker shader:
- Close the UV Editor.
- Click the checker pattern shader icon.
The mesh's original materials, shaders, and texture assignments reappear on your UV mesh and in the UV Editor.