Add an advanced print view
If you're a Fusion user, this feature is not available in the Components or Drawings workspaces. Learn more about system workspaces.
Create advanced print views with full formatting control for printing workspace items. Advanced print views let you combine specific tab sections, add custom text, apply formatting, and create complex multi-column layouts.
From the navigation menu, go to Administrator > Workspace Manager.
In the Workspace Manager, expand the workspace's panel.
Click Advanced Print Views.
The Advanced Print Views page opens.
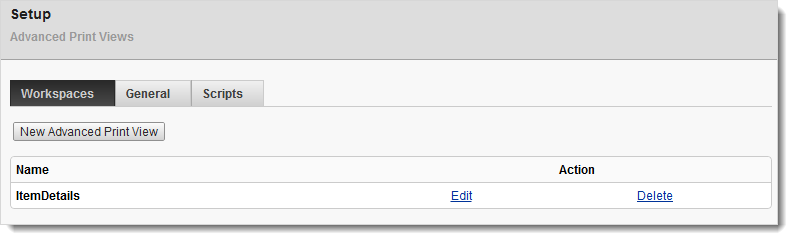
Click New Advanced Print View.
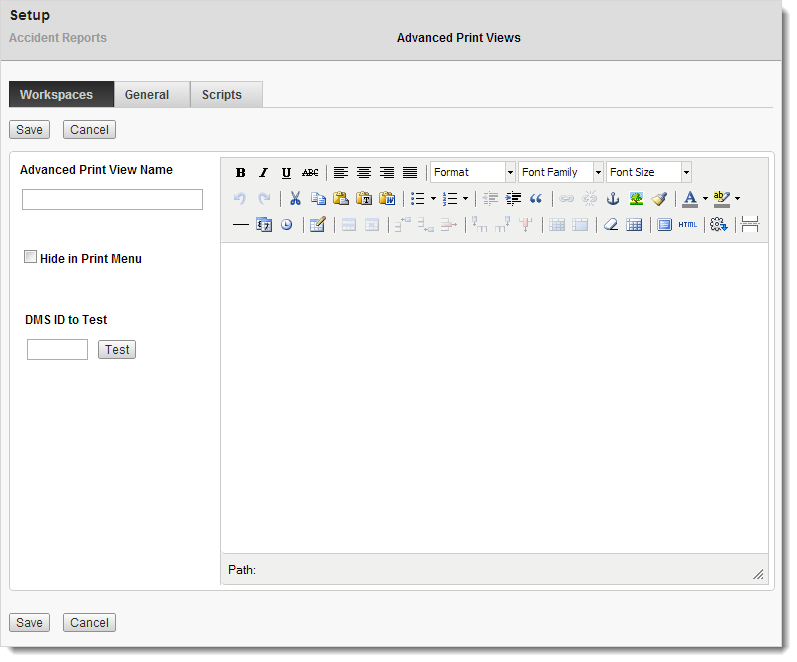
Enter a name for the view.
(Optional) To hide the view in the Print drop-down menu on the workspace's page, select Hide in Print Menu.
Insert workspace artifacts (tabs) where you want them in the editor.
a) Click where you want to insert the artifact.
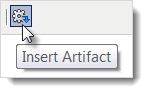
b) On the editor toolbar, click the Insert Artifact icon.
c) In the Artifact drop-down list, select the tab with the data you want to appear in the print view.
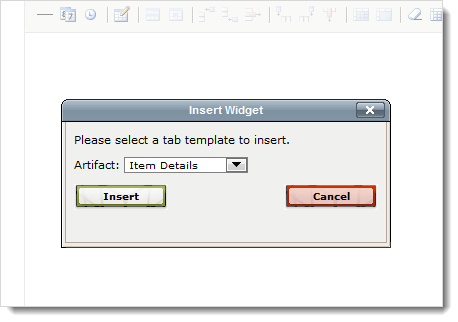
d) Click OK.
(Optional) Insert other artifacts (tabs) as needed, repeating step 7.
(Optional) In the editor, add additional content and/or apply formatting using the editor tools.
Click Save or Save and Close.
The print view is saved.
Tips
If you select the Item Details tab from the Artifact drop-down list when inserting an artifact, you can insert individual tab sections.
To preview the print view before saving, enter a workspace item ID in the editor's DMS ID to Test text box and click the Test button.