Add a basic print view
If you're a Fusion user, this feature is not available in the Components or Drawings workspaces. Learn more about system workspaces.
Create a basic print view to control which workspace tabs are included when you print an item from that workspace.
From the navigation menu, go to Administrator > Workspace Manager.
Select the workspace where you want to create the print view.
Click Print views.
Click Add.
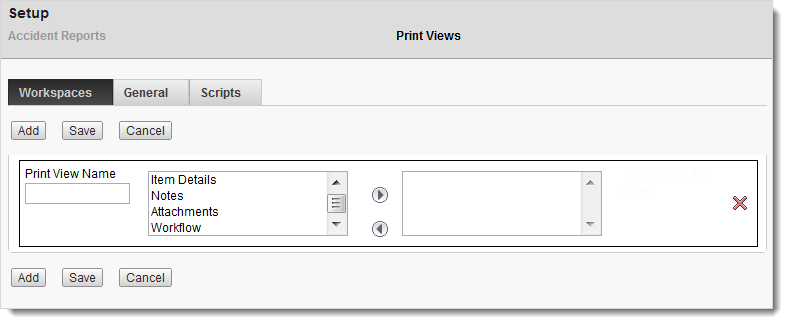
Enter a Print View Name.
Select the tabs to include in the print view.
- Double-click a tab in the available tabs list.
- To add multiple tabs, hold CTRL while selecting the tabs, then click the right arrow.
(Optional) To add another print view, click Add and repeat the preceding steps.
Click Save.
The print views are added to the workspace's Print menu.
To reorder print views, drag the print view containers into the order you want them to appear in the Print menu.
To delete a print view, click the  icon.
icon.