Erasers
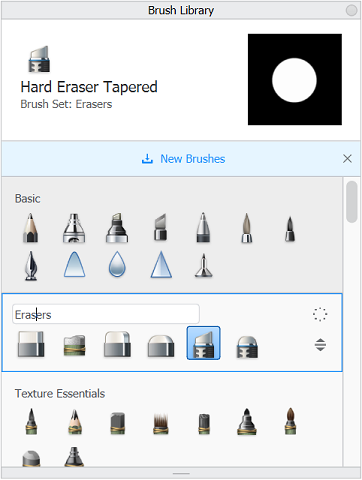
There are an assortment of erasers in SketchBook Pro. You can find them in various brush packs in the Brush Library and there are two  hard and
  soft erasers are found in the Brush Palette.
For mobile users, tap ![]() and scroll through the Brush Library to find different erasers.
and scroll through the Brush Library to find different erasers.
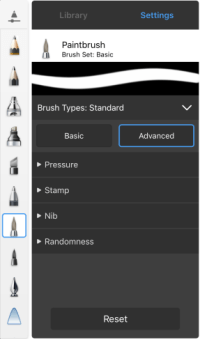
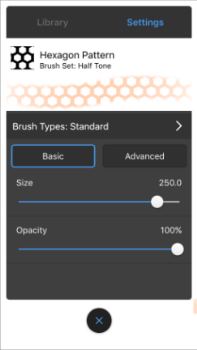
Video captions: Selecting an eraser. Tap the third icon in the toolbar. This opens the Brush Library. Let's scroll and look at the different brush sets. Notice some brush sets do not have an eraser. Now, let's select an eraser. To change the settings for this eraser, tap Setting. This opens the Brush Properties. Tap-drag sliders to change the settings. Notice, there are two tabs, Basic and Advanced. Basic has options, such as Size and Flow. And, if you scroll to the bottom, you can click Reset to reset the eraser to its default settings. Tap Advanced to see the advanced settings, such as Pressure, Stamp, Rotation Dynamics, and Nib. Let's go back to basics. Let's change the size of the brush and let's change the flow. When finished, tap the X to return to the canvas. Now, let's erase.
For tablet users, if the erasers aren't visible in the palette, tap-drag up or down within the palette to expose them.

Creating an eraser pack
If you want all the erasers in one place, create an eraser pack.

Follow the instructions in Creating a new brush set to create a new brush set.
Follow the steps in Renaming brushes and brush sets to rename the pack.
To add erasers to the pack, do one of two things:
- If you don’t want to remove the selected eraser from its current set, make a duplicate using
 (found in the Brush Library marking menu). Once you have a copy, drag it to the new set.
 - Drag an eraser directly into the brush pack. This removes the eraser from its original pack and moves it to the new pack.
- If you don’t want to remove the selected eraser from its current set, make a duplicate using
Creating custom erasers
If you have a brush you love, but wish there was an eraser just like it, use Transparent Color to create one.
Modifying an eraser
To make changes to an existing eraser, do the following:
In the Brush Palette, tap the following to open the Brush Library:
- For Desktop users:

- For Mobile users:

- For Windows 10 users:

- For Desktop users:
In the Brush Library, select the eraser you want to modify.
Do the following to access Brush Properties:
For Desktop users: Tap

For Mobile users: Tap Settings .

On a tablet

On a handheld device
For Windows 10 users: Double-tap the eraser.
Edit the eraser, then close the Brush Properties and continue drawing.