Creating a new brush set
Jump to Mobile or Windows 10
If you have created a bunch of brushes, create a new brush set to help organize them. The new set will appear below the current active brush set in the Brush Library. From there, why not load the set into yourBrush Palette to make them even more accessible.
Creating a new brush set in SketchBook Pro Desktop
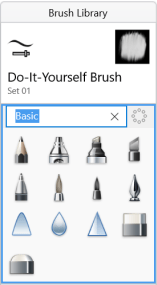
To create a brush set, in the Brush Library, tap a brush set.
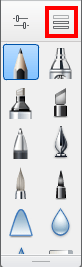
Tap-hold
 and select
  New Brush Set.
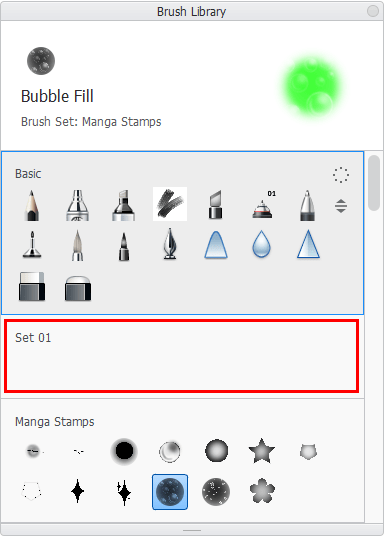
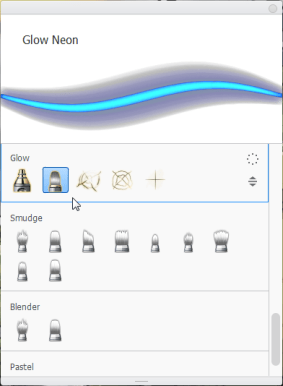
Tap-hold a brush to select it.
Drag the brush into the set to populate it.
INFORMATION: If you don’t want to remove the selected brush from its current set, you can duplicate the brush, using Copy Brush (found in the Library marking menu). Once you have a copy, drag it to the new set.
Renaming a brush set
Once you’ve created a brush set, you may want to assign a name that better describes its contents.
Tap the set name to make it editable, then enter a new name, and press the Enter key.
Creating a new brush set in SketchBook Pro Mobile
SketchBook Pro Mobile doesn’t currently support brush set creation.
Creating a new brush set in SketchBook Pro Windows 10
Use  to create a brush set for your custom brushes.
- In the Brush Library, tap a set.
- Tap and flick . The brush set appears below the previously selected set. The next thing will be to name the set.
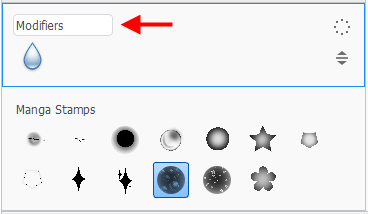
Renaming a brush set on Windows 10
Tap the name of the brush set to make it editable. Enter a new name, then tap your Enter key.