Edit a child material
The properties available in the Property Editor for editing a child material are determined by the shader graph of its parent material. For example, the Stingray physically-based shader graph provides the Standard material properties.
See Parent and child materials for more information on this concept.
To edit material properties:
In the Asset Browser, select a material.
With the material selected, open the Property Editor (Window > Property Editor).
Make any adjustments needed.
When you edit the material properties of a child material, they turn blue in the Property Editor, to show that they are different from the parent material. You can click any blue label to instantly reset the property to the parent default value.

Depending on your Stingray layout, the material name, the Asset Preview window, or a small disk icon display in orange to indicate you have unsaved changes on the child material.

Do either of the following to save the material:
- In the Asset Browser, right-click on the material and select Save.
- In the Property Editor, click the save icon

Note: You can save changes individually or save all edits by selecting File > Save All from the main menu bar.
Parent Material is the first property listed for every material in the Property Editor.

The parent material determines the properties that are available for all instances of a material in the Property Editor, so changing the parent material can change the rest of the properties you see.
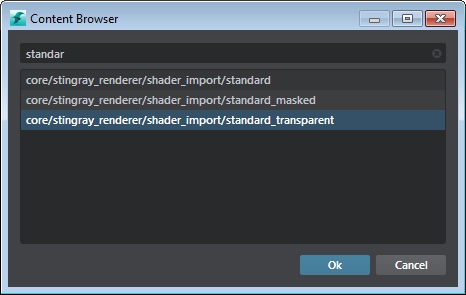
For example, to change a material that uses the standard Stingray material as its parent to instead use the standard transparent material:
In the Property Editor, click the Select resource icon
 next to Parent Material.
The Content Browser displays, which lists all possible materials in your project, including all child materials.
In the Content Browser, start typing in the Search field to narrow the listings, and select the new parent material.
