Removing Noise
Types of Noise
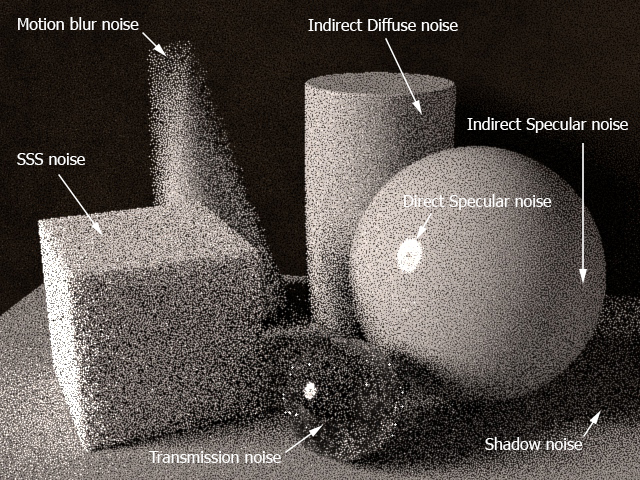
The first step in removing noise from your renders is to identify where it is coming from. Noise can be caused by:
Insufficient Sampling:
Motion Blur
Depth Of Field
Diffuse
Specular
Shadow
Indirect Specular
Transmission
SSS
Atmospheric Volume
Other:
Fireflies
Non-energy conserving shaders, networks or settings
Noise nearly always comes from insufficient sampling, but increasing sampling for the wrong rays can make the render times increase without helping to remove the noise. As an artist is usually working to a render time limit or amount of rays the aim is to allocate those rays as effectively as possible to minimize the noise in the most efficient manner. So if the Camera (AA) samples have to be increased to remove DOF noise, the other settings must be lowered to keep render times manageable. However, if DOF or motion blur is not a concern, then increasing Camera (AA) samples would fix all noise elsewhere but would also slow render times from the unnecessary rays.
Tip: For a procedure for removing noise, follow the Removing Noise Workflow diagram.
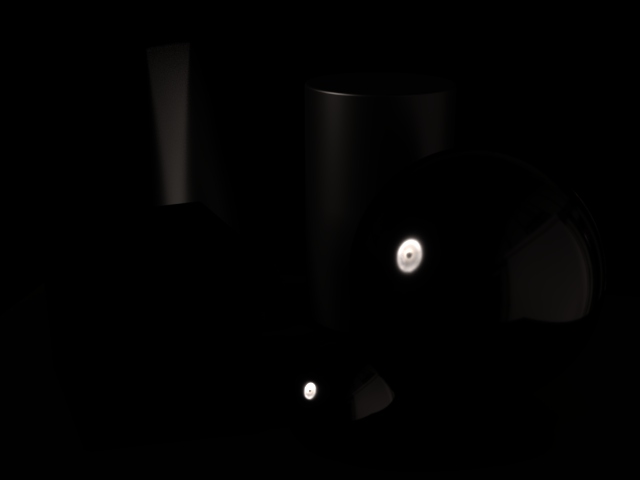
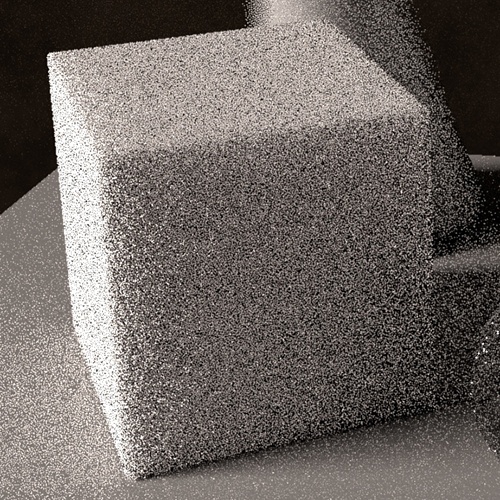
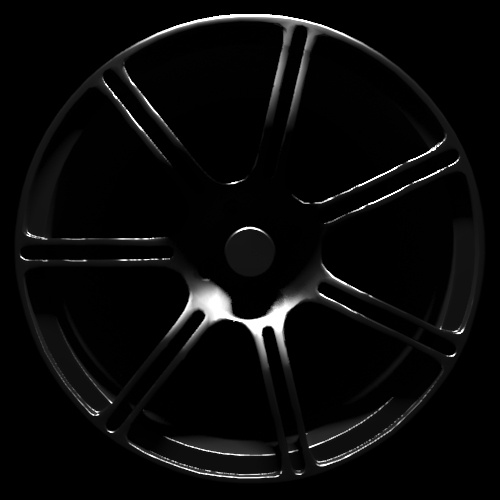
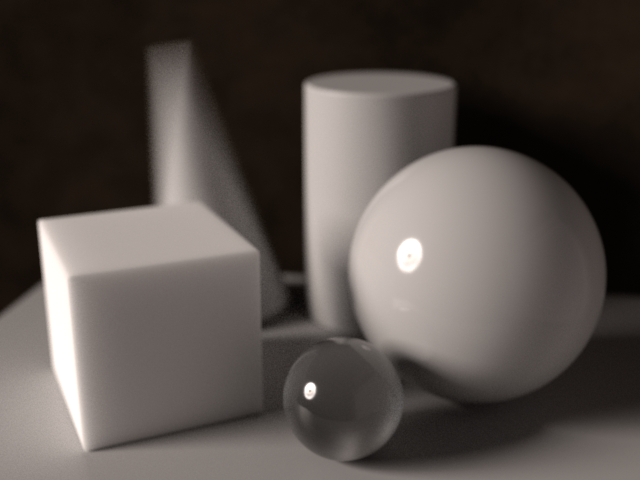
Here is a very noisy scene where all of the samples have been set to 1.
 |
 |
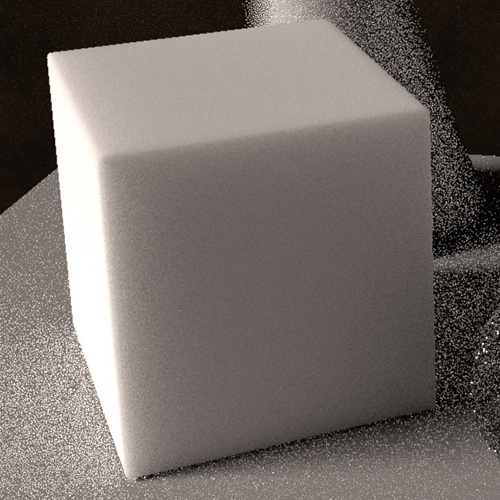
| All samples: 1 | Final sample settings |
Camera (AA)* samples: 1
Diffuse samples: 1
Specular samples: 1
Transmission samples: 1
SSS samples: 1
Light samples: 1
The most efficient method for identifying noise is to render AOVs. This can help save time by reducing the need to adjust settings unnecessarily.
AOVs
 |
 |
 |
| diffuse_direct | diffuse_indirect | specular_direct |
 |
 |
|
| specular_indirect | sss | transmission |
In the examples below the smoother option is shown with samples of 10 . This is a very high value and is only used here because the Camera (AA) samples and all other samples are at 1 for an illustrative effect to contrast the noisy and smooth areas. Normally the Camera (AA) samples would be around 4-8, and as it acts as a multiplier, similar values would be needed for the other samples.
Motion Blur and Depth of Field Noise
Motion blur noise shows up in the trails of moving geometry while DOF noise appears in the out of focus areas.
Motion Blur
 |
 |
| All samples: 1 | Camera (AA) samples: 10 |
Depth Of Field
 |
 |
| Camera (AA) samples: 1 | Camera (AA) samples: 10 |
Both the depth of field and motion blur can be confirmed by looking at the alpha channel to see if noise is present.
 |
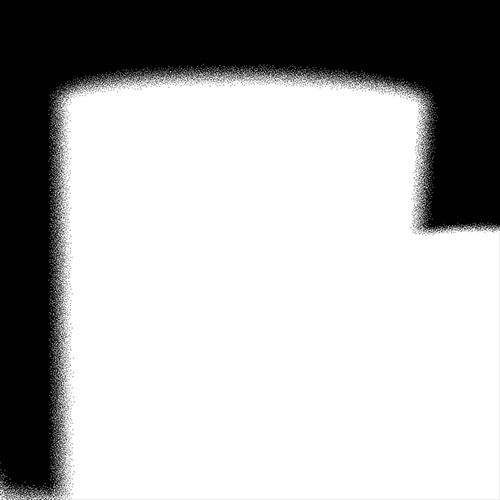 |
| Motion blur alpha | Depth of field alpha |
Motion blur and depth of field noise are caused by insufficient camera rays and therefore can only be solved by increasing Camera (AA) samples. The actual number of Camera (AA) samples is the square of this number. Camera (AA) samples of 4 results in 16 rays being cast. Note that increasing Camera (AA) samples will also increase the other samples meaning that they should be decreased to compensate.
Increasing the Camera (AA) samples will have a dramatic effect on render times. If motion blur or DOF is not a problem, then Camera (AA) samples should be the last consideration for fixing the other noise types.
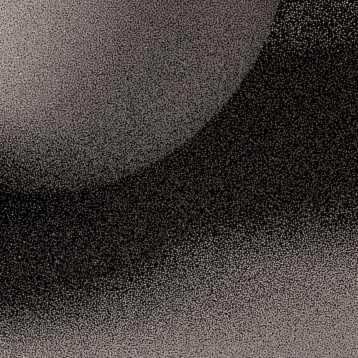
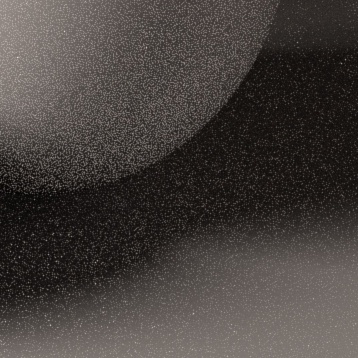
Diffuse Noise
 |
 |
| All samples: 1 | Diffuse samples: 10. |
Indirect diffuse noise is a common type of noise. The easiest way to confirm the cause is to check the indirect diffuse AOV. Another method is to set diffuse samples to 0 which will turn off indirect diffuse. If the noise disappears, then it is created by indirect diffuse.
When diffuse samples are more than zero, camera rays intersecting with diffuse surfaces fire indirect diffuse rays. The rays are fired in random directions within a hemispherical spread. Noise is introduced when there are insufficient rays to resolve the range of values from the environment. The noise can be removed by increasing diffuse samples.
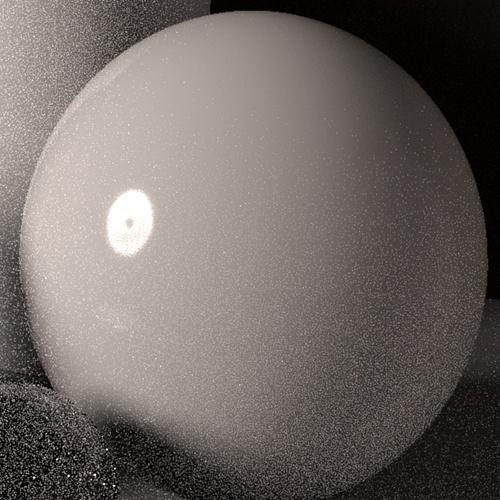
Specular Noise
 |
 |
| All samples: 1 | Specular samples: 10 |
Indirect specular noise occurs when the specular_roughness parameter > 0. The easiest way to confirm the cause is to check the indirect specular AOV. Another method is to set specular samples to 0 which will remove blurred reflections. If the noise disappears, then it is created by indirect specular.
Indirect specular noise is caused by a lack of specular samples. These samples control the number of rays fired when computing the reflected indirect-radiance integrated over the hemisphere weighted by a specular BRDF. The exact number of rays is the square of this value. Increase this number to reduce the indirect specular noise. Remember that the sampling is done for each Camera (AA) sample, so high values for both Camera (AA) samples and specular samples will tend to result in slow renders.
Transmission Noise
| All samples: 1 | Transmission samples: 10. All other samples: 1. |
Transmission noise is noticeable in the blurred refraction of a transparent object when specular_roughness > 0. The easiest way to confirm this is to check the transmission AOV. Another method is to set transmission samples to 0 which will remove blurred refractions. If the noise disappears, then it is created by transmission.
Transmission noise is caused by a lack of transmission samples. Transmission samples control the number of samples used to simulate the microfacet-based glossy refraction evaluations. The exact number of rays is the square of this value. Increase this number to reduce noise in shaders using transmission.
SSS Noise
 |
 |
| All samples: 1 | SSS samples: 10 |
Subsurface-scattering (SSS) noise will occur on surfaces that are using the standard_surface shader with SSS enabled. To confirm, check the SSS AOV. The SSS noise can be removed by increasing SSS samples.
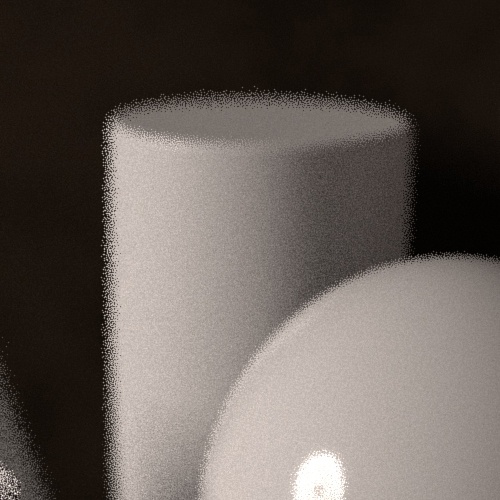
Direct Specular and Shadow Noise
Noise in the direct specular and shadow is caused by a lack of light samples. Normally a small number of samples will be required to remove direct specular noise, but more samples may be required to remove shadow noise. The larger the radius a light source has, the softer the shadows will be, and therefore more samples will be required to remove shadow noise.
 |
 |
| Light samples: 1 | Light samples: 10 |
 |
 |
| Light samples: 1 | Light samples: 10 |
Tip: Light samples between 3-4 should be sufficient for most scenes.
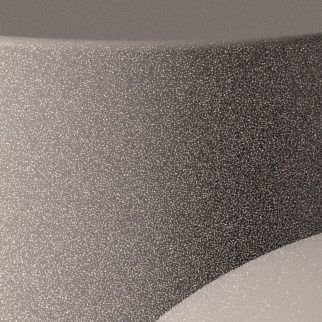
Shadow noise is often mixed up with indirect diffuse noise, particularly for lights with large radii because their shadows will be softer. Look at the direct_diffuse AOV to see if the shadows are noisy. Alternatively set diffuse samples and specular samples to 0. This will remove GI which will allow you to single out the direct lighting contribution. It can be tricky to identify direct specular noise as it could be mistaken for indirect specular noise. Direct specular is the reflection of the light itself on the surface. This will help you distinguish it from the reflections of surrounding objects based on color and intensity.
Noise can also appear on the specular highlights of thin geometry that use a shader with a high specular_weight value. Increasing the number of Camera (AA) samples can help reduce this effect to a point. However, even with high Camera (AA) samples, anti-aliasing artifacts can appear. Increasing the specular_roughness value helps to reduce this type of noise. Increasing the size of the light and reducing its intensity can also help in these situations.
 |
 |
| Specular Roughness: 0.2 | Specular Roughness: 0.5 |
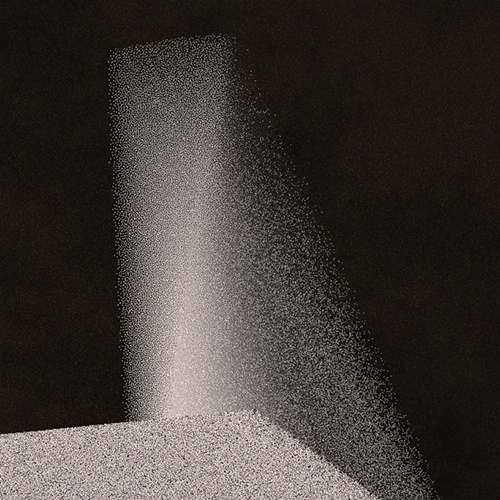
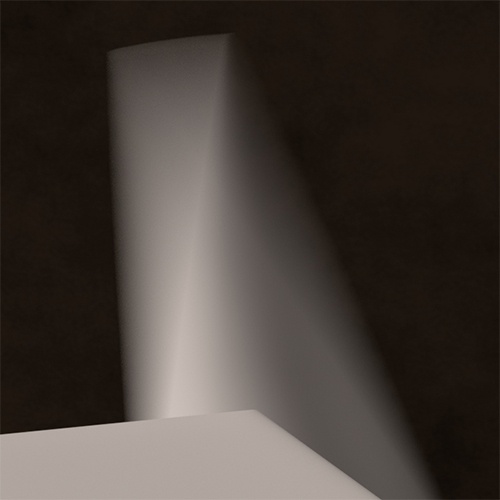
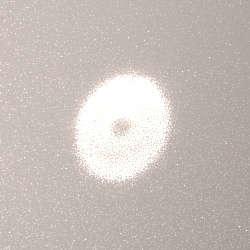
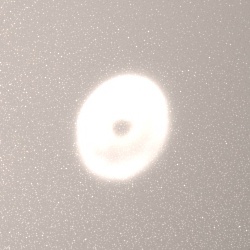
Atmosphere Scattering Noise
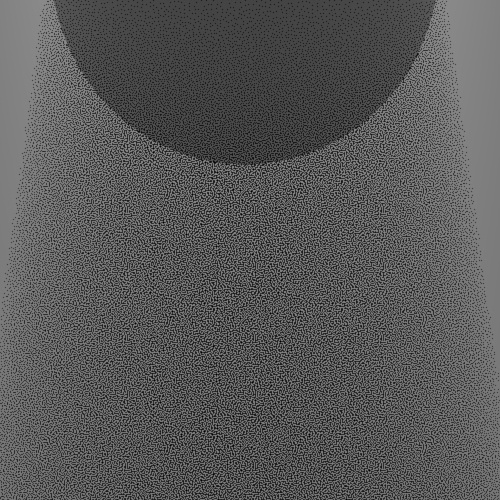 |
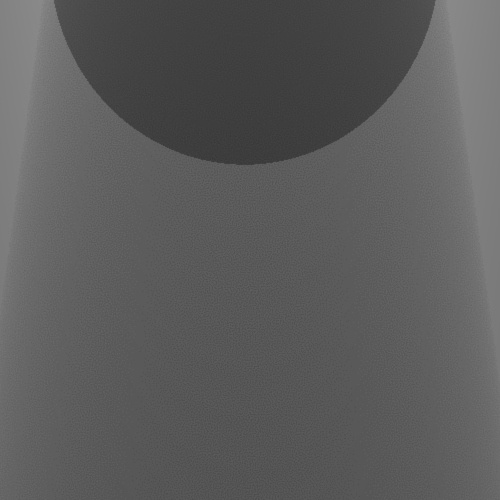 |
| All samples: 1 | Atmosphere Volume samples: 10 |
Atmosphere_volume noise will occur within the shadowed regions of a beam of light. This noise is caused by a lack of samples in the Atmosphere_volume shader. The samples are distributed according to the volume density. More samples will refine the quality of the solution.
Fireflies and Sparks
Fireflies ( bright 'spike' type noise) are typically generated from the reflection of a strong light on a shiny, low-roughness glossy surface. Usually, hundreds of samples participate in a final pixel color. If one of those is a high-valued specular ray (coming from the reflection of a strong light), then there will be many samples with low values and a single sample with a value in the thousands. That single sample will make the whole pixel become white (a "firefly").
Clamping
Sample clamping can help eliminate this kind of noise. If you clamp high sample values, a single stray sample will now be diluted and not affect the final color as much. However, this will affect the final dynamic range of the render. Use with caution.
Light Decay Filter
Fireflies can also be caused by indirect diffuse illumination from very bright hotspots, in particular when the light sources are very close (or even touch) nearby geometry, such as a light's cabinet or enclosure. The inverse square decay in the light will make those nearby surfaces extremely bright. A workaround is to add a light decay filter with a very low near start value to avoid samples very close to the light. Again, this should be used with caution.
Other Considerations
- Noise could come from things not visible in the render (behind the camera).
- Noise could be caused/exacerbated by non-energy conserving shaders, networks or settings.
- Another method to reduce noise is to remove the cause and fake it with special lights. For example, a character whose face is lit by bounce light only: it will be much less noisy to add a specific bounce light.
- Arnold can remove noise easily when it knows where lights are, by sampling the lights directly, but will have problems if there are bright "directional" patches not tagged as lights that contribute significantly to the scene's lighting.
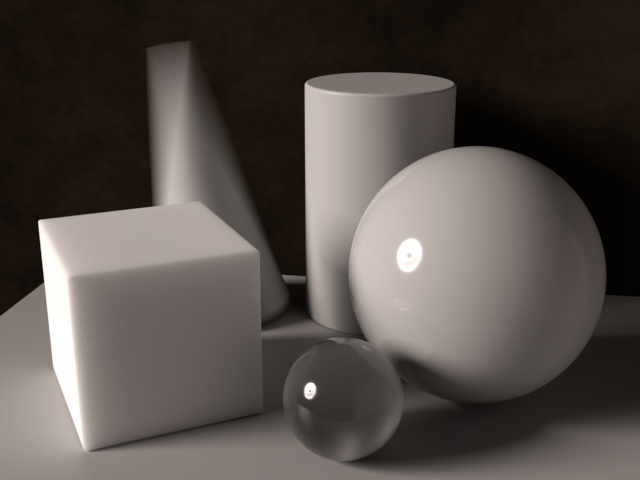
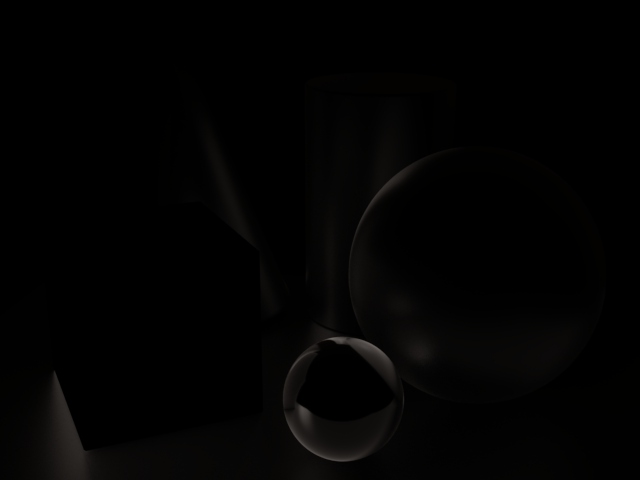
Clean Renders
No DOF
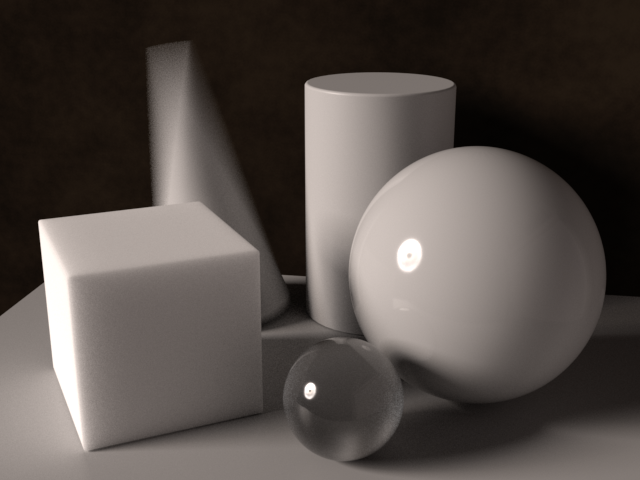
Camera (AA)* samples: 7, diffuse samples: 3, specular samples: 2, transmission samples: 6, sss samples: 4, light samples: 3.
With DOF
Camera (AA) samples: 15, diffuse samples: 1, specular samples: 1, transmission samples: 4, sss samples: 3, light samples: 3.
Tip: When trying to identify noise in your renders, it is useful to render and view AOVs. This enables you to isolate the type of noise and adjust the relevant samples. A general guide to identifying and prioritizing the order in which common noise types can be found in the table below. Note that this is a general guide and that every scene is different.
| Noise Visible in | Samples to Adjust |
|---|---|
| Alpha channel | Camera (AA) samples |
| Indirect Diffuse | Diffuse samples |
| Direct Specular (specular noise) | Light samples |
| Direct Diffuse (shadow noise) | Light samples |
| Indirect Specular | Specular samples |
| Transmission | Transmission samples |
| SSS (direct and indirect) | SSS (direct and indirect) samples |
| Volume | Volume samples (note that there are also volume samples in lights too) |
Noise and Sampling
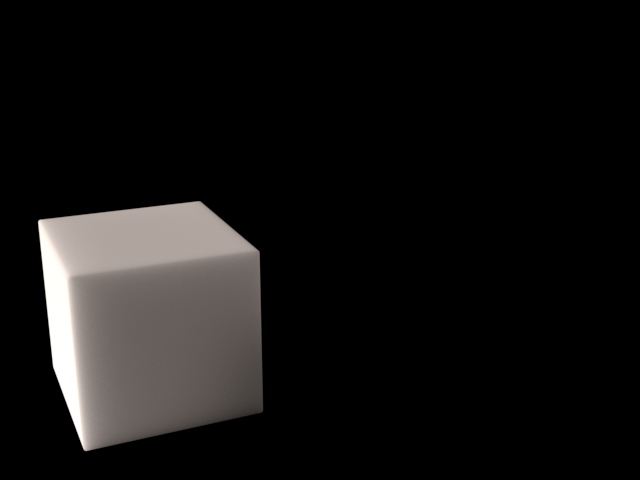
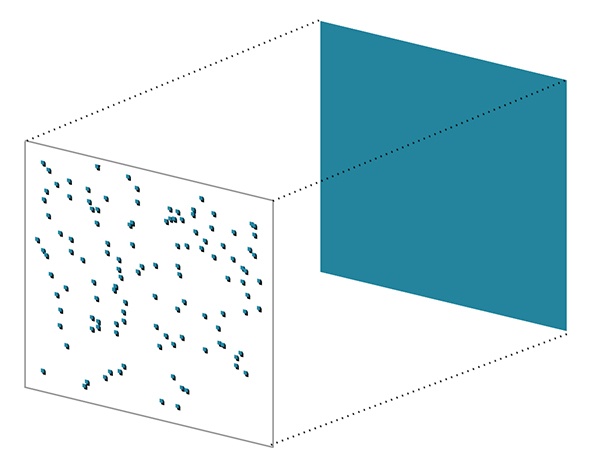
If you have a scene that consists of a simple color and you want to know the average color of the photo, it is easy to see what the color is at any one point by using a low number of samples and then averaging the result.
 |
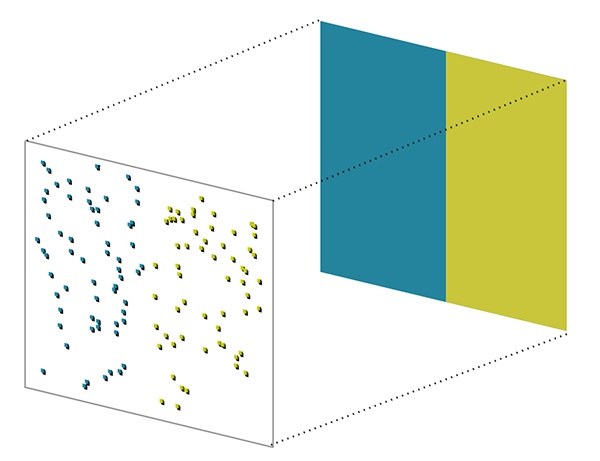 |
| If the scene is all one color, it only requires a few samples to get the correct average | If the scene is half one color and half another, more samples will still give you a good average |
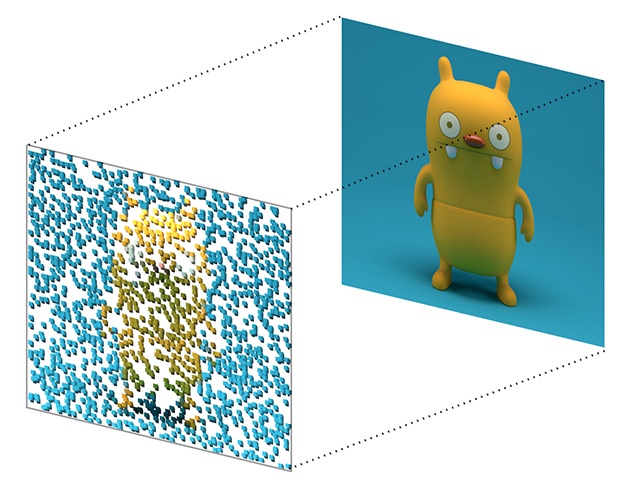
However, if you have a more complex scene (with a character for example), and use only a few samples, sometimes half of them will be yellow and half of them blue. Sometimes all the samples will be one color or the other. Sometimes, by coincidence, all of the samples will be on the yellow character, despite only a part of the scene being the yellow character. A way to improve the average is by increasing the number of Camera (AA) samples.
 |
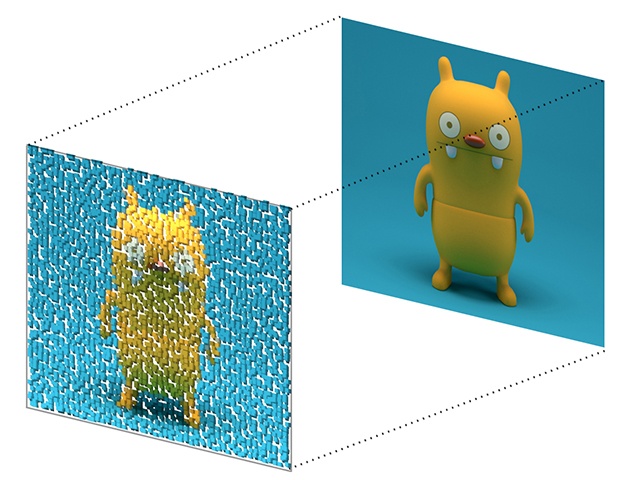 |
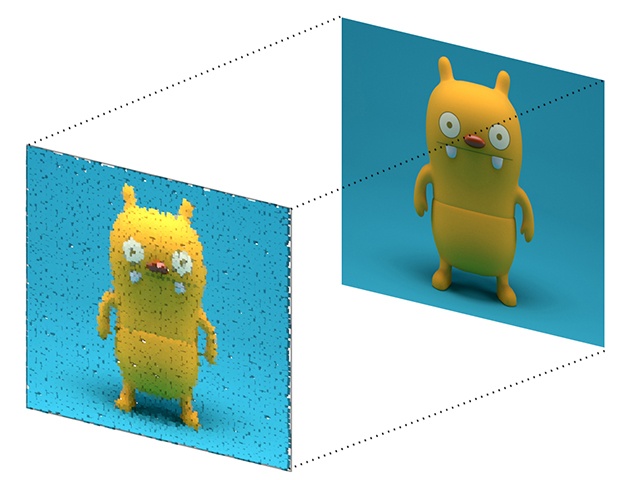 |
| 3 Camera (AA) samples. Low quality. | 4 Camera (AA) samples. Medium quality. | 5 Camera (AA) samples. Higher quality. |
Increasing the number of Camera (AA) samples resolves the noise and improves the quality of the image.
Note: Further information about sampling can be found here and here.