Denoising a Room Interior

This tutorial will look at various ways to reduce noise in a Parisian interior room scene. Typically, a large number of diffuse samples is required to reduce the indirect noise in an interior. However, render times can increase dramatically with high diffuse samples. We will, therefore, look at denoising (OptiX™ denoiser and the Arnold denoiser) to reduce the noise without having to use such a high number of diffuse samples.
Note: Denoisers consider a neighborhood around the current pixel and look for similar neighborhoods inside a given search area to blend together.
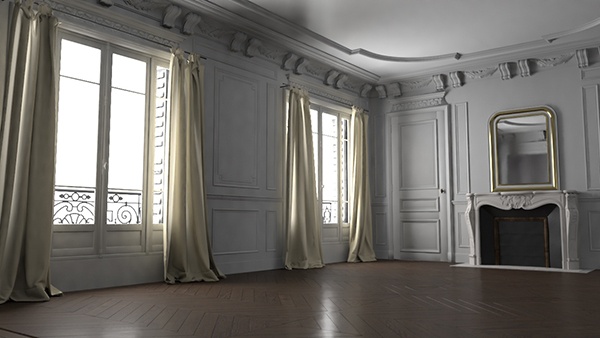
The room is lit using a skydome_light (at least 3 samples recommended) with light_portals positioned outside of the windows. Note that the above final image uses a diffuse_ray_depth of 4, whereas the test images below use a diffuse_ray_depth of 1 and therefore appear darker. Also, note that Camera (AA) samples have been set to 6 for all renders.
Tip: The OptiX™ denoiser is more suited to IPR rendering.
Note: More information about the OptiX™ denoiser and the Arnold denoiser is available here.
Diffuse Samples: 2 (default)
Now we will render the scene using the default Diffuse samples (2). It is very noisy especially in the indirectly lit wall on the left. We can see that the OptiX™ denoiser struggles to produce a clean image with such a low number of diffuse_samples.
 |
 |
| without Optix | with Optix |
The Arnold denoiser fares better, but there is still some 'splotchy' noise visible, especially on the indirectly lit wall.
 |
 |
| without Arnold Denoiser | with Arnold Denoiser (default settings) |
Increasing the number of diffuse_samples improves the noise. Note that increasing this value starts to increase the render time. However, the OptiX™ denoiser still cannot resolve the noise well.
 |
 |
| without Optix | with Optix |
The Arnold denoiser produces a superior image. In most cases, this would be adequate. Let's try increasing the number of diffuse_samples even further and see what we get.
 |
 |
| without Arnold Denoiser | with Arnold Denoiser (default settings) |
With diffuse_samples set to 10, we get a much cleaner image. However, our render times have increased significantly as a result. Notice how the OptiX™ denoiser affects the thin geometry of the window balcony. The Arnold denoiser does a much better job of dealing with these areas.
 |
 |
| without Optix | with Optix |
 |
 |
| without Arnold Denoiser | with Arnold Denoiser (default settings) |
Arnold Denoiser Settings
The example images below show the effect of changing some of the Arnold denoiser using default diffuse_samples: 2. In this case, the default Arnold denoiser settings are a good fit.
Variance
The strength of the filter is determined by the variance parameter, the higher the variance the more forceful the denoising will be.


Pixel Search Radius
This is the area over which similar neighborhoods are found. The higher the better, but it will increase the cost of denoising.
![]()
![]()
![]()
Pixel Patch Radius
This increases the softness of the denoising (while always preserving the features). The default is 3 (on the big side), but a low value would be maybe 0 or 1, middle 3 and high 5.
![]()
![]()
![]()